How to Hang Christmas Garland on Stairs Without Damage
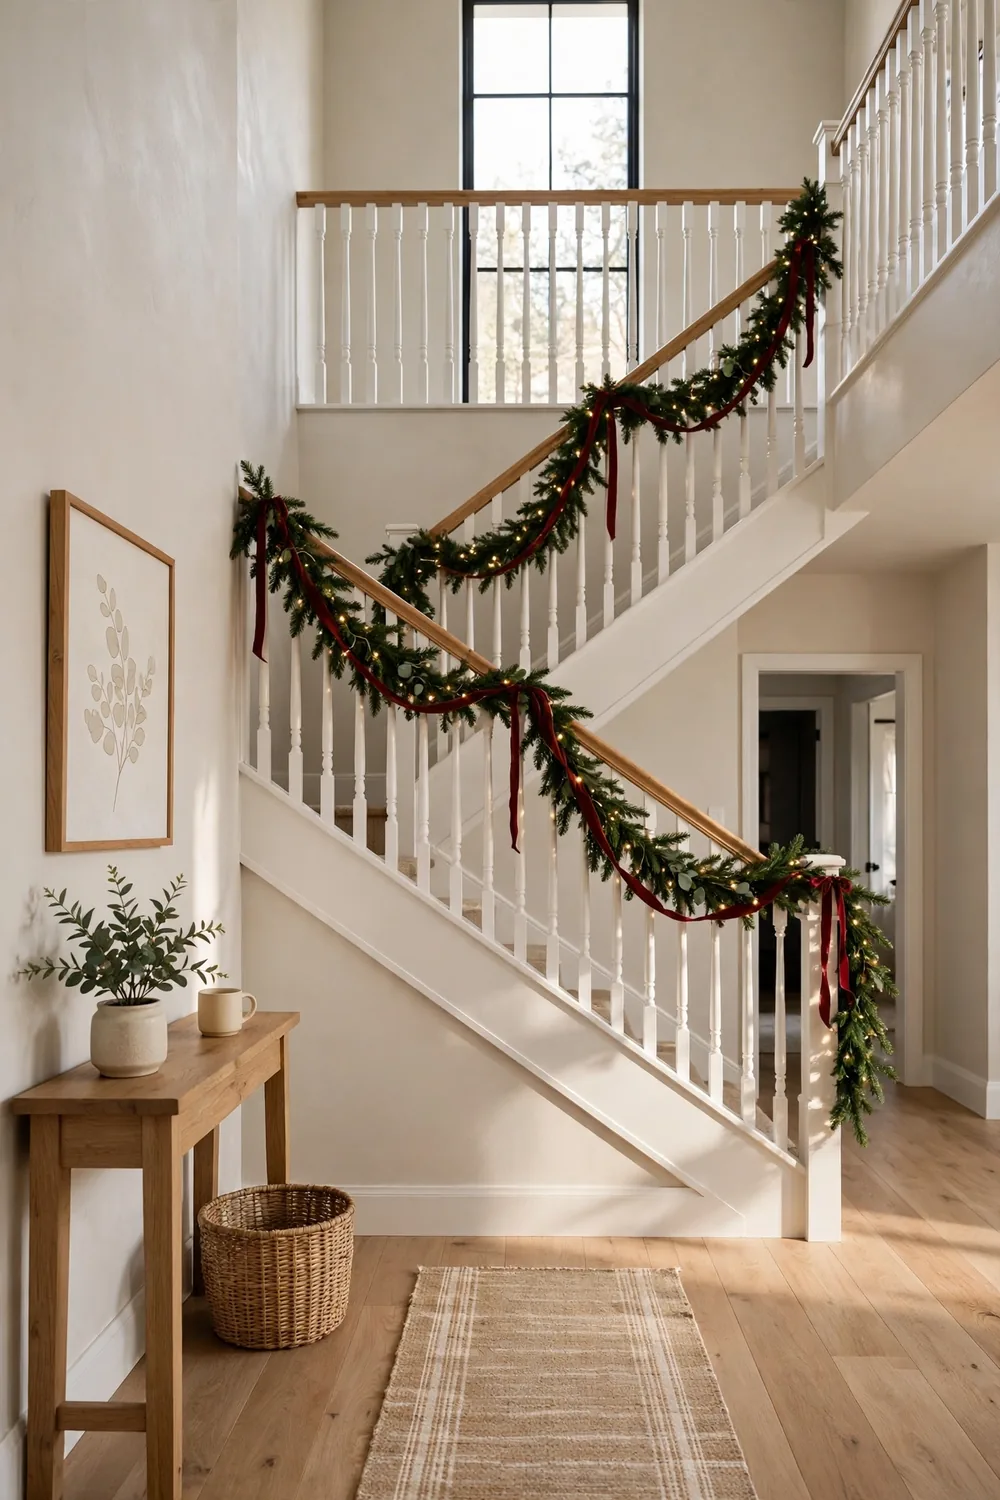
Picture the stairs at Christmas. A full green garland runs from the top post to the bottom step, with small white lights tucked in the branches. Learning how to hang garland on stairs without damage takes one free afternoon and a few simple supplies.
Stairs show every mark. The rail, the posts, and the trim get touched all day long, so one scratch stays in view all year. The good news is that sticky hooks and wire ties hold a lot of weight when you put them in the right spots.
This guide takes you through the job in order, from sizing up the rail to taking it all down in January. Each step keeps paint and wood safe, so you can dress the stairs with complete peace of mind.
Measure the Staircase and Pick Your Garland

Run a tape measure along the rail from the top post to the bottom one, and let it follow the slope. Write down the length, then buy garland about one-quarter longer than the rail. A twelve-foot rail needs about fifteen feet of garland. That extra length lets the swags hang loose and full. Fake garland looks the same all season and drops no needles. Fresh pine or cedar smells wonderful but sheds needles and needs a light spray of water every few days. Pick up clear sticky hooks that hold at least three pounds, green craft wire, a few twist ties, and small scissors. Clear hooks all but vanish against the wood, and green wire melts into the branches. Lay everything on a side table so the work moves fast.
Choose Damage-Free Anchors That Hold Strong
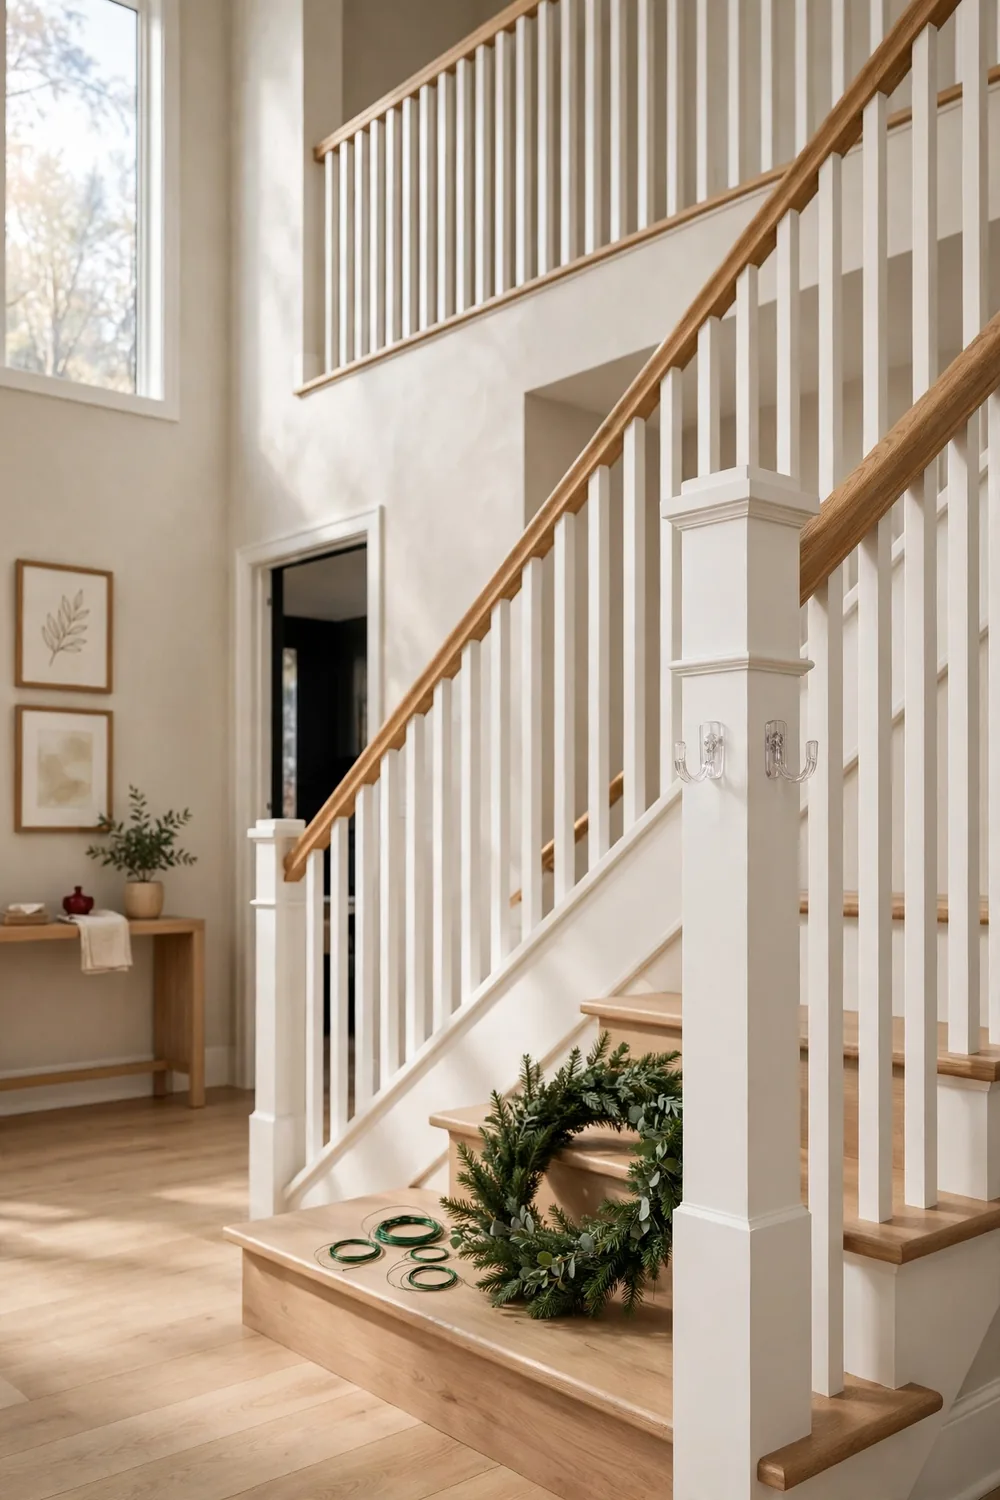
Three kinds of holders do the job with no marks. Clear sticky hooks grip flat spots such as the newel posts, the wall by the stairs, or the side of the rail. Most hold three to five pounds each. For the rail itself, loop green wire or a twist tie around a stair spindle and through the garland. The hold is strong and leaves no mark. Zip ties work the same way on thick newel posts and snip off in seconds. Set a holder every twelve to eighteen inches so no stretch of garland bears too much weight. Press each sticky hook hard for thirty seconds, then wait a full hour before you hang a thing. That hour of waiting is the step most people skip, and it is the reason hooks hold all season. For more ideas, check out these christmas garland ideas.
Lock In the Top End First
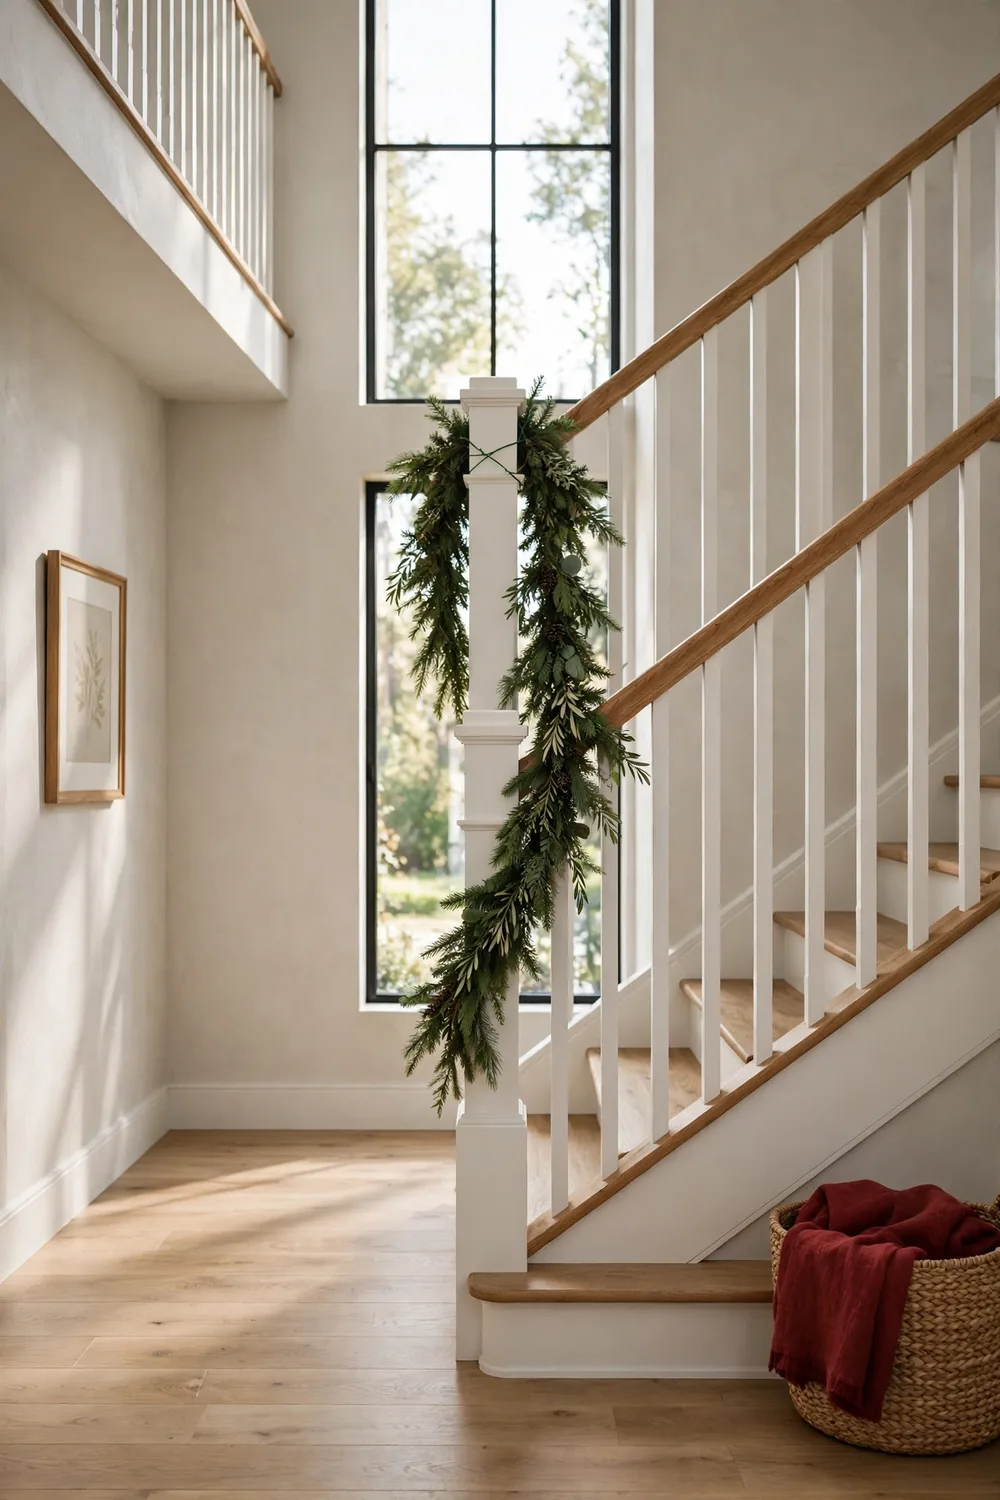
Start at the top of the stairs and work your way down. Weight then pulls each new part snug against the one above it. Hold the end of the garland behind the top newel post so the cut edge points toward the wall. Tie it with two twist ties or a snug loop of green wire, then snip the tie ends short. Tuck stiff branch tips back into the garland so none poke out where hands grip the rail. Let the first part droop in a soft curve down to the next holder before you tie it down. That first loose swag sets the depth for everything below it. Step back to the bottom step and study it before you move on. For more ideas, check out these christmas staircase decor ideas.
Drape the Garland in Even Swags

The best look is a row of swags that dip six to ten inches below the rail. Tie the garland at each holder with a short loop of green wire. Let the parts in between fall in soft, even curves. Keep the garland centered on top of the rail so it will not slip to one side over the weeks. Pull each tie snug but not flat, since a hard pull thins the branches and makes the run look bare. After each two or three ties, walk to the foot of the stairs and look up. Your eye spots an uneven swag from far off much sooner than from close up. Shift a tie an inch or two while the garland is still light, and the whole staircase will look neat from every spot.
Fasten the Bottom and Shape the Branches
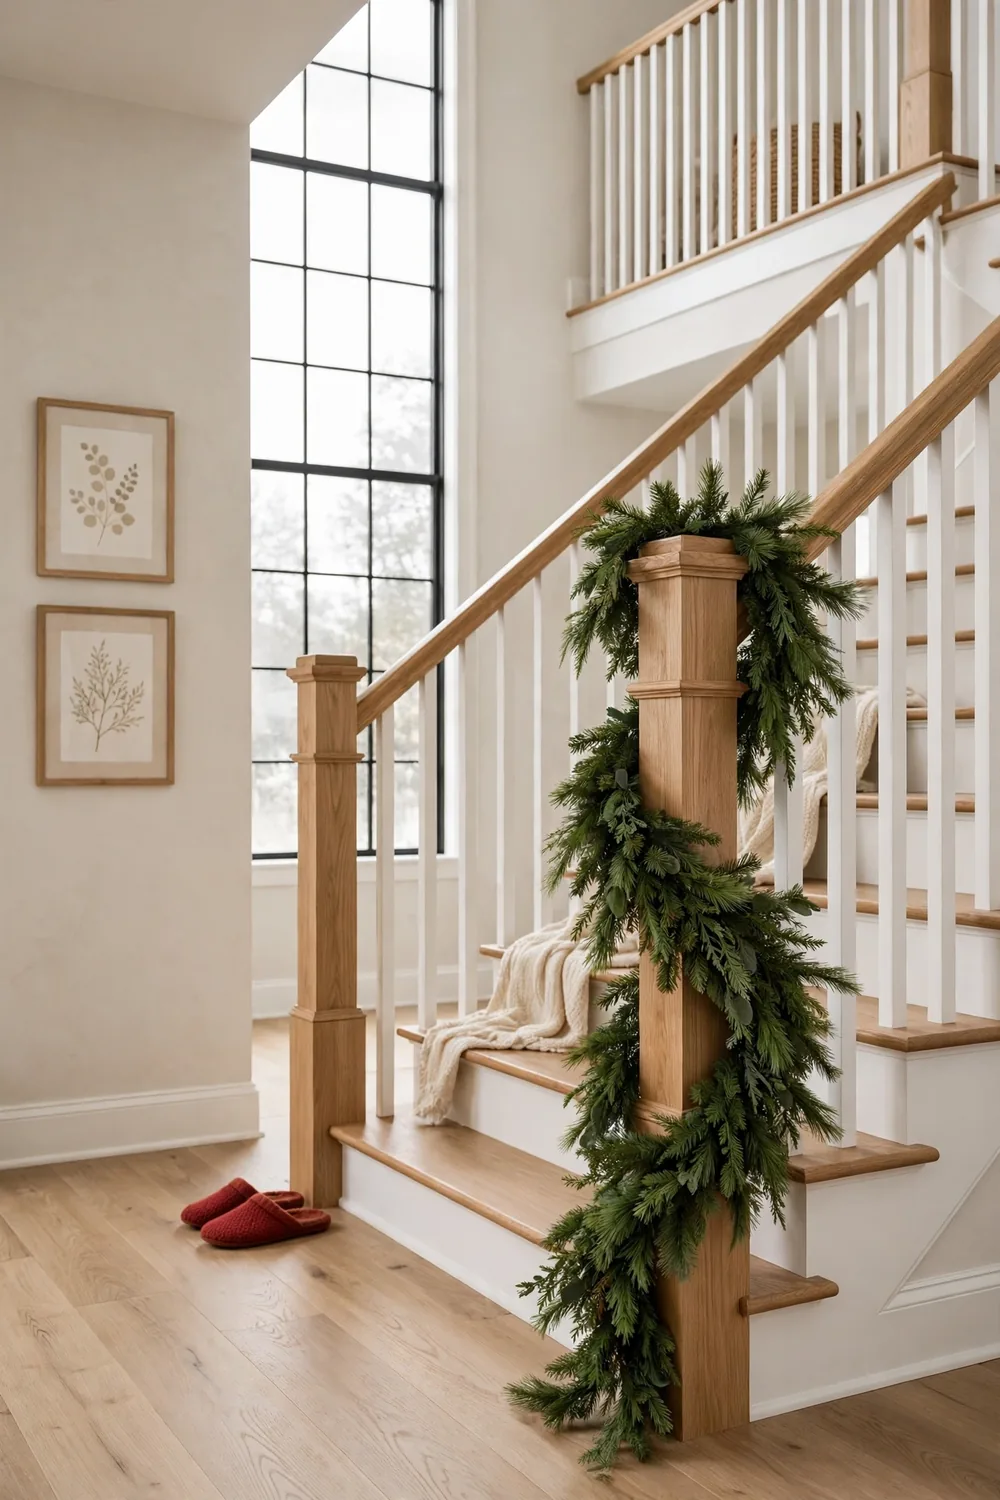
Finish at the bottom newel post. Wrap the last foot of garland around it once and tie it with green wire on the side that faces the wall. Push the cut end deep in the branches so no bare stems show. Now shape the whole run. Pull the branches out and down until the garland looks twice as full as it did in the box. Work top to bottom once more, and turn some branch tips left and some right. Snip the tails of twist ties that stick out, and bend sharp wire ends back in the green. Stand at the foot of the stairs and look up, then climb to the top and look down. Both views should show smooth, even green with no ties or wire in sight.
Weave Lights and Ribbon Through the Garland
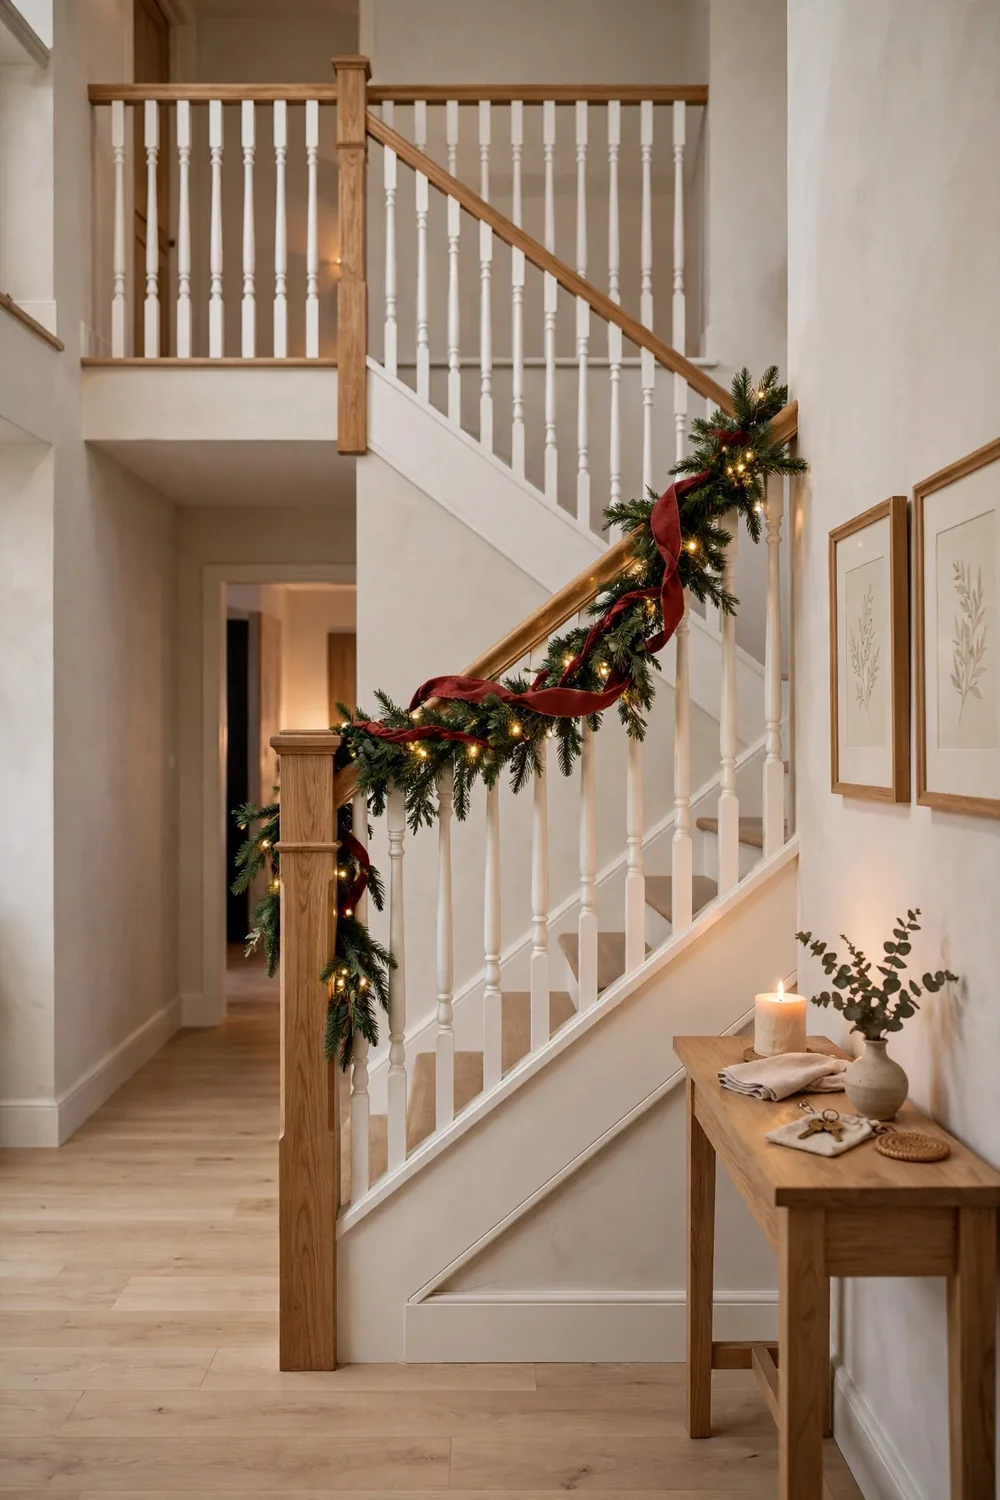
Lights and ribbon turn plain green into the finished look, and they go on last. Pick small warm white battery lights, about one hundred lights for each six feet of garland. Weave them in and out of the branches, pushing the wire deep so the bulbs peep through the green. Tuck the small battery box behind the newel post where you can still reach it. Run two-and-a-half-inch wired ribbon through next, and let it twist free every foot or so. Change the twist now and then so the ribbon catches the light. Add just a few light plastic balls, since heavy trim pulls swags out of shape. Step back and view the stairs in daylight, then again with the lights on.
Take Everything Down Without a Mark
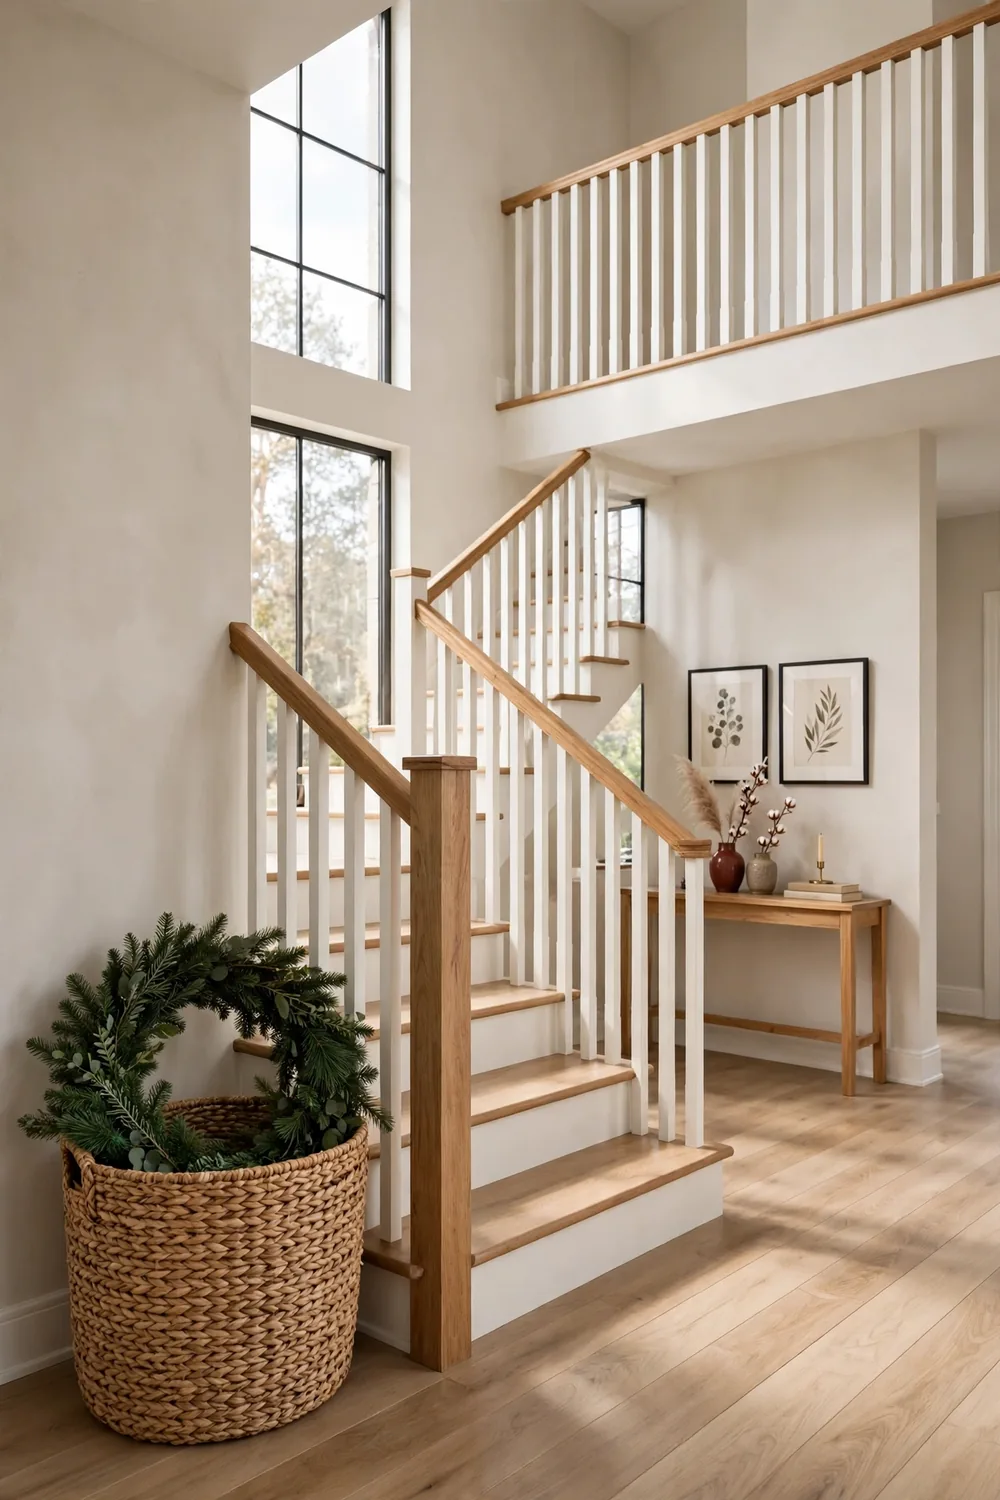
Take-down in January runs about half an hour if you go in back order. Lift off the balls, ribbon, and lights first so the garland feels light. Snip each twist tie and wire loop with small scissors, and catch the bits before they fall through the spindles. Then take the sticky hooks off the way the pack says: pull each strip straight down, slow and close to the wood, and never outward. If a strip resists, warm it with a hair dryer on low for a few seconds and pull again. Wipe the rail and posts with a damp cloth to clear dust lines. Coil the garland in a large bag for next year. The stairs are back to plain, and the wood looks just as it did.
Frequently Asked Questions
How to hang garland on stairs so it stays put all season?
Use more holders than you think you need, spacing them twelve to eighteen inches apart and keeping each load well under its max weight. Tie the garland with green wire at each holder so it cannot creep down the rail. Check the ties each week and snug up any loose ones, since footsteps and closing doors shake the stairs a bit.
Will sticky hooks hurt painted stair trim?
Good peel-off hooks come off clean when you follow the removal steps on the pack. Paint must be hard first, so wait a full month after a fresh coat. Try one hook in a hidden spot for a week if the old paint is soft or already flaking.
How much garland does a typical staircase need?
Measure the rail end to end, then add about one-quarter more for soft swags. That works out to about fifteen feet of garland for a twelve-foot rail. Pick up one spare six-foot piece for deep swags or a thick double run.
What keeps fresh garland from drying out on the stairs?
Mist the branches lightly with water every two or three days. Keep the garland clear of heat vents that blow warm air on the stairs. Fresh green looks its best for three to four weeks indoors. Fake garland is the easy pick if you decorate early.
Enjoy Your Christmas Garland on Stairs
A staircase dressed in garland makes the whole house feel set for Christmas, and now you can get the look without one hole or scratch. The trick is simple: measure first, set plenty of holders, and let the swags fall in soft curves. Work slowly down the steps, fluff the green at the end, and guests will think you hired help. Keep this saved for your next free afternoon.