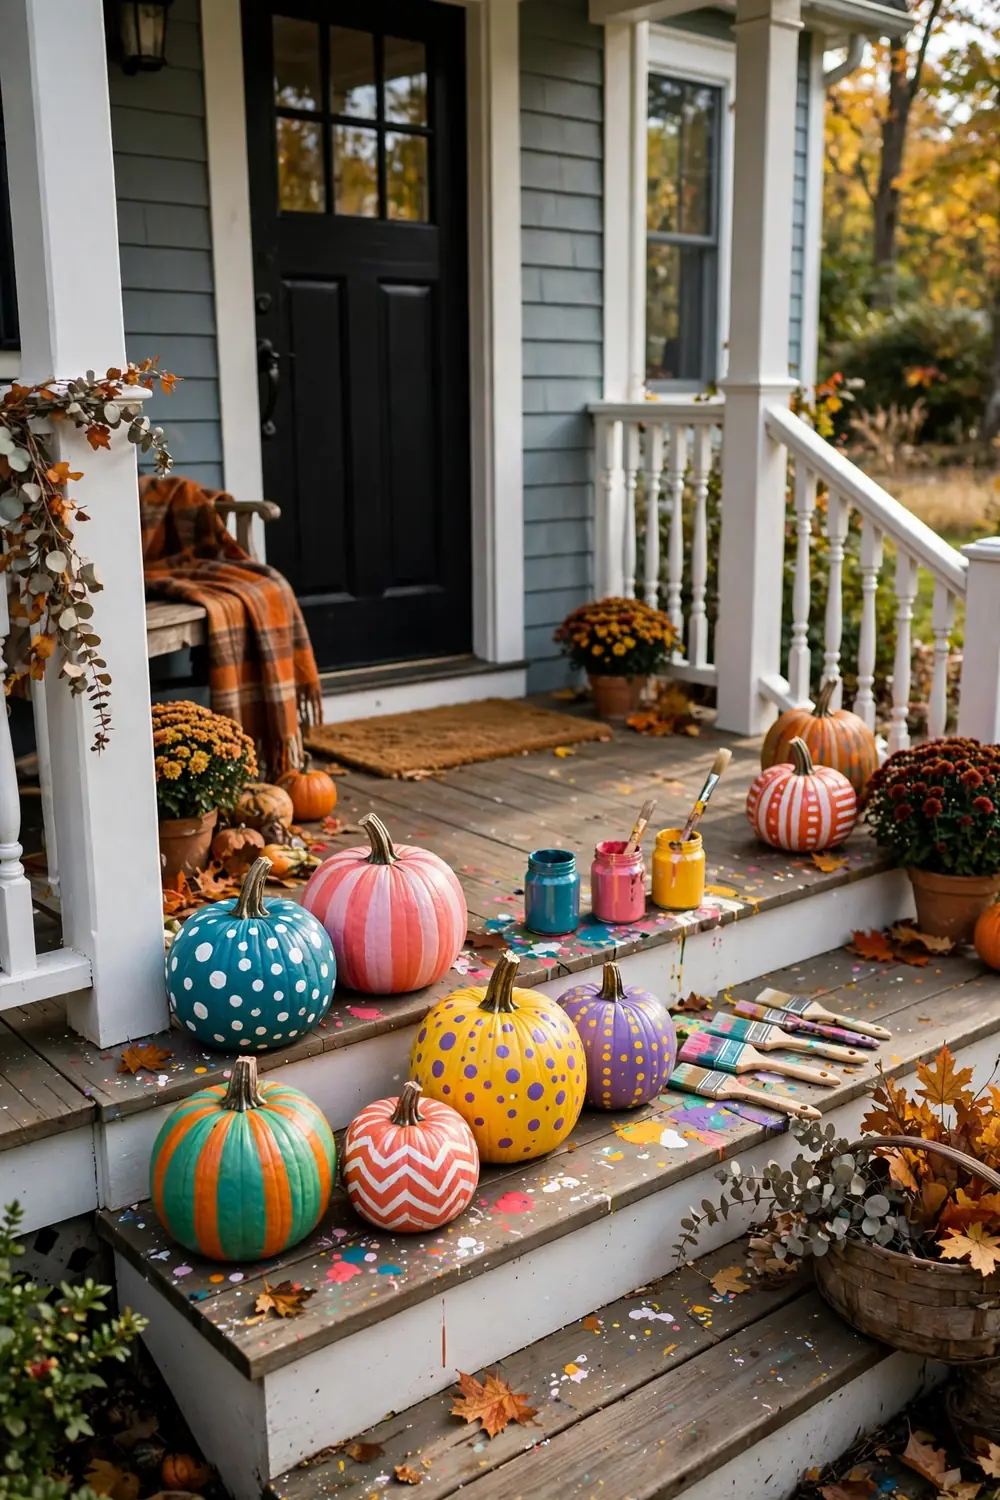
No-Carve Pumpkin Painting Ideas for Kids and Adults
Carving pumpkins is messy, and the results start to rot within days. Painting gives you all the fall fun with none of the slimy seeds or sharp tools, and you only need basic craft paint, a few brushes, and an afternoon.
These pumpkin painting ideas work for every age and skill level. Kids can handle dots and stripes while adults try florals, ombre, and gold accents.
Most designs take under an hour, and the pumpkins last for weeks. Grab some paint and brushes and pick a favorite to start with. They also make great gifts and party activities for fall gatherings.
1. Classic Polka Dots
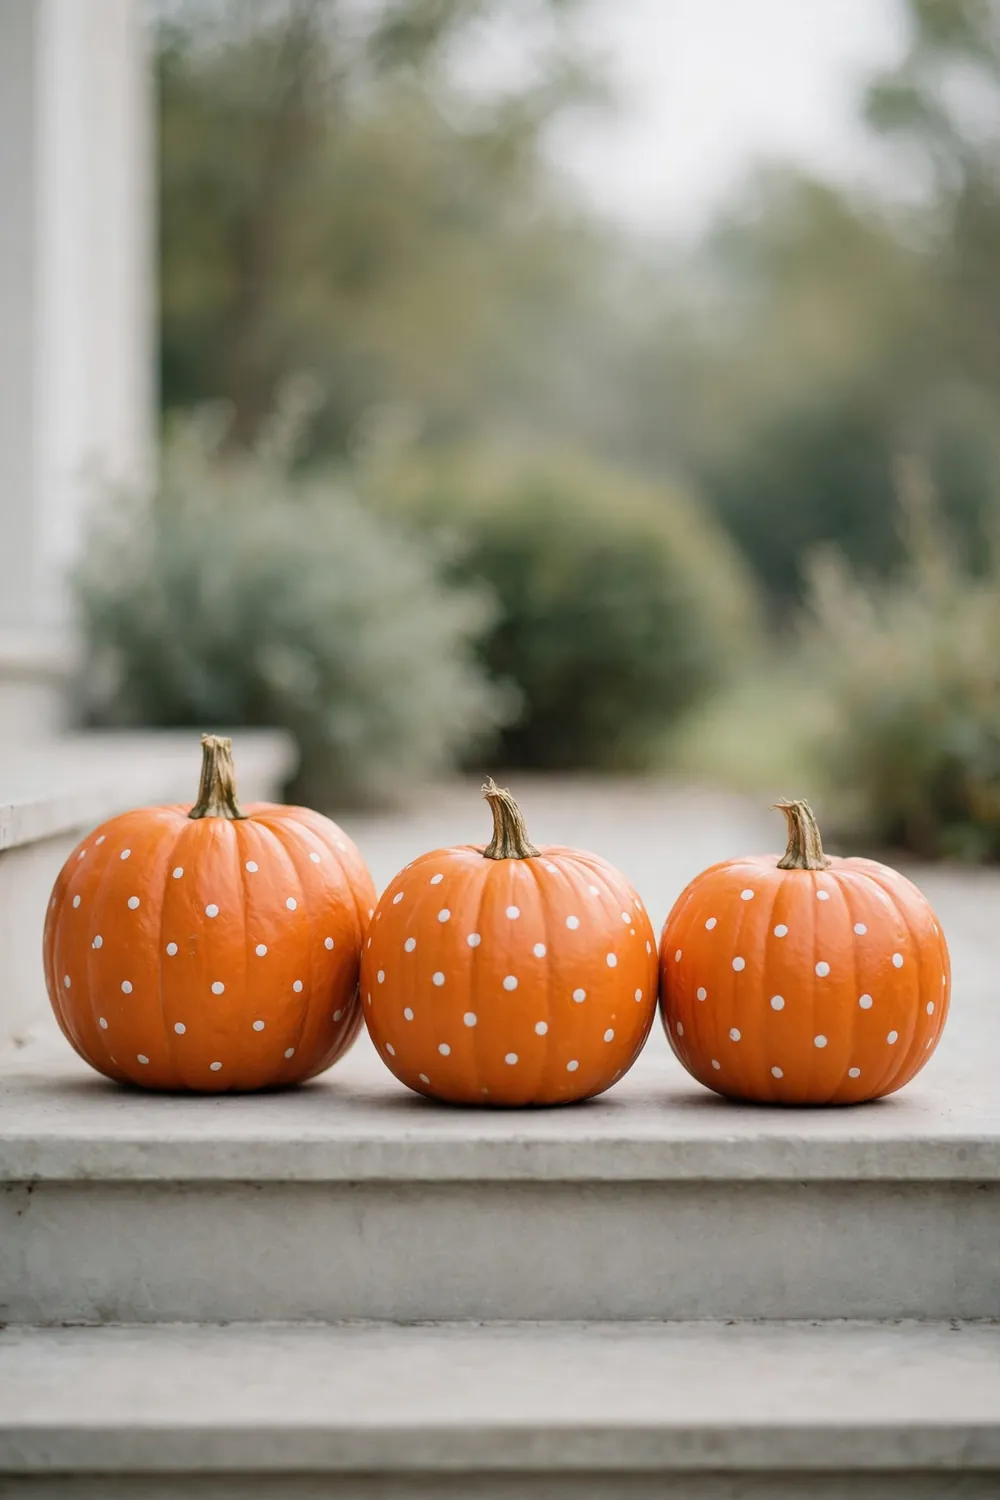
Polka dots are the perfect first pumpkin painting project. Paint your pumpkin a solid base color, let it dry, then add dots with the end of a paintbrush or a round sponge. Let the base coat dry fully so the dots sit crisp on top.
White dots on orange look classic, but black dots on white pumpkins look chic, so use different brush ends to vary the dot sizes across the pumpkin. This design forgives every mistake, which makes it ideal for little kids. A finished dotted pumpkin looks neat and cheerful on the front steps. A tray of mini dotted pumpkins makes a sweet gift for neighbors too.
2. Bold Stripes
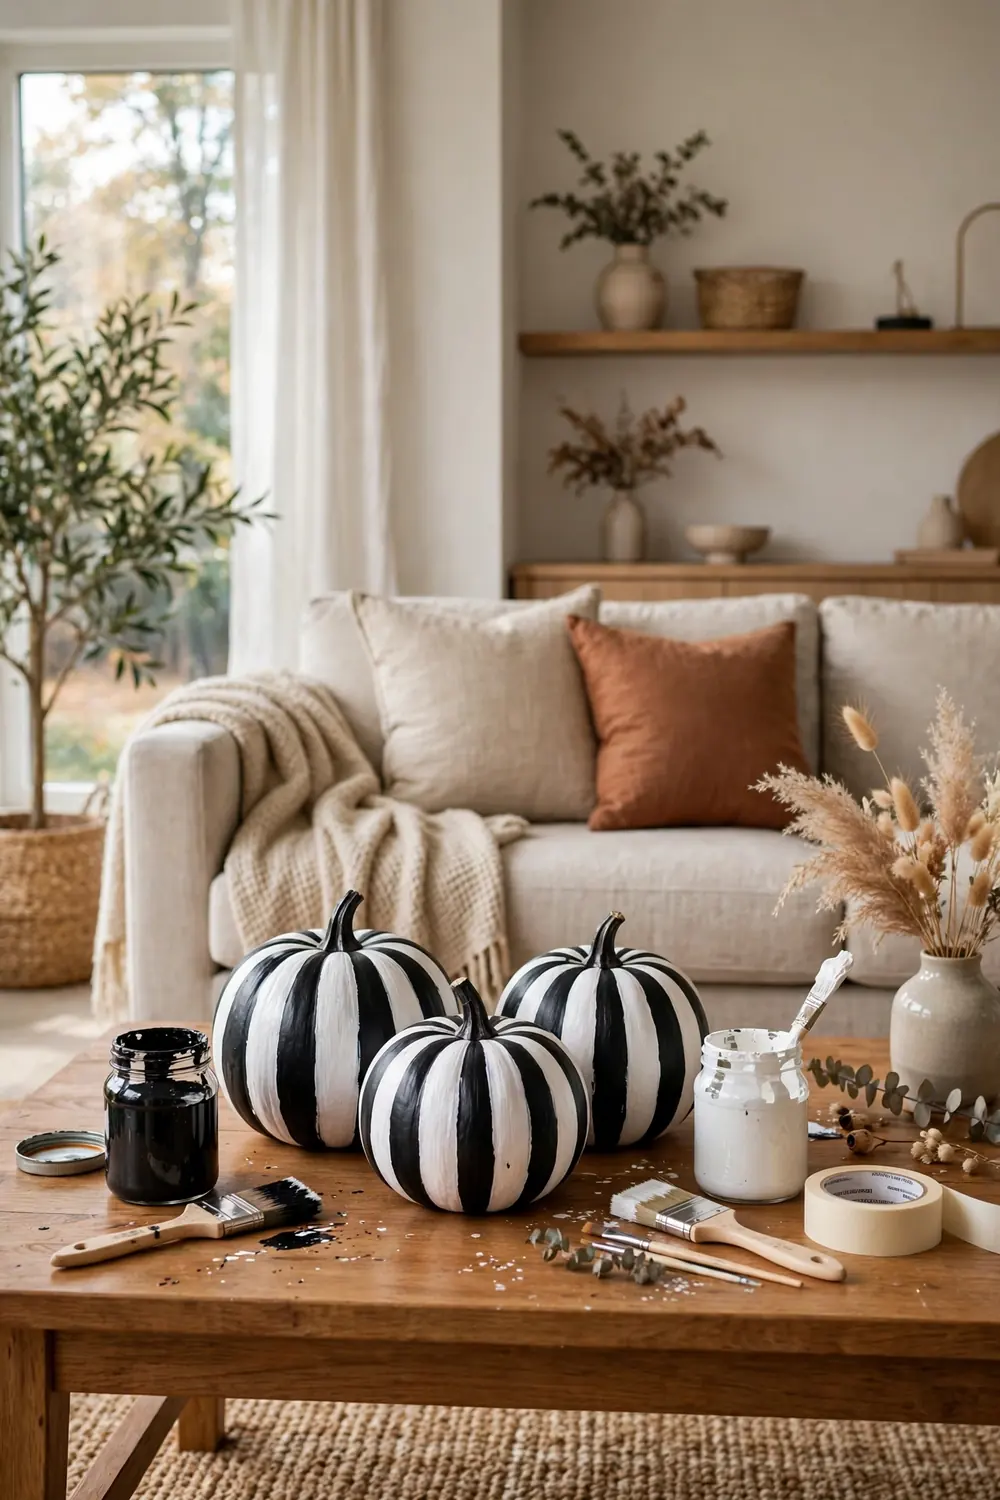
Painter’s tape turns a plain pumpkin into a striped showpiece. Wrap strips of tape around the pumpkin, paint between them, and peel the tape off while the paint is still tacky. Smooth the tape down firmly so no paint seeps under the edges.
Black and white stripes look sharp and modern. You can also try gold stripes on a white pumpkin for a softer, elegant feel. Vertical stripes follow the pumpkin’s natural ribs for a clean look. Horizontal stripes feel more playful. Either way, the tape does the hard work for you. Peel the tape slowly at an angle for the cleanest lines.
3. Painted Fall Florals
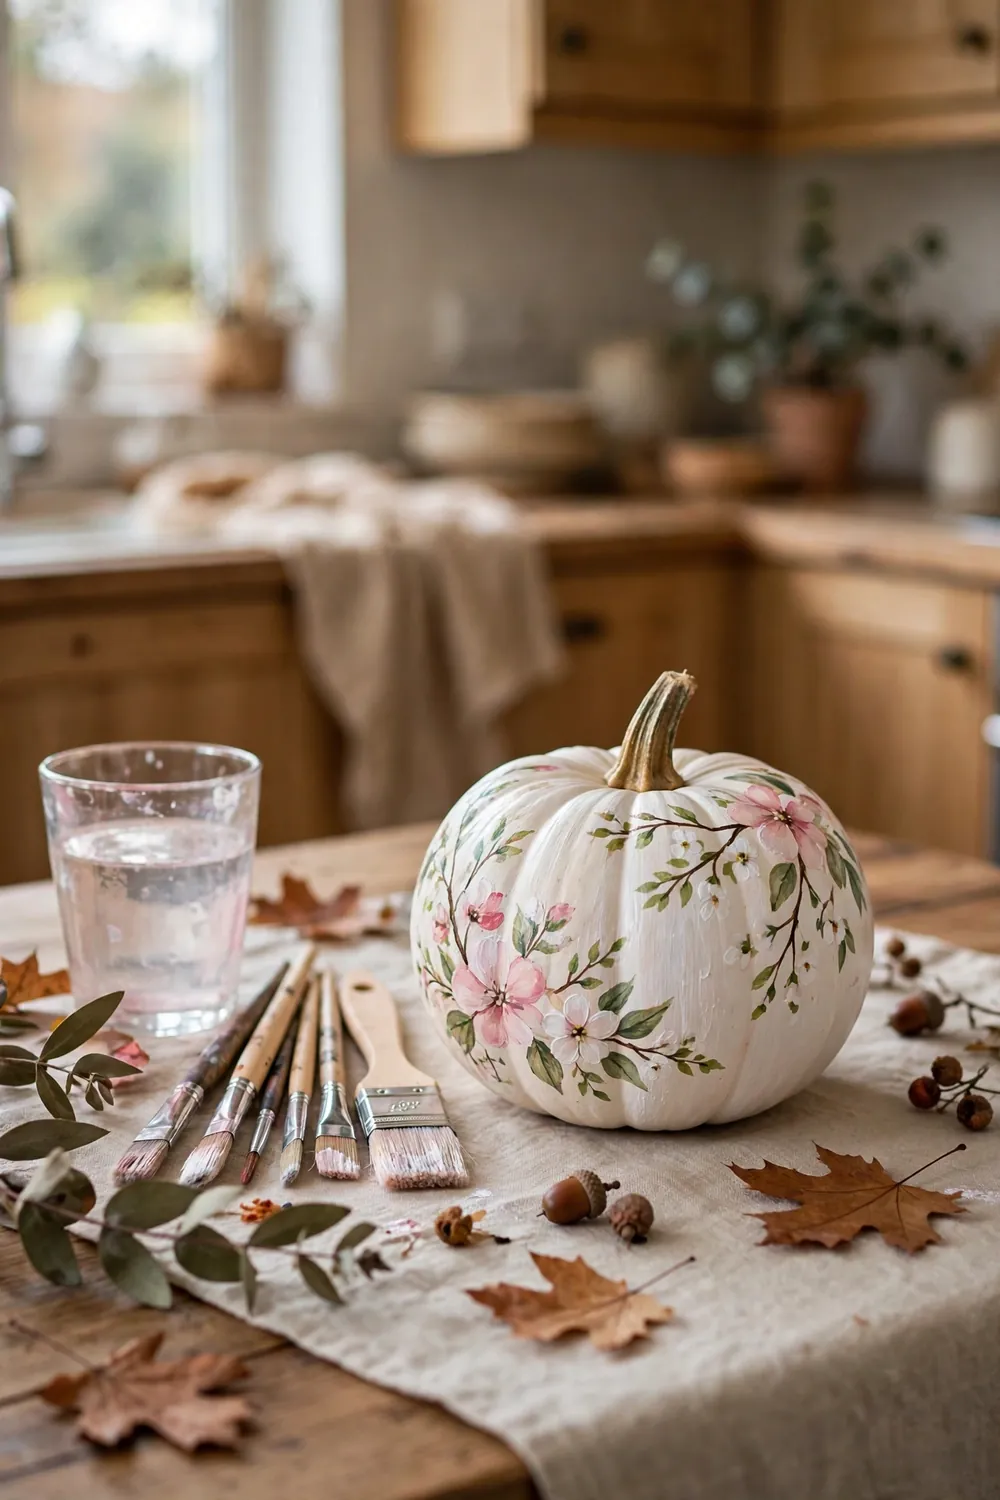
A white pumpkin makes the best canvas for painted flowers. Simple petal shapes in pink, rust, and sage read as florals even without fine detail. A light pencil sketch helps place the flowers before you paint.
Start with the largest flowers and fill gaps with leaves and small buds. A thin brush helps with stems, but even simple strokes look charming. This design suits adults or older kids who enjoy a slower craft. Seal it with a clear spray so the kitchen table centerpiece lasts for weeks. Keep a damp cloth nearby to wipe the brush between colors.
4. Cute Painted Faces
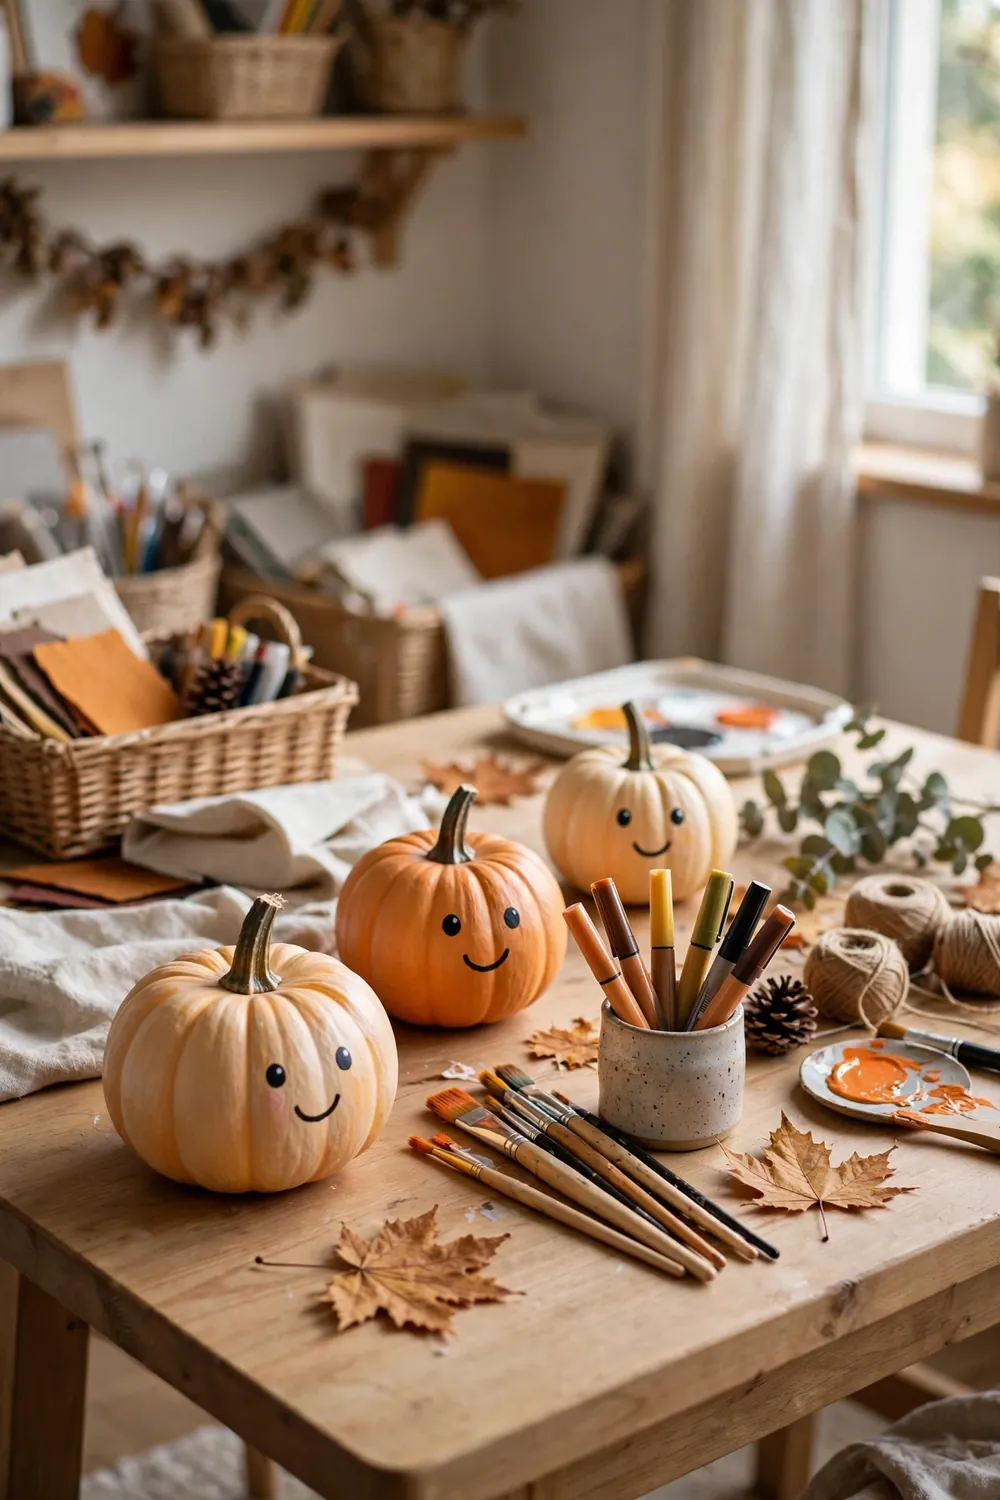
Cute faces beat scary faces for young kids. Paint simple eyes, rosy cheeks, and a smile with paint pens or a small brush. Sketch the face lightly in pencil first for the best placement.
Mini pumpkins are the right size for little hands to hold and decorate. Each child can give their pumpkin its own personality. Paint pens make details much easier than brushes for this design. The faces stay cute for weeks, and there are no sharp tools involved. A coat of clear sealer keeps little fingerprints off the paint.
5. Ombre Blend
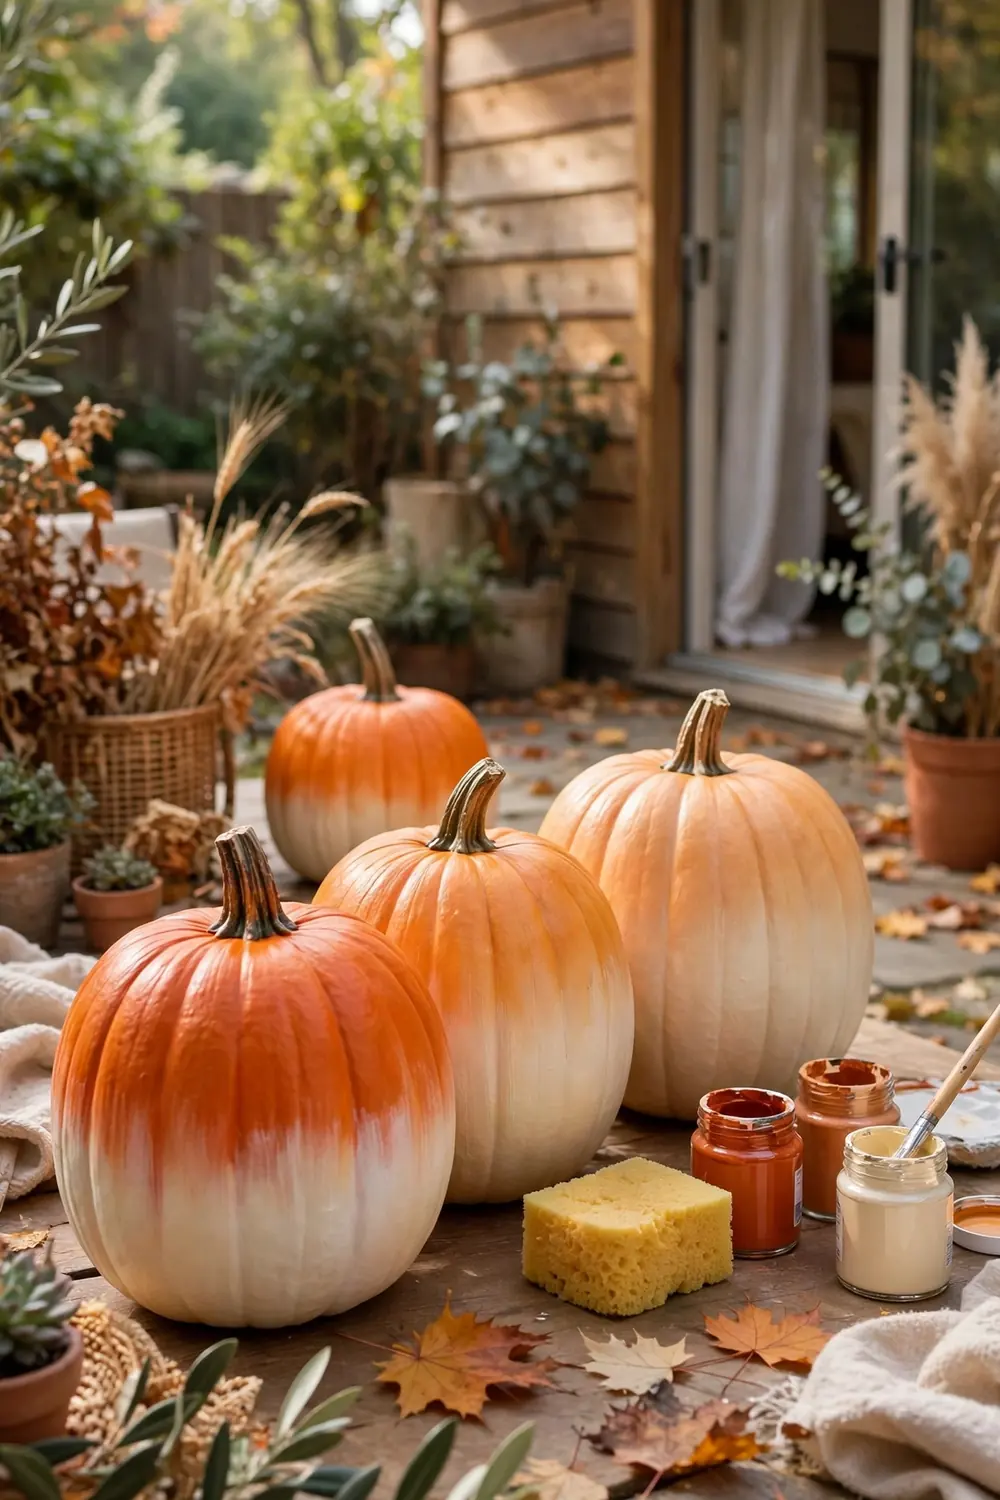
Ombre looks fancy but needs only a sponge and two paint colors. Dab the darker color at the bottom and blend upward into the lighter shade. Test the blend on paper first to find your favorite color mix.
Work while the paint is wet so the colors melt together. A dry sponge softens any harsh line between the shades. Terracotta fading to cream suits fall perfectly. Display the finished pumpkins on the back patio where the gradient catches the light. Stand the pumpkin on a jar while it dries for easy handling.
6. Modern Geometric
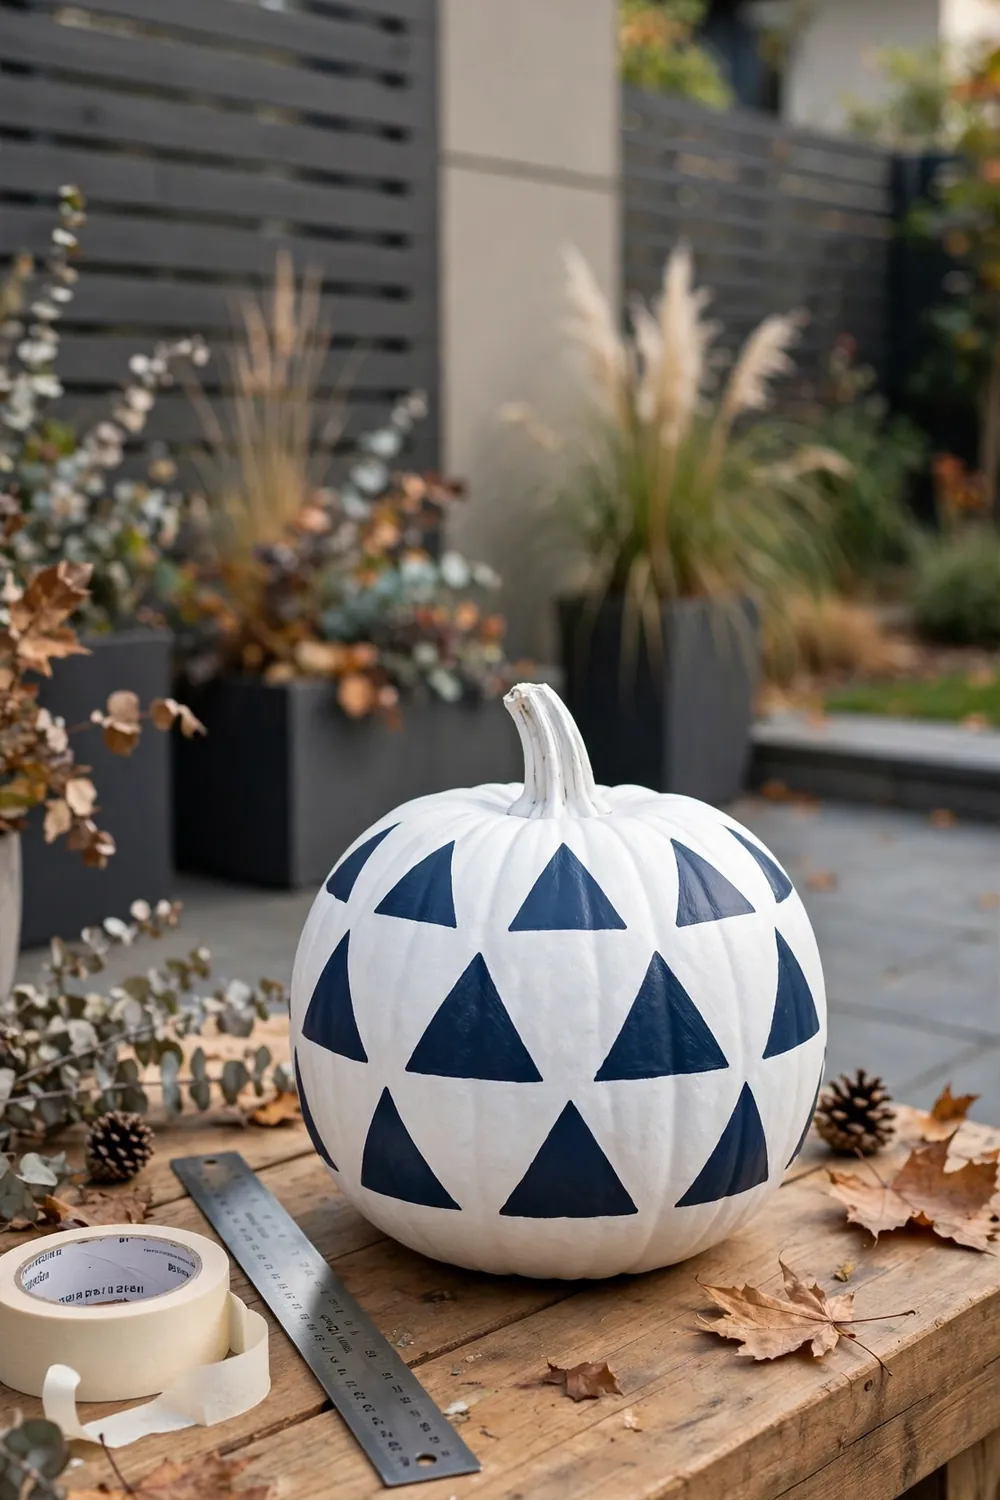
Geometric designs suit modern fall decor. Use painter’s tape to block out triangles, diamonds, or chevrons on a white pumpkin. Plan the pattern on paper so the shapes space out evenly.
Navy shapes on white look crisp and graphic. Gold shapes feel warmer and more festive for the season. Keep the pattern simple and repeat it around the pumpkin. The tape edges give you sharp lines with almost no artistic skill needed. Metallic paint adds a festive glow to any geometric design. Try copper for a warm fall glow.
7. Spiderweb Design
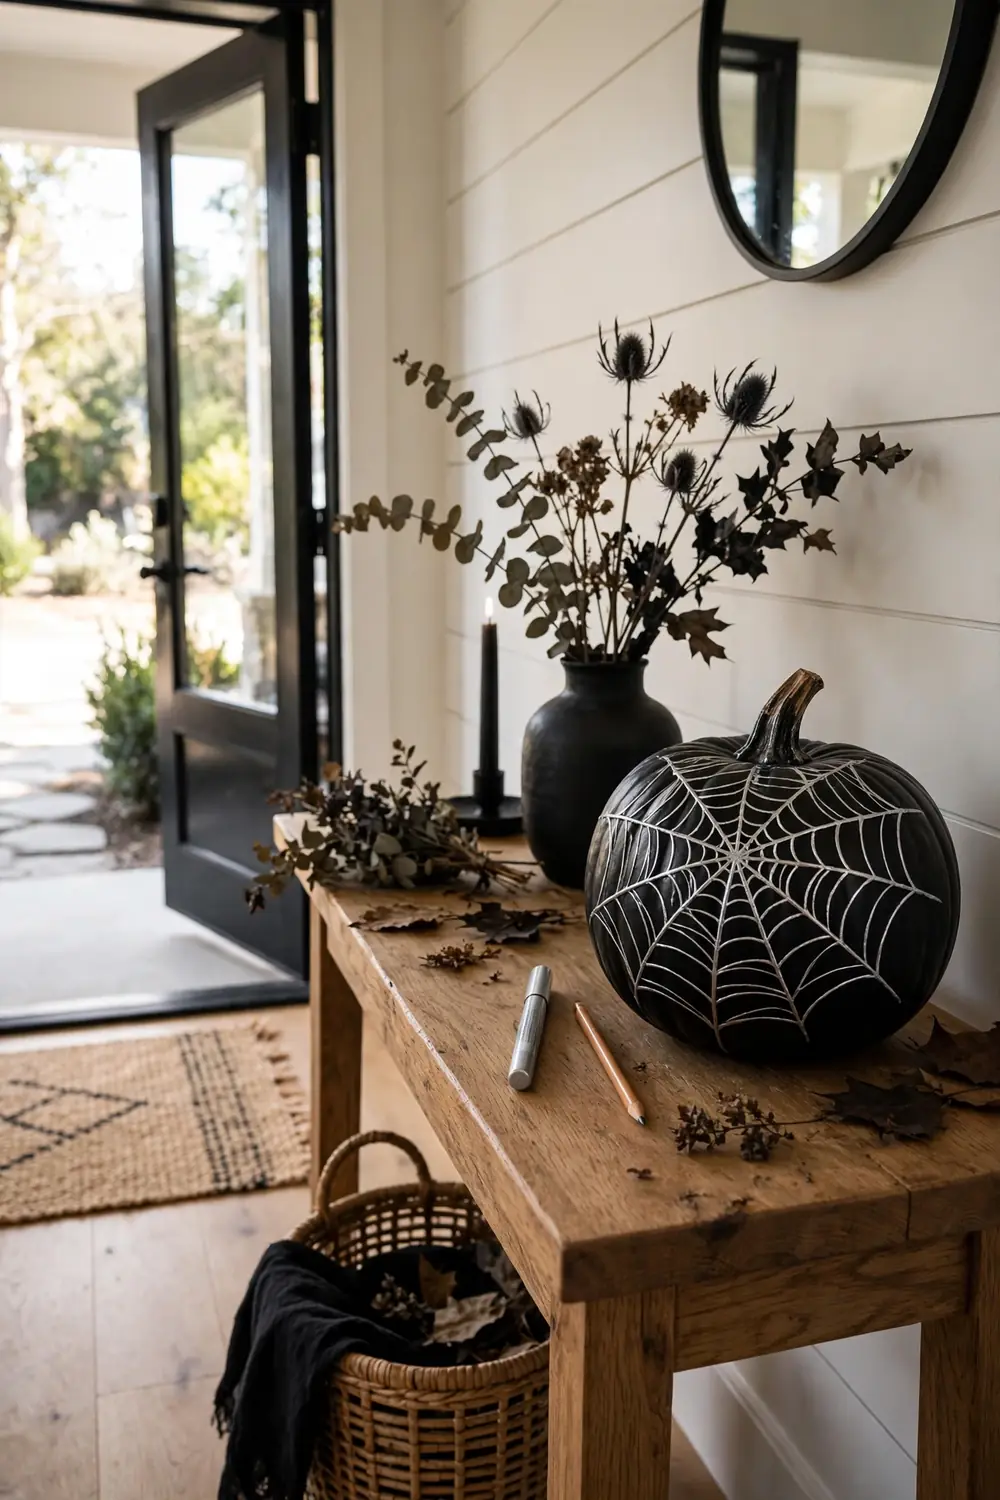
A black pumpkin with a silver web looks spooky and chic at once. Sketch the web lightly in pencil first, drawing lines out from the top like spokes. A steady hand matters more than speed for this design.
Connect the spokes with curved lines to form the web. A paint pen gives you the control this design needs. Add a small painted spider hanging from one thread for fun. This pumpkin greets trick-or-treaters in the entryway with style. Place it near the door where guests will spot the web.
8. Friendly Ghosts
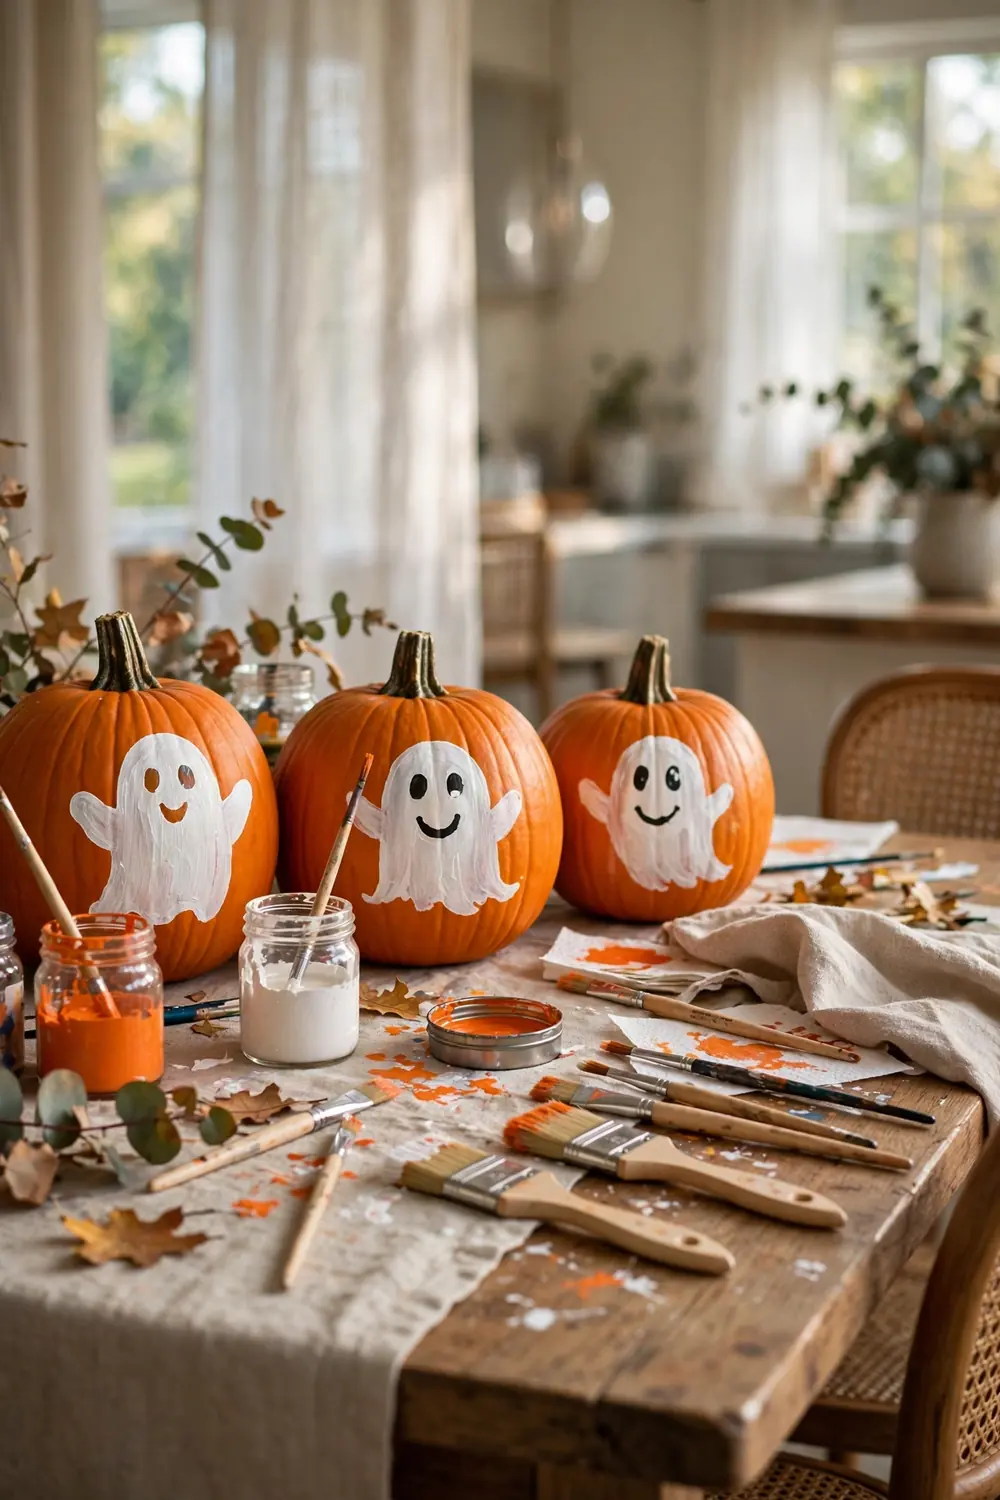
Paint white ghost shapes directly onto orange pumpkins for instant Halloween charm. Each ghost is just a rounded blob with two black eyes. Vary the ghost sizes so the group looks playful and natural.
Let kids paint their own ghosts in different sizes. The wobblier the shape, the cuter the ghost looks. Group three or four ghost pumpkins together on the dining table. They make a festive centerpiece that takes almost no time. Add tiny arms to a few ghosts for extra personality. They look cute floating across the pumpkin.
9. Pressed Leaf Prints
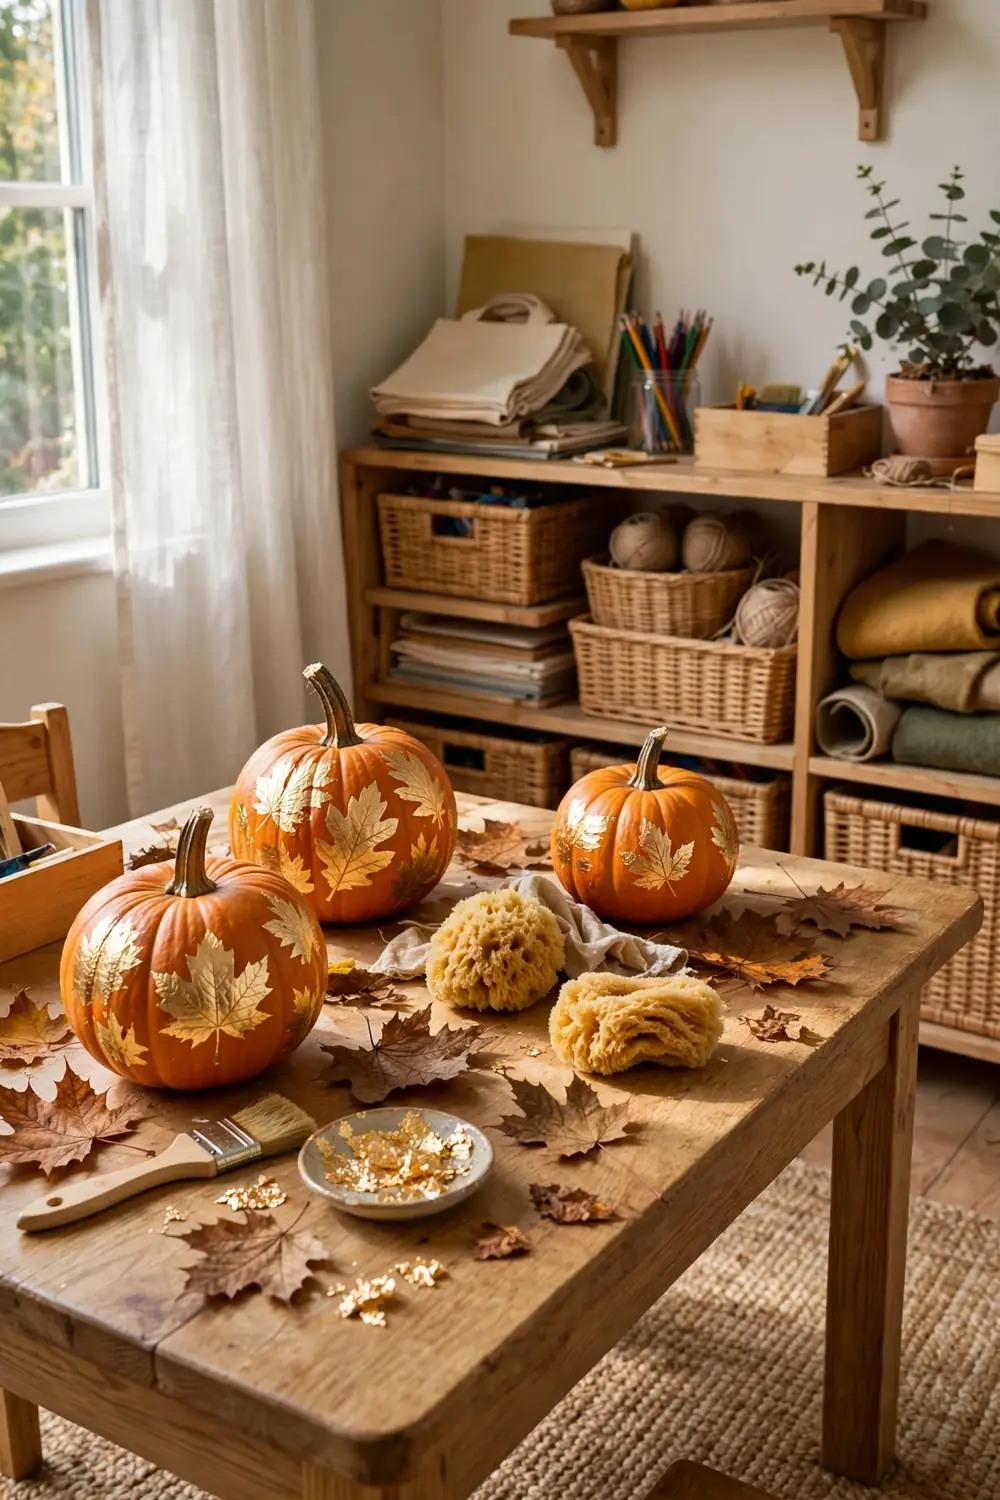
Real leaves make wonderful stamps. Brush gold or copper paint onto a leaf, press it onto the pumpkin, and lift it away gently. Fresh leaves stamp better than dry, brittle ones.
Maple and oak leaves give the prettiest shapes. Kids love hunting for the perfect leaf in the yard first. Overlap a few prints in different metallic shades for depth. This nature craft connects the outdoors with your fall decor. Gold paint shows up best on deep orange pumpkins. Copper and bronze prints look rich too.
10. Gold Accents
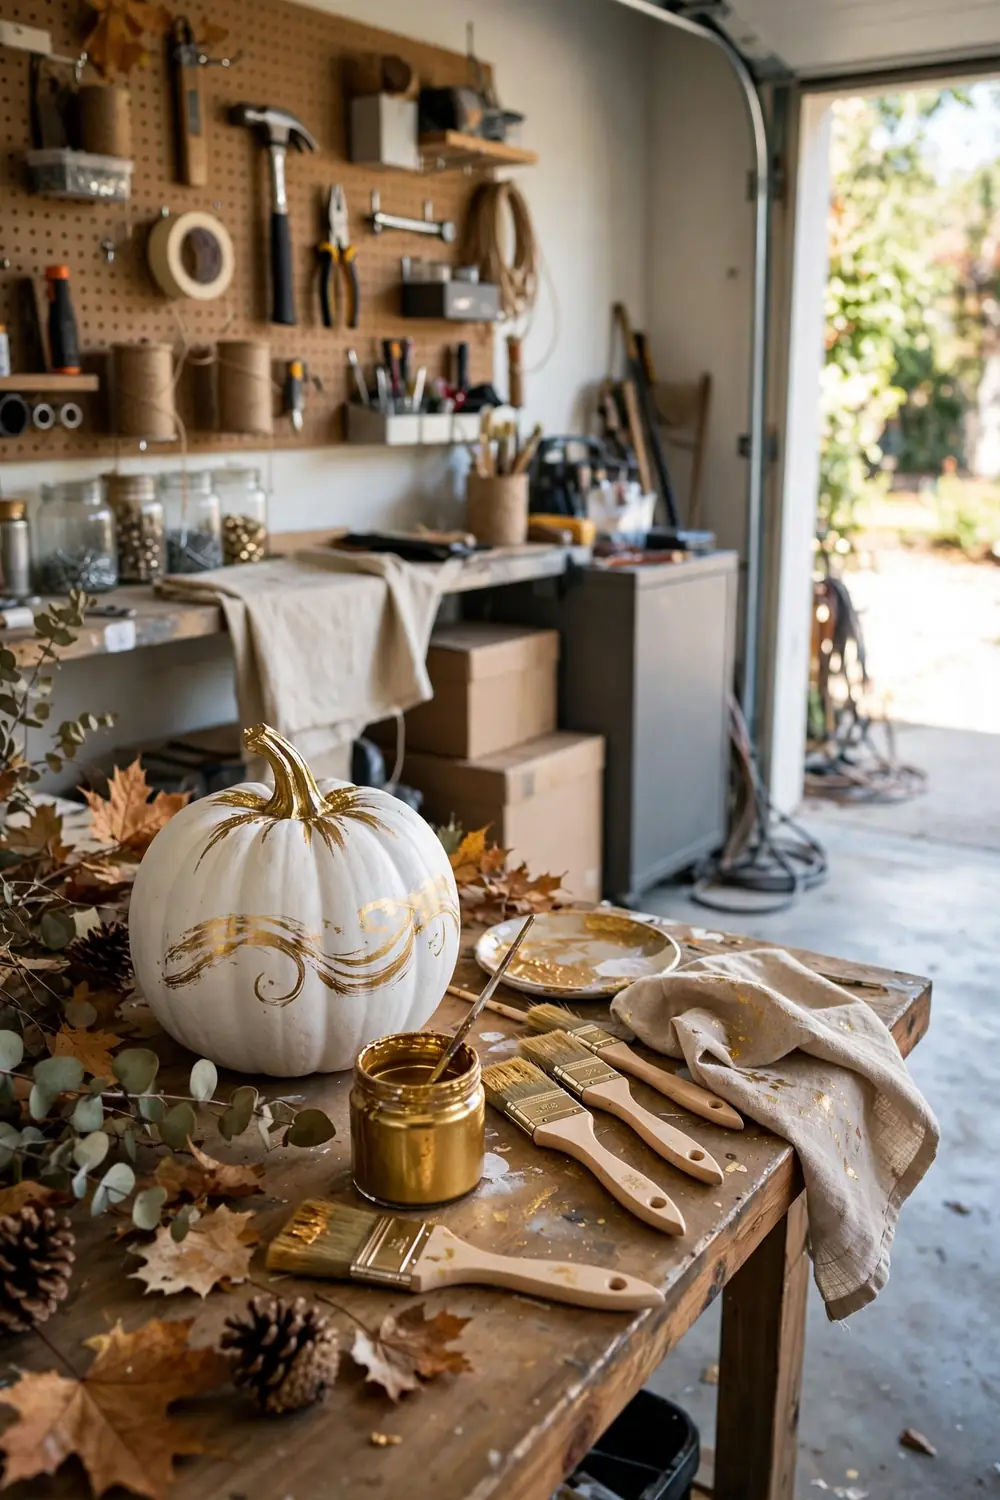
Gold paint turns a plain white pumpkin into something elegant. Paint the stem gold first, then add bands, dots, or a simple border. Stir metallic paint well since the shimmer settles at the bottom.
Metallic craft paint works best and needs only one or two coats. It catches the light in a way flat paint cannot. Keep the design minimal for the most high-end look. One gold pumpkin among plain ones makes a striking display. Pair it with plain white pumpkins for a chic display.
11. Checkerboard Pattern
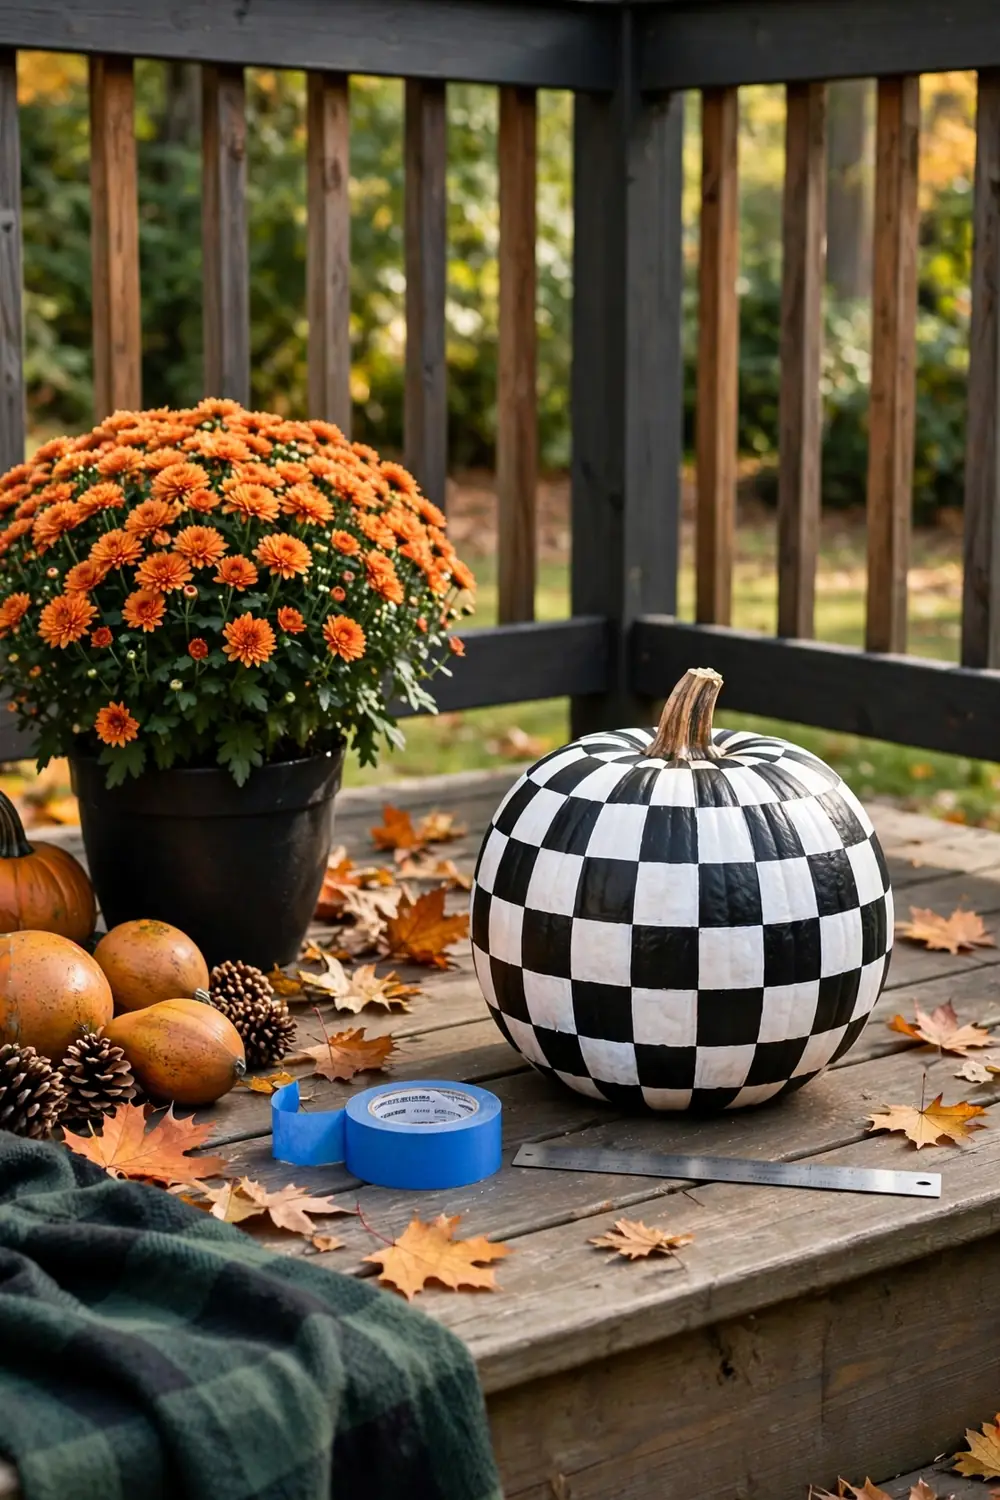
Checkerboard looks impressive but follows a simple grid. Mark even squares with a ruler and tape off alternating ones. A pencil grid keeps every square the same size.
Black and white gives the boldest graphic look. Orange and cream squares feel softer and more seasonal. Take your time with the grid since straight lines sell the design. The finished pumpkin looks like a piece of pop art. Small pumpkins suit this pattern since the grid stays simple. Large pumpkins need a finer grid and more patience.
12. Painted Black Cats
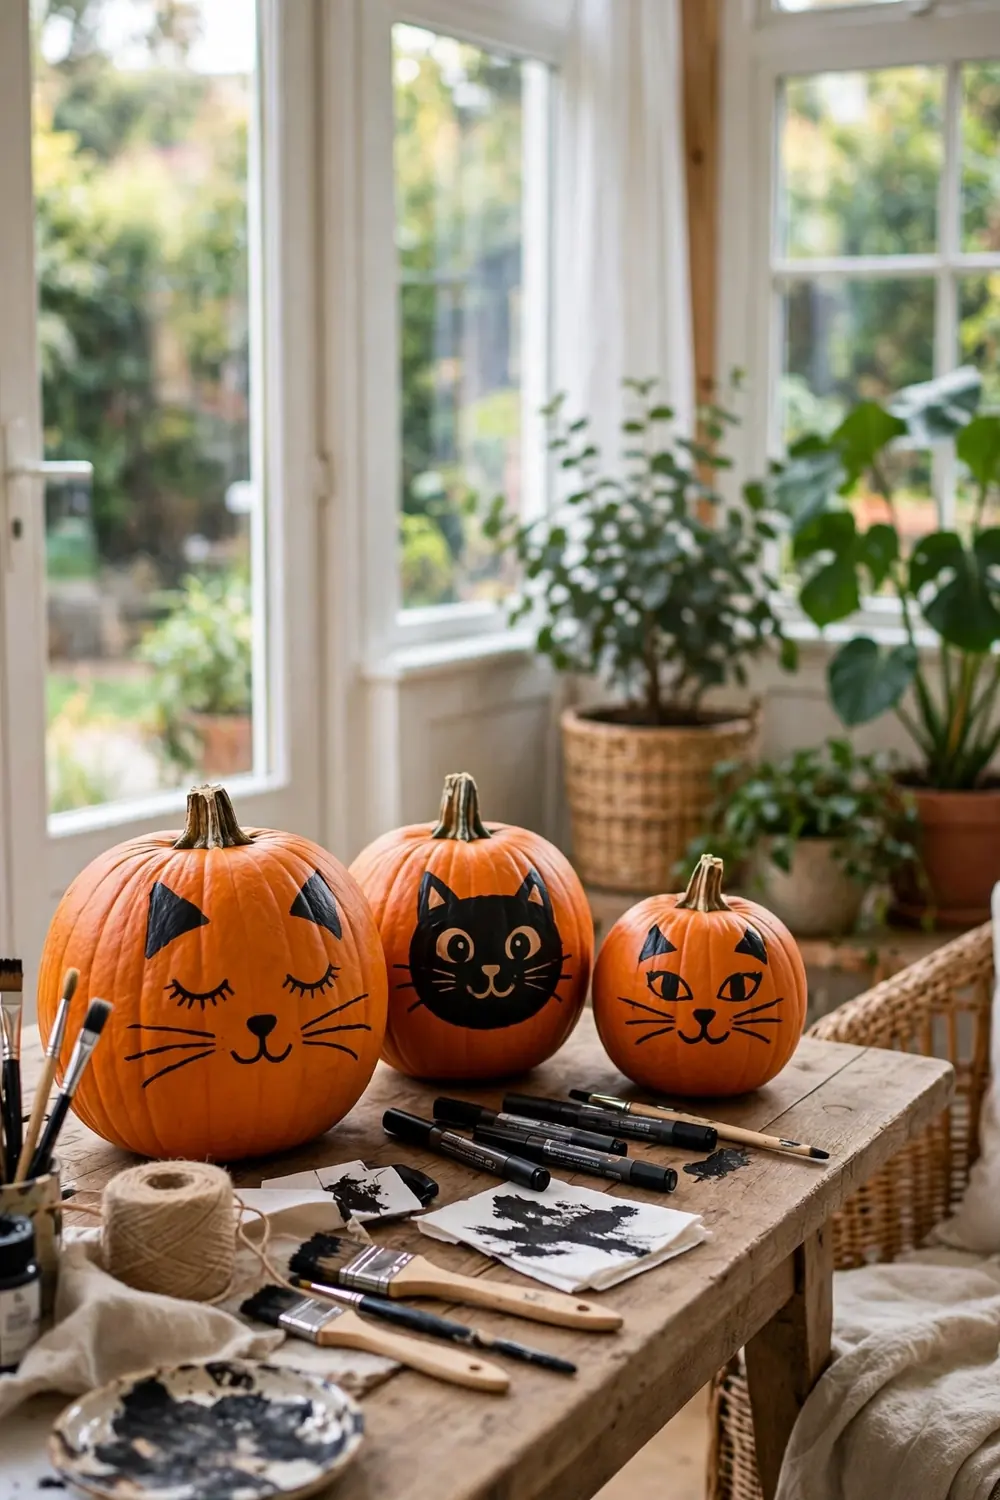
Black cats and Halloween go together perfectly. Paint a black oval face on an orange pumpkin, then add ears, eyes, and whiskers. Practice the face on paper before painting the pumpkin.
Cut triangle ears from black paper and glue them on top for a 3D touch. Painted ears work too if you prefer. Use paint pens for the whiskers and eyes since they need thin lines. These pumpkins look adorable lined up in the sunroom. Green eyes give the cats a classic Halloween look. Add pink inner ears for a sweet touch.
13. Marbled Swirls
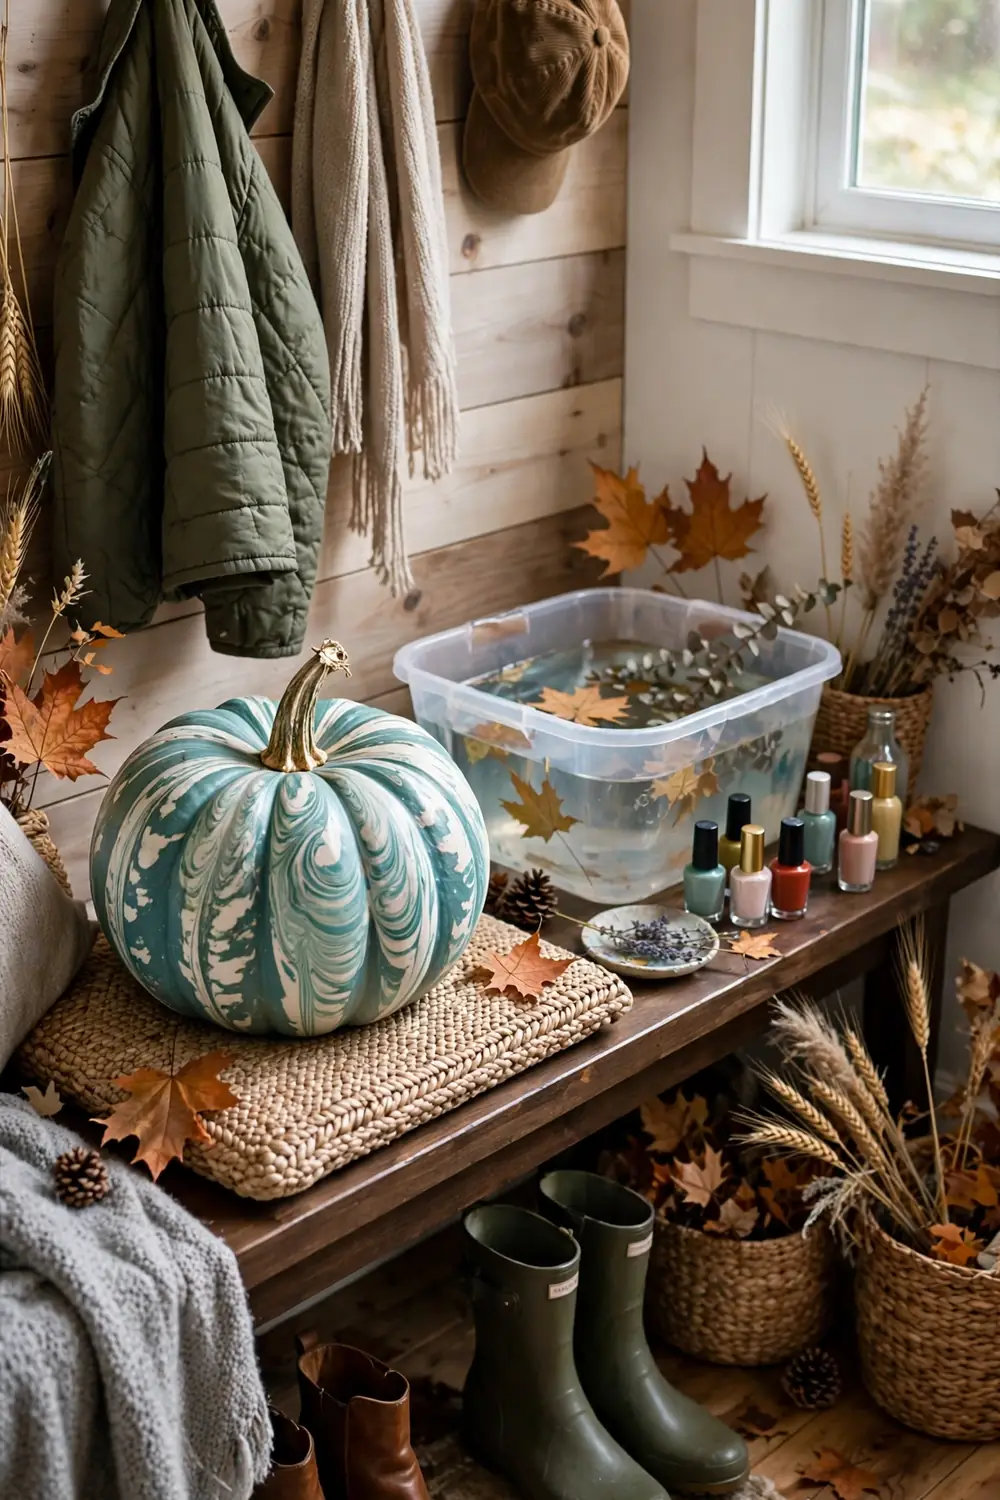
Water marbling sounds fancy but takes five minutes. Drip nail polish into a tub of water, swirl it with a stick, and dip the pumpkin. Use an old tub you do not mind staining with polish.
Teal and white swirls look fresh and modern. Pink and gold feel warm and festive for fall. Work fast since the polish skins over quickly in water. Every dip makes a one-of-a-kind pattern you cannot repeat. Dip only halfway for a half-marbled, half-plain effect. Rotate the pumpkin to marble all sides evenly.
14. Painted Monogram
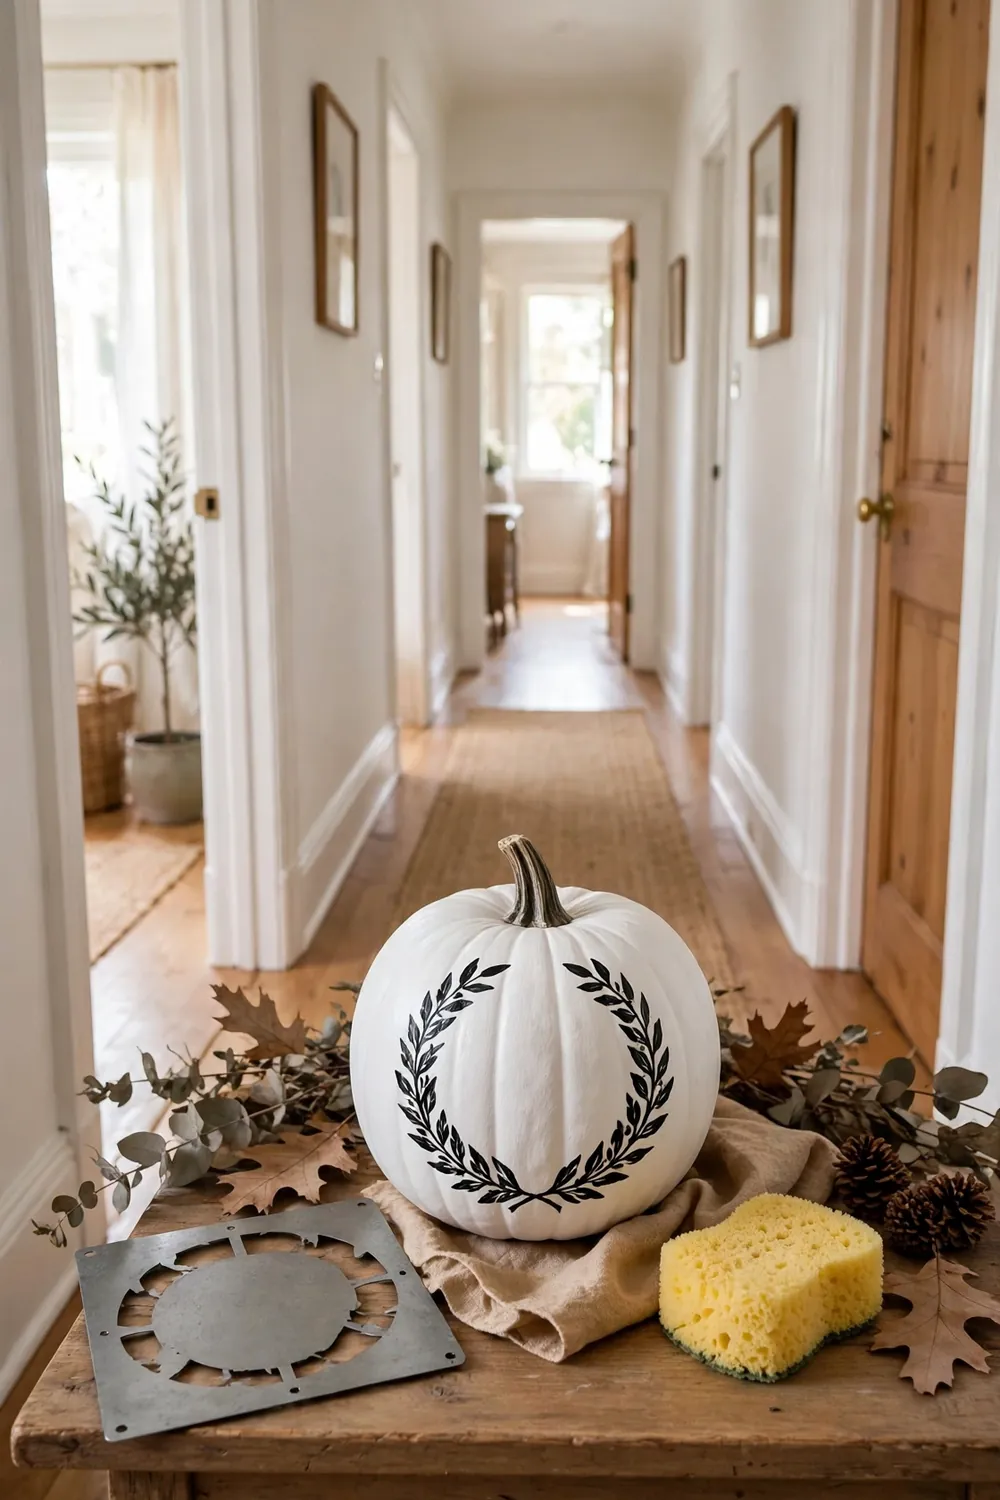
A monogram makes fall decor feel personal. Stencil your family initial onto a white pumpkin with a sponge and craft paint. Print the letter on paper first to check the size.
Dab the sponge lightly to avoid paint bleeding under the stencil. Two thin coats look better than one thick coat. Add a painted laurel wreath around the letter for extra charm. This pumpkin looks polished on a hallway console all season. A burlap bow on the stem adds a finished touch. Tie the bow with thin wire for a neat shape.
15. Rainbow Stripes
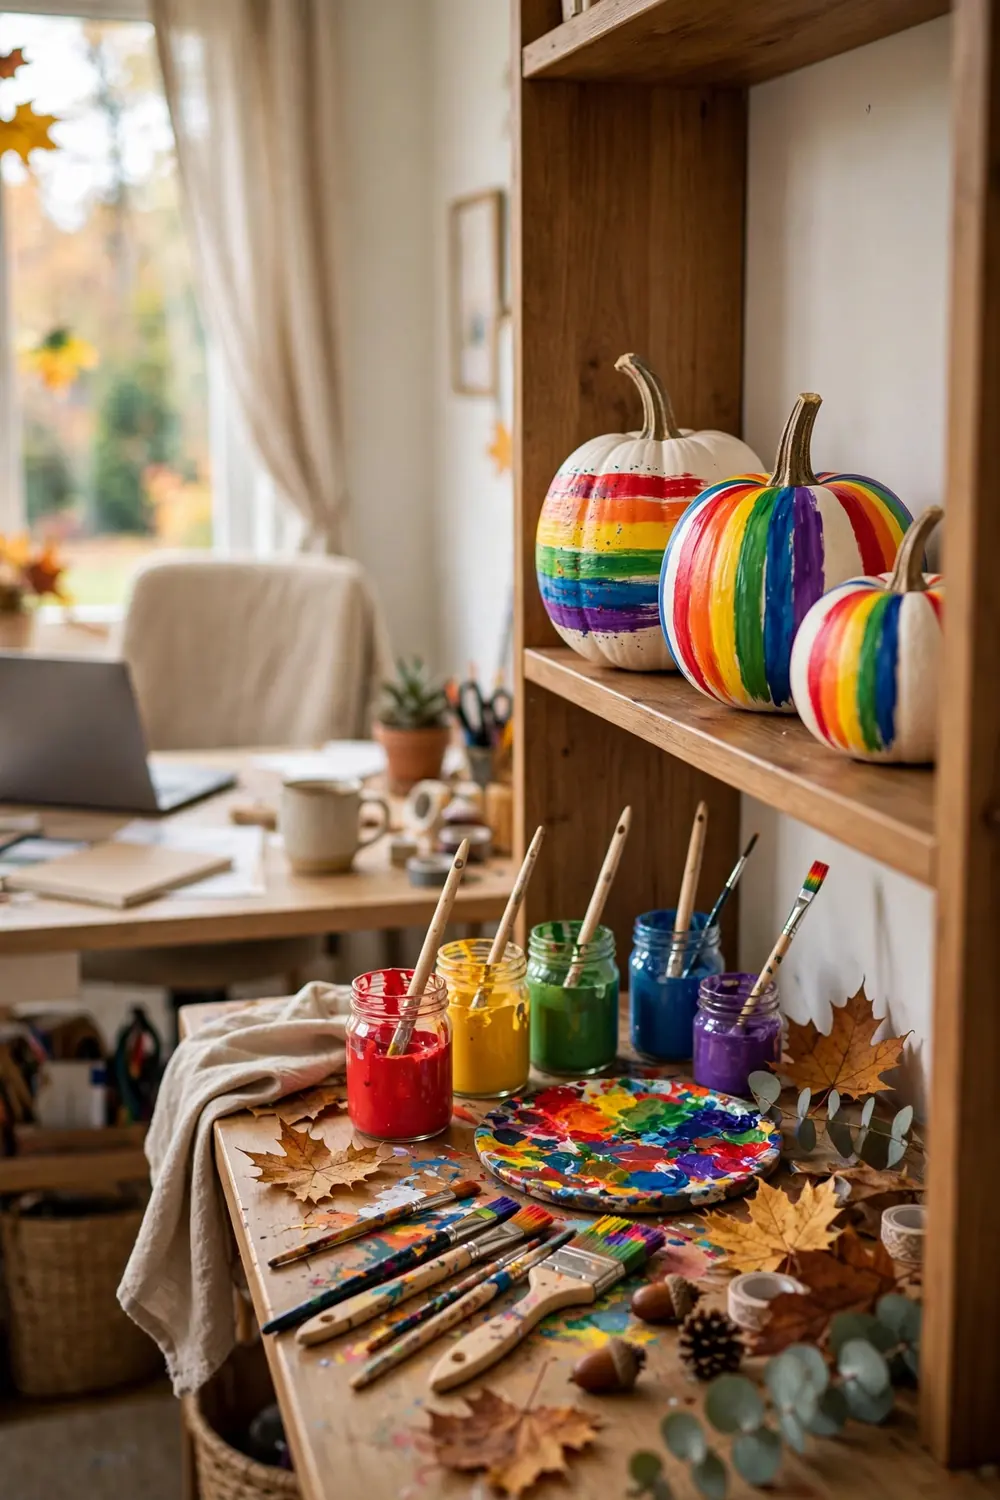
Rainbows suit fall too. Paint bright stripes around a white pumpkin for a cheerful fall twist. White pumpkins make rainbow colors pop the most.
Let each color dry before adding the next so the stripes stay crisp. Kids can each paint one stripe of the rainbow. These happy pumpkins brighten a home office shelf or a playroom. They prove fall decor does not have to be orange. Outline each stripe in white for a candy-bright look. Let kids pick their own stripe colors for fun.
16. Starry Night
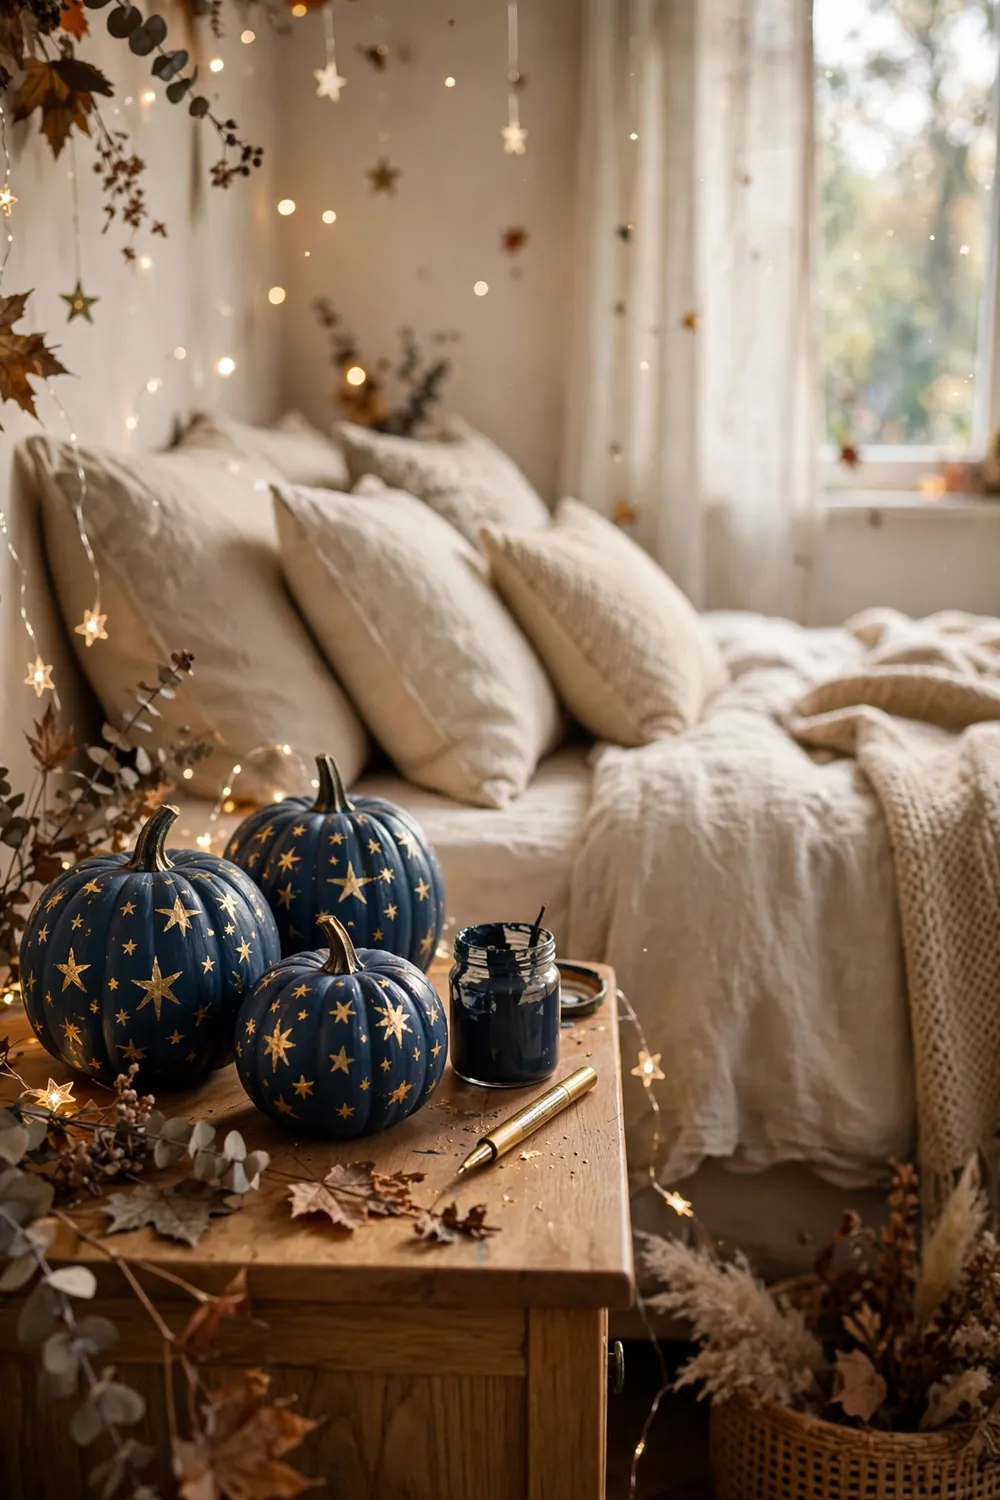
Paint pumpkins deep navy, then dot gold stars across the surface with a paint pen. The contrast looks magical. A dark base coat makes the gold stars shine brighter.
Vary the star sizes and add tiny dots as distant stars. A few larger stars become the focal points. These pumpkins glow beautifully in lamplight. They make dreamy fall decor for a bedroom mantel or shelf. Add a crescent moon among the stars for charm. A few silver dots add depth to the night sky design.
17. Fall Plaid
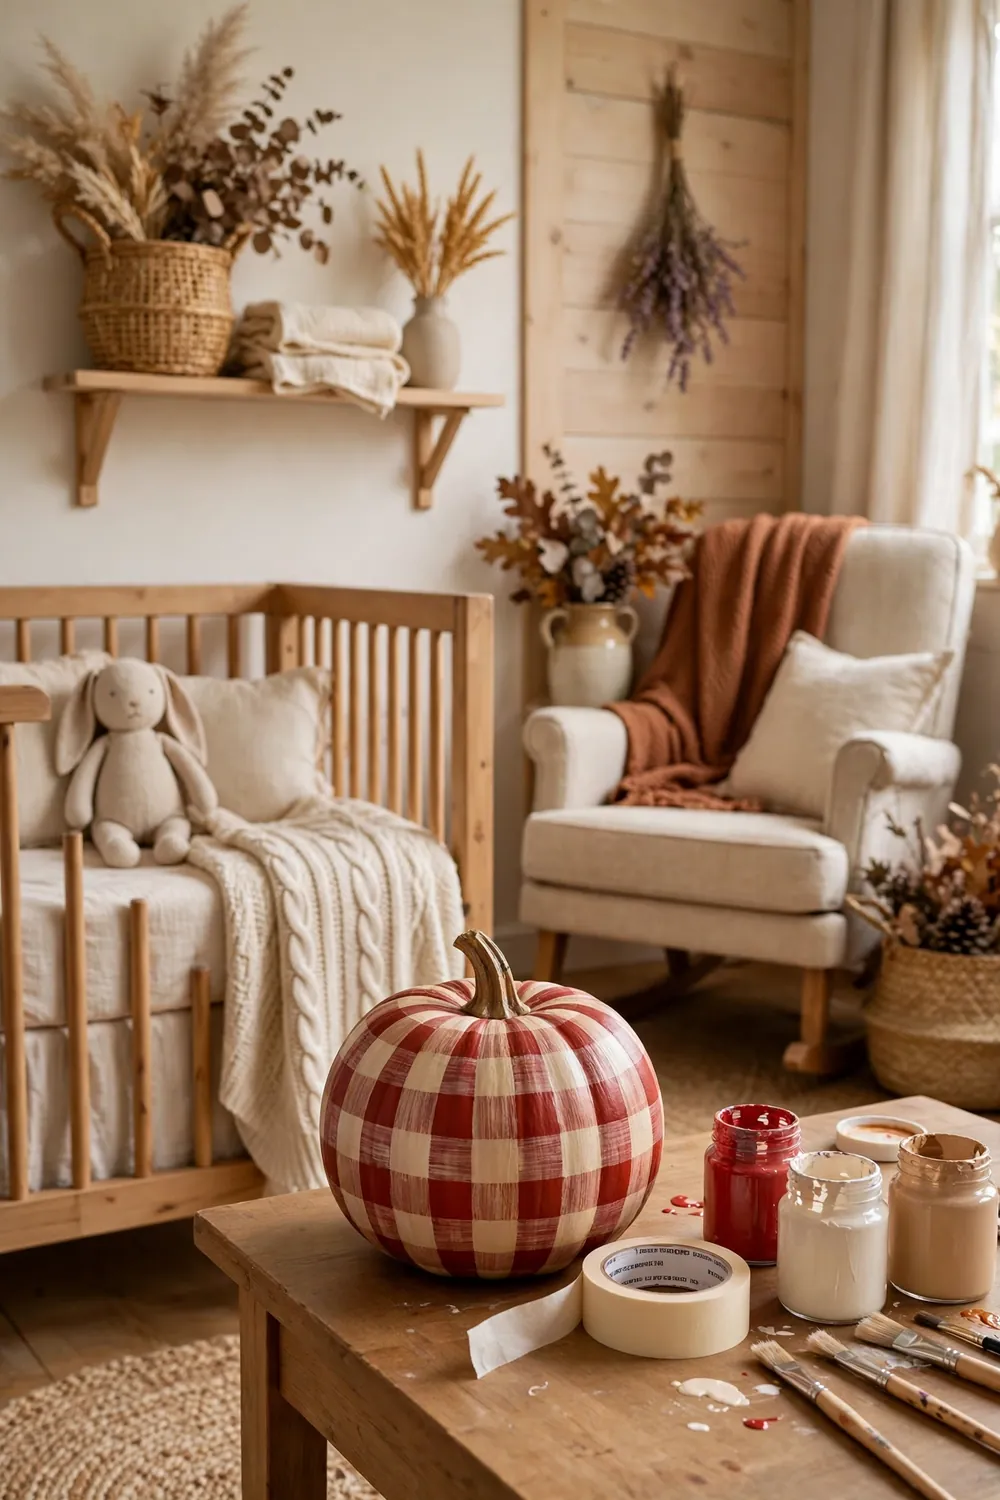
Plaid brings cozy flannel vibes to pumpkin decorating. Paint a cream base, then add wide red stripes both directions with tape. Let the base stripes dry fully before adding the thin lines.
Layer thin dark lines over the wide stripes for the classic plaid effect. The grid does not need to be perfect to read as plaid. This pattern suits farmhouse fall decor perfectly. One plaid pumpkin adds warmth to a nursery shelf or mantel. Orange and brown plaid feels extra cozy for fall. It pairs well with knit throws and wood trays.
18. Painted Mandala
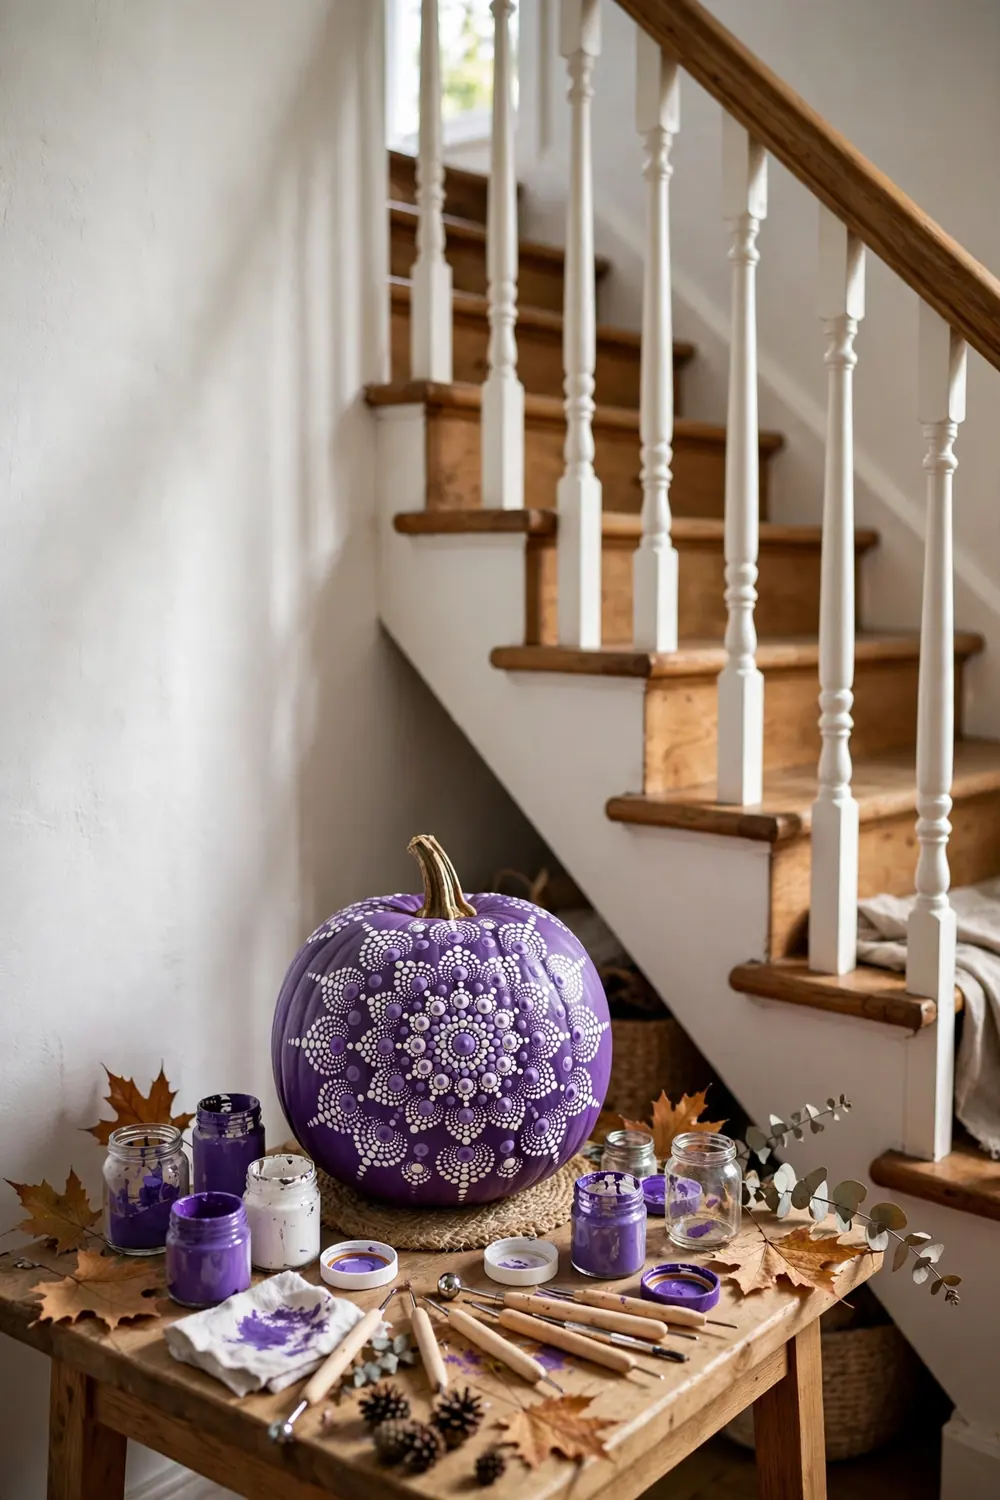
Dot mandalas look intricate but build from simple dots. Start with one dot at the top center and ring it with larger dots. A pencil dot marks the center so the rings stay even.
Dotting tools or brush ends in different sizes create the layered effect. Work outward in rings, alternating colors. Purple and white make a gorgeous combo on an orange base. This meditative craft suits a quiet afternoon perfectly. Seal the finished mandala to protect the tiny dots. Display it where guests can admire the detail.
19. Confetti Dots
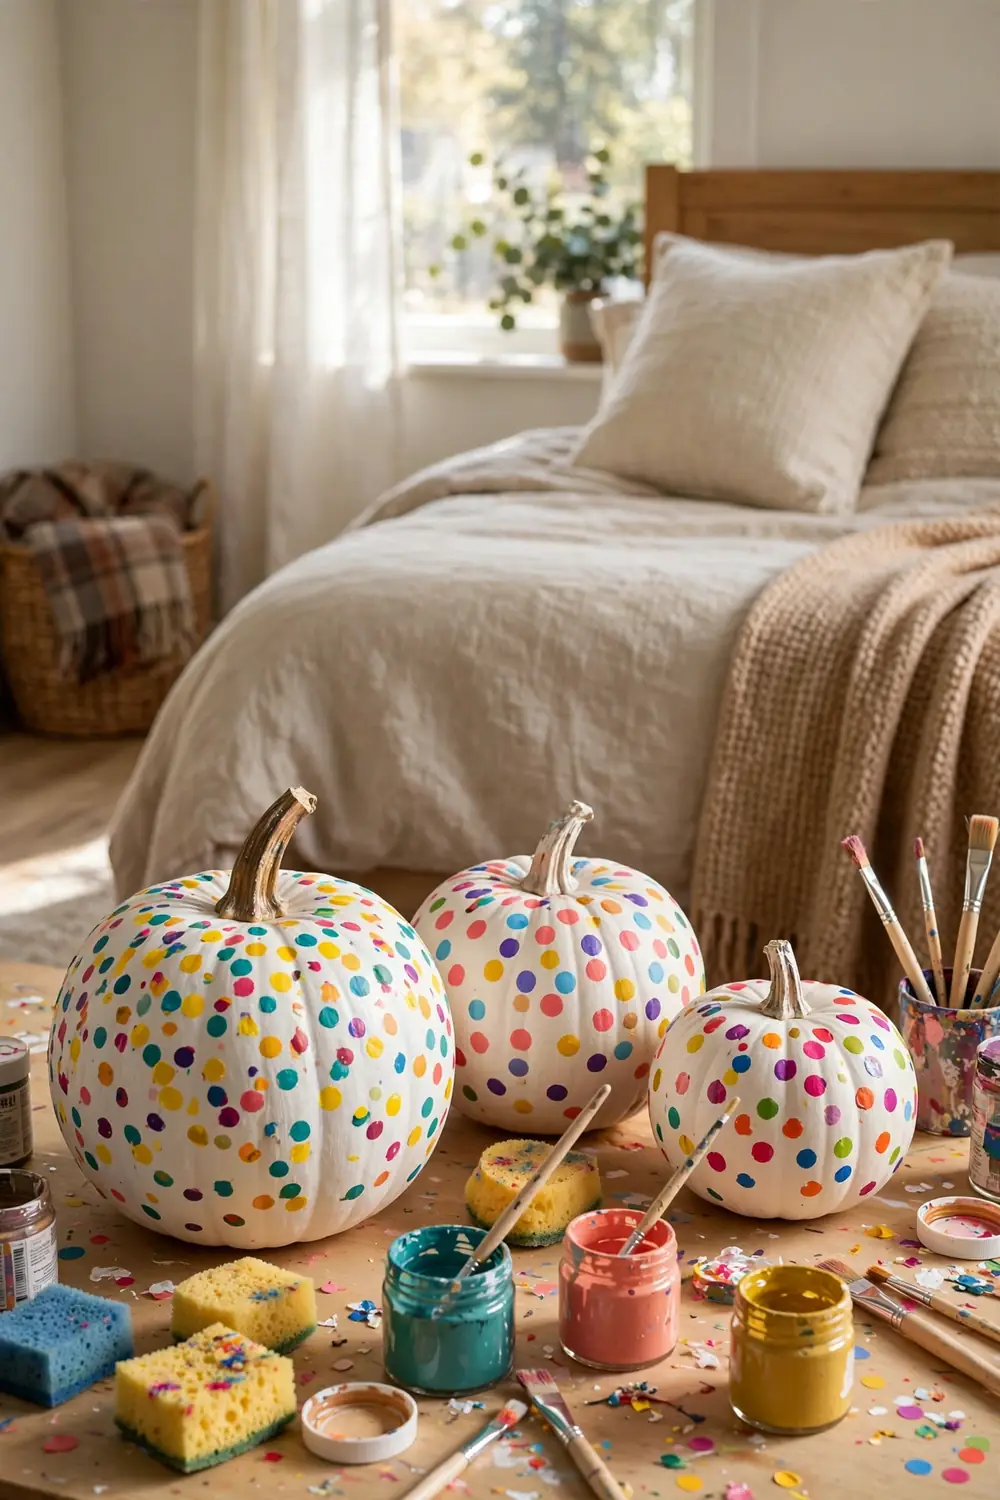
Confetti dots turn pumpkins into a celebration. Dab multicolor dots all over a white pumpkin with sponges or fingertips. Use at least four colors for a true confetti feel.
There is no wrong way to place the dots, which makes this perfect for toddlers, and more colors mean more fun. These cheerful pumpkins brighten a guest room or a fall party table. They feel festive from September through November. Glitter paint adds sparkle to a few of the dots. Mix matte and glitter dots for fun texture.
Making It Last Through the Season
A painted pumpkin can last the whole season with a little care. Keep it out of direct rain, since sitting water softens the paint and the skin underneath.
Bring painted pumpkins indoors during heavy storms and freezing nights, since a covered porch is the ideal spot because it shows them off while shielding them from weather.
If the paint chips, touch it up with the original color and a small brush. A clear acrylic sealer sprayed at the start prevents most chips and adds a nice sheen.
Wipe the pumpkin with a dry cloth now and then to remove dust. With these simple steps, your designs will look fresh from early fall through Thanksgiving.
Frequently Asked Questions
What kind of paint works best on pumpkins?
Acrylic craft paint is the best choice for pumpkins. It sticks well to the skin, dries fast, and comes in every color, so use two thin coats for solid coverage. Avoid watercolor or washable kids paint, since those wipe right off.
Is pumpkin painting safe for toddlers?
Yes, pumpkin painting is one of the safest fall crafts for toddlers. There are no sharp tools and no messy guts. Use non-toxic washable paint and smocks, and let them dot and smear freely. Mini pumpkins fit small hands best.
How long do painted pumpkins last?
Painted pumpkins last much longer than carved ones, often four to eight weeks. Keep them dry and out of freezing weather for the best results. A clear sealer adds extra protection. Once the pumpkin softens, compost it and paint a new one.
Should a painted pumpkin be sealed?
Sealing is worth the extra step for pumpkins displayed outdoors. A clear acrylic sealer spray protects the paint from rain and sun. Apply it in a ventilated area after the paint dries fully. One light coat is usually enough.
One More Thing
No-carve pumpkin painting proves that fall decorating does not need sharp tools or a big mess. From simple dots to detailed mandalas, there is a design here for every age and every style of home.
Pick up some acrylic paint this weekend and turn an ordinary pumpkin into something special. Pin these ideas so your no-carve pumpkins are ready when October arrives.