
How to Make Bath Bombs at Home
Store-bought bath bombs look appealing, but they usually cost too much. A single bomb can cost six dollars or more. Many crack inside the bag before you ever use them. You can make better ones at home for much less with a short list of simple ingredients.
This DIY bath bombs tutorial shares a simple bath bomb recipe that holds together nicely. You combine the dry ingredients, stir in a little oil and fragrance, and press the mixture into round molds. The process takes about 45 minutes of hands-on time.
Once you master the base mixture, customizing becomes easy. Switch the essential oil, change the color, or tuck dried lavender buds into the center. Each batch makes about six round bath bombs, enough for several relaxing soaks or a thoughtful handmade gift.
Time: 45 minutes | Difficulty: Easy
What You’ll Need
- 1 cup baking soda
- 1/2 cup food-grade citric acid
- 1/2 cup fine-grain Epsom salt
- 1/2 cup cornstarch
- 3 tablespoons solid coconut oil
- 1 teaspoon water
- 10 to 15 drops skin-safe lavender essential oil
- 3 to 4 drops liquid food coloring, pastel shade (optional)
- 1 set of two-piece round bath bomb molds, 2.5 inches wide
- 1 large mixing bowl, at least 4-quart size
- 1 small microwave-safe bowl
- 1 wire whisk
- 1 spray bottle filled with witch hazel (optional)
- 1 rimmed baking sheet
- 6 small squares of tissue paper or plastic wrap, for wrapping
- 1 airtight glass jar, for storage
- 1 small gift box with ribbon (optional, for gifting)
Step 1: Measure the Dry Ingredients

Measure 1 cup of baking soda, 1/2 cup of citric acid, 1/2 cup of Epsom salt, and 1/2 cup of cornstarch into the large mixing bowl. Level each scoop with the back of a butter knife for accuracy. Exact amounts matter here, because the fizz depends on the balance between the baking soda and the citric acid.
Whisk the dry mix for one full minute. Continue until the color looks even and no lumps remain. Break up any Epsom salt clumps with your fingers first. A smooth, even base keeps the finished bombs from cracking apart.
Step 2: Melt the Oil and Mix the Wet Ingredients

Place 3 tablespoons of solid coconut oil in the small bowl. Warm it in the microwave in 15-second bursts until just melted. Let it cool for about a minute so it feels warm but not hot to the touch. Hot oil can trigger the citric acid too early.
Stir in 1 teaspoon of water plus 10 to 15 drops of lavender essential oil. Add 3 to 4 drops of food coloring if you want pastel color. Whisk gently until the color spreads through the oil in soft swirls. Keep the liquid small, since too much moisture starts the fizz early.
Step 3: Combine the Wet and Dry Mixes

Drizzle the oil mix into the dry items one spoon at a time. Whisk nonstop as you pour. Go slow here, since one big splash makes the whole bowl fizz. Pause between spoons and stir the damp spots into the dry mix.
The mix should feel like damp sand. Squeeze a handful, and it should keep its shape. If the mix falls apart, spritz it once or twice with witch hazel. If it feels wet, whisk in one more spoon of cornstarch.
Step 4: Pack the Molds Tightly
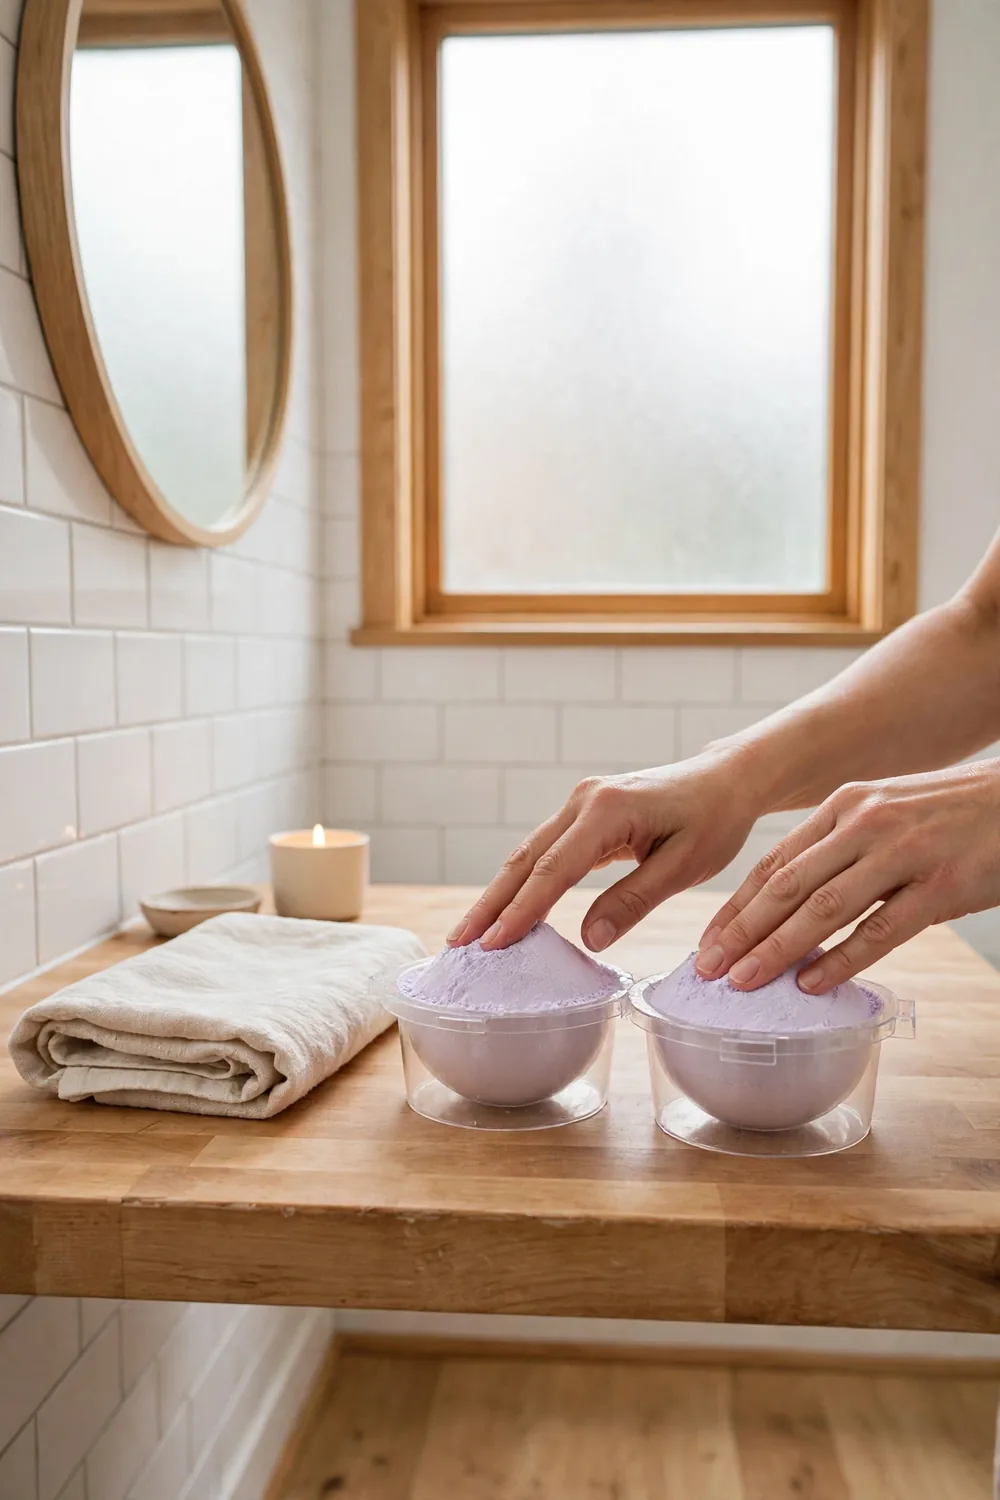
Spoon the mixture into both halves of a round mold. Heap it slightly higher than the rim of each half. Press down firmly with your thumbs until the mixture feels dense and solid. Loose packing causes most cracks, so pack with real pressure.
Rest one packed half on the counter. Press the second half on top with a gentle twist. The extra mixture mounded above each rim seals the two halves together. Wipe any loose powder from the outside of the mold with a dry cloth.
Step 5: Let the Bath Bombs Dry for 24 Hours
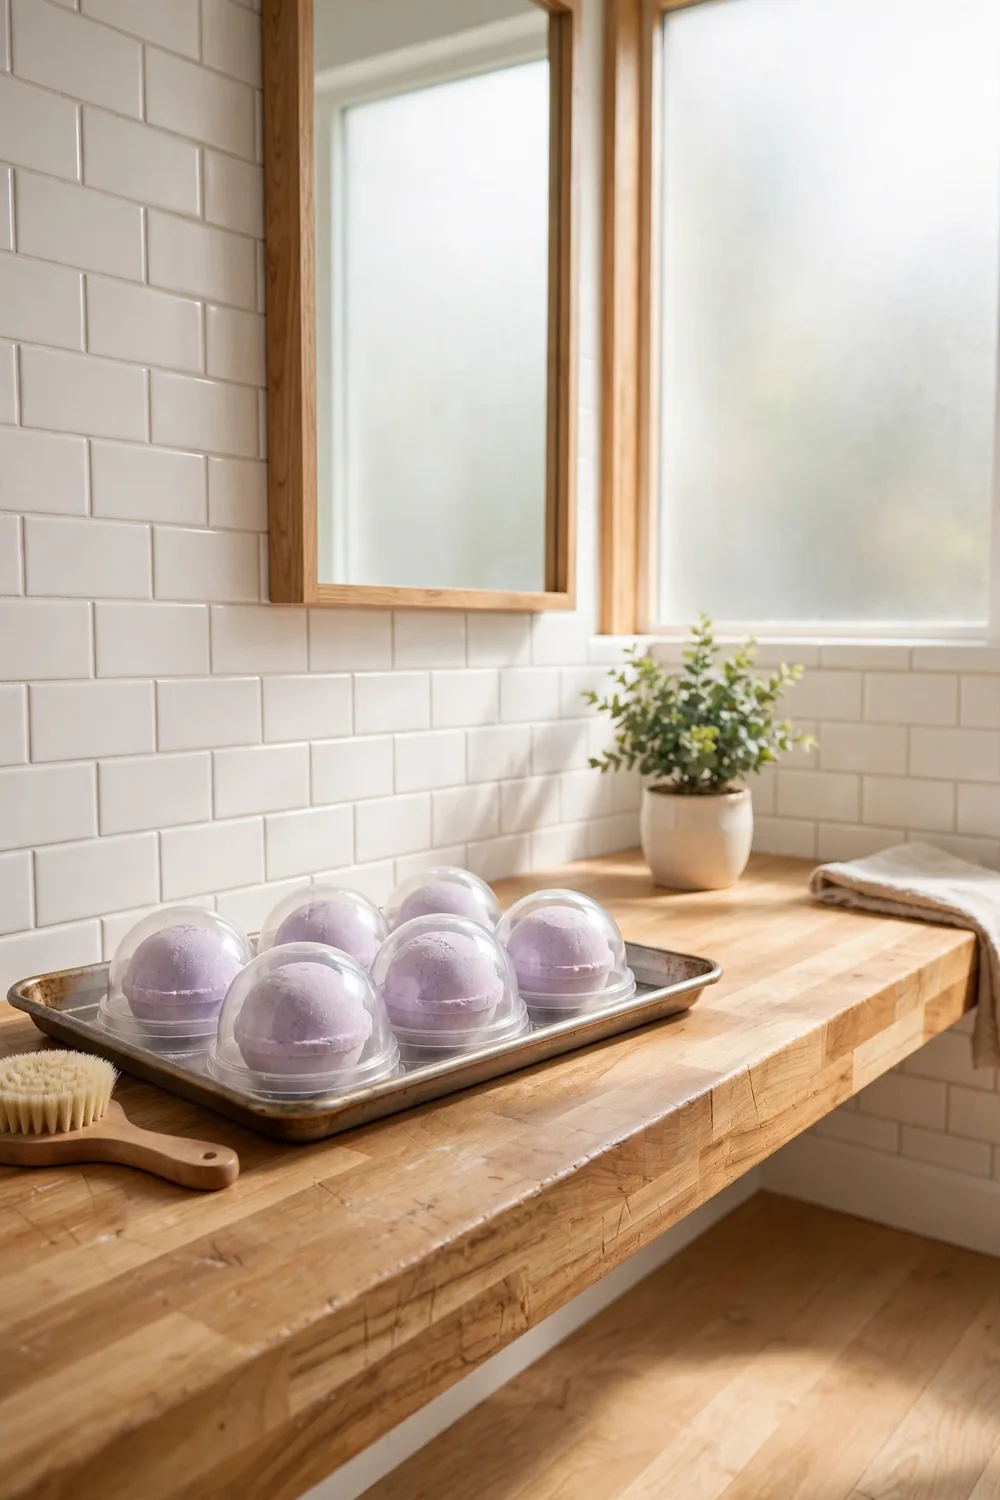
Set the filled molds on a rimmed baking sheet. Leave them alone in a cool, dry spot for 24 hours. Do not touch or move them as they set. Early movement almost always creates cracks. A kitchen counter far from the stove works well.
After 12 hours, slowly turn each mold so the base dries well. If the air in your home feels humid, add a few extra hours before moving on. Good drying gives bombs that stay whole in the tub.
Step 6: Unmold and Test the Fizz
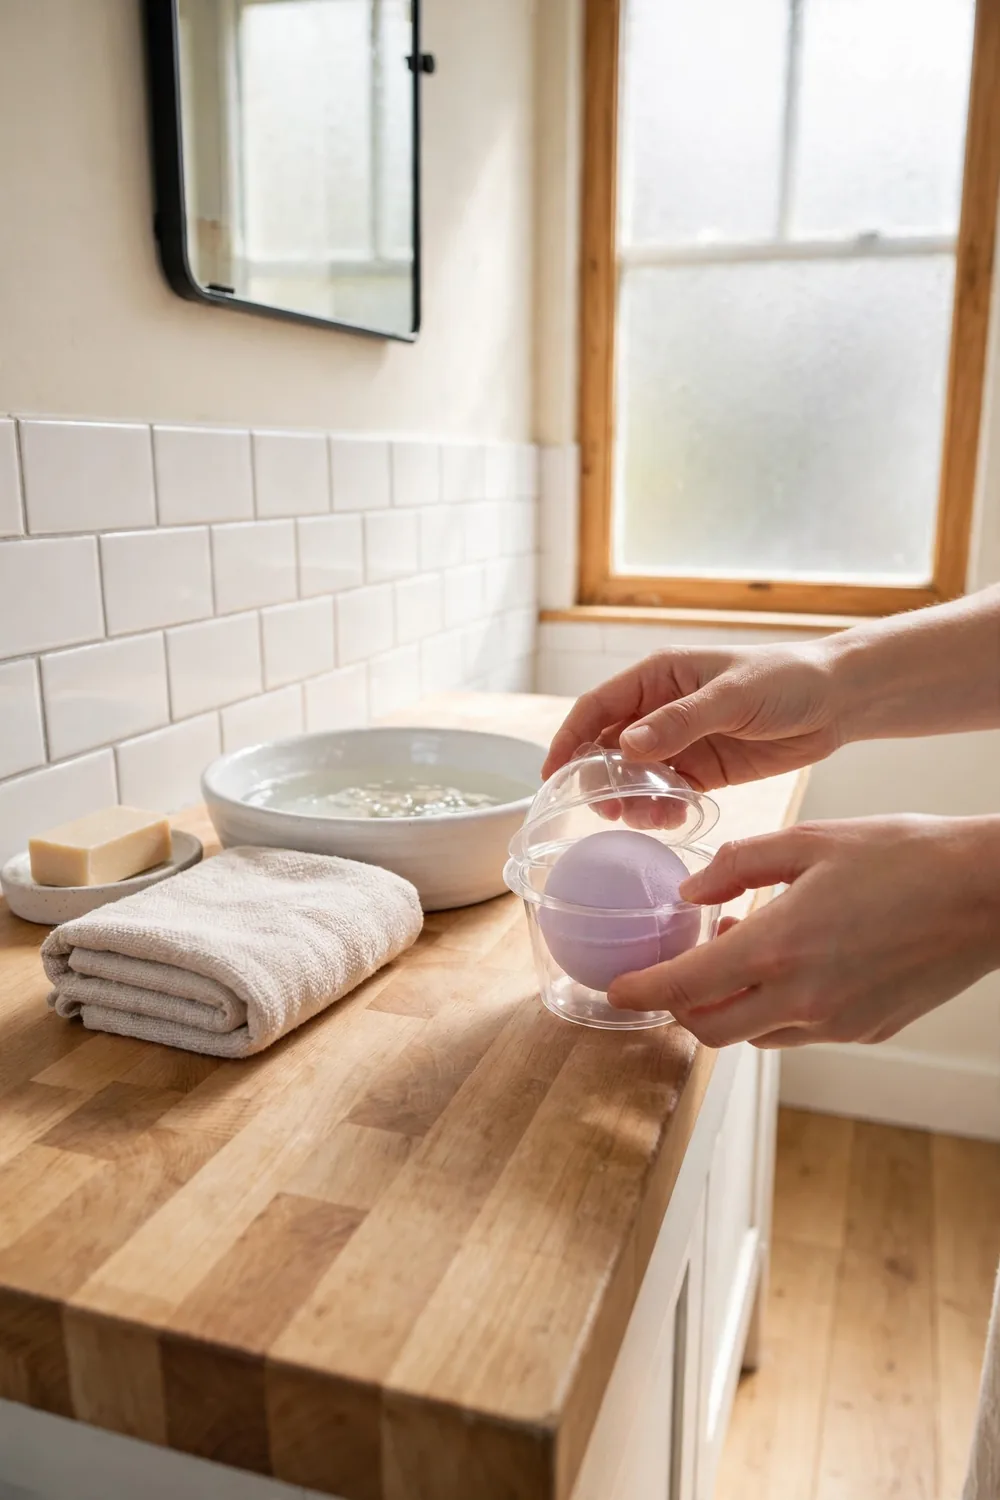
Gently twist the two mold halves apart. Lift the upper half straight off. If a bomb resists, tap the mold lightly against the counter to loosen it. Never force a stuck bomb, because that ruins the seam you packed with care.
Drop one finished bomb into a basin of warm bath water for a quick test. It should bubble steadily for two to three minutes and tint the water a soft pastel shade. Keep the scented water away from your eyes, and rinse your hands afterward.
Step 7: Wrap and Store the Finished Bombs
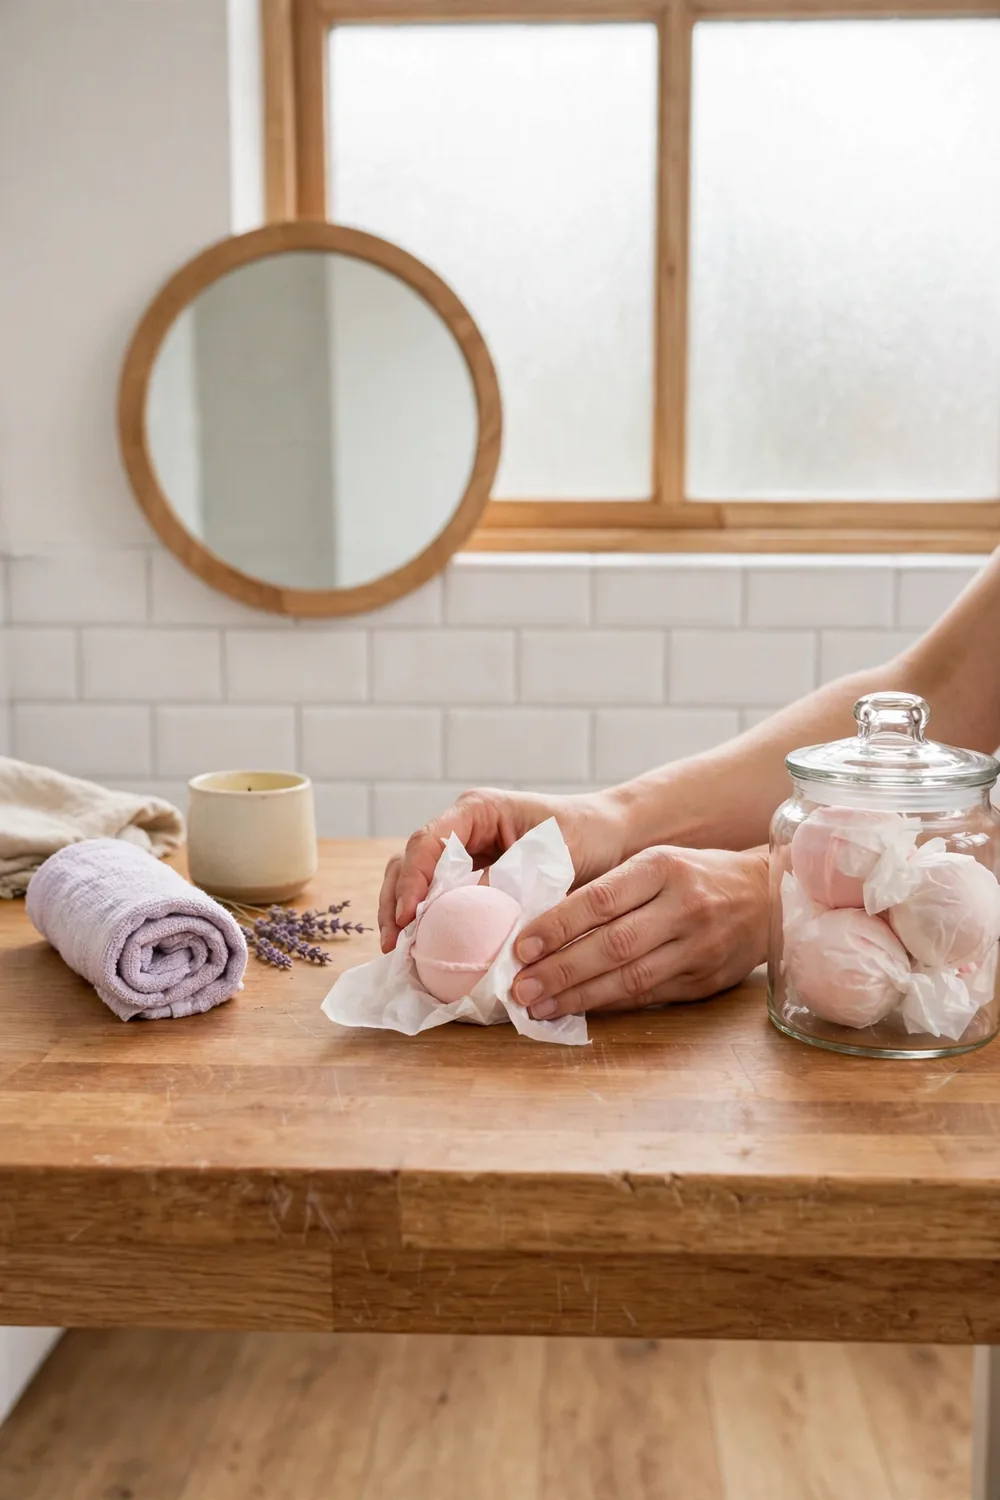
Wrap each cooled bomb in tissue paper or plastic wrap. The wrapper blocks damp air from reaching the surface. Store the wrapped bombs inside an airtight glass jar at room temperature. Enjoy them within three months, while the fizz remains lively.
They become lovely gifts inside a small box tied with a ribbon. When children help with this project, an adult should manage the molds and the essential oil. Label the jar with the scent and date to remember every batch.
Frequently Asked Questions
How long do homemade bath bombs last?
In an airtight jar in a dry spot, homemade bath bombs stay fizzy for about three months. After that the scent stays, but the fizz fades as the citric acid weakens. Keep them away from steam and humidity, which can trigger fizzing too early.
Are DIY bath bombs safe for sensitive skin?
They can be, if you pick food-grade items and go light on scent. Use 10 to 15 drops of skin-safe oil per batch, and skip color if skin reacts fast. Test one bomb in a foot soak first, and stop if you see redness or itch.
Why do bath bombs crumble?
Crumbs mean the mix was too dry or the molds were packed too loose. Next time, spritz the mix with witch hazel until it clumps like damp sand. Then press it in the molds with firm, even force.
Can you make bath bombs without a mold?
Yes, a standard muffin tin works just fine. Press the mix hard into the cups and let the bombs dry in the tin for 24 hours. They come out puck-shaped, but the fizz stays the same.
Bath Bombs Made Simple
You now have a simple way to make bath time feel like a treat. The base mix never changes, so each new batch just needs a new scent or color. Friends love to get these, and each bomb costs far less than store brands.