
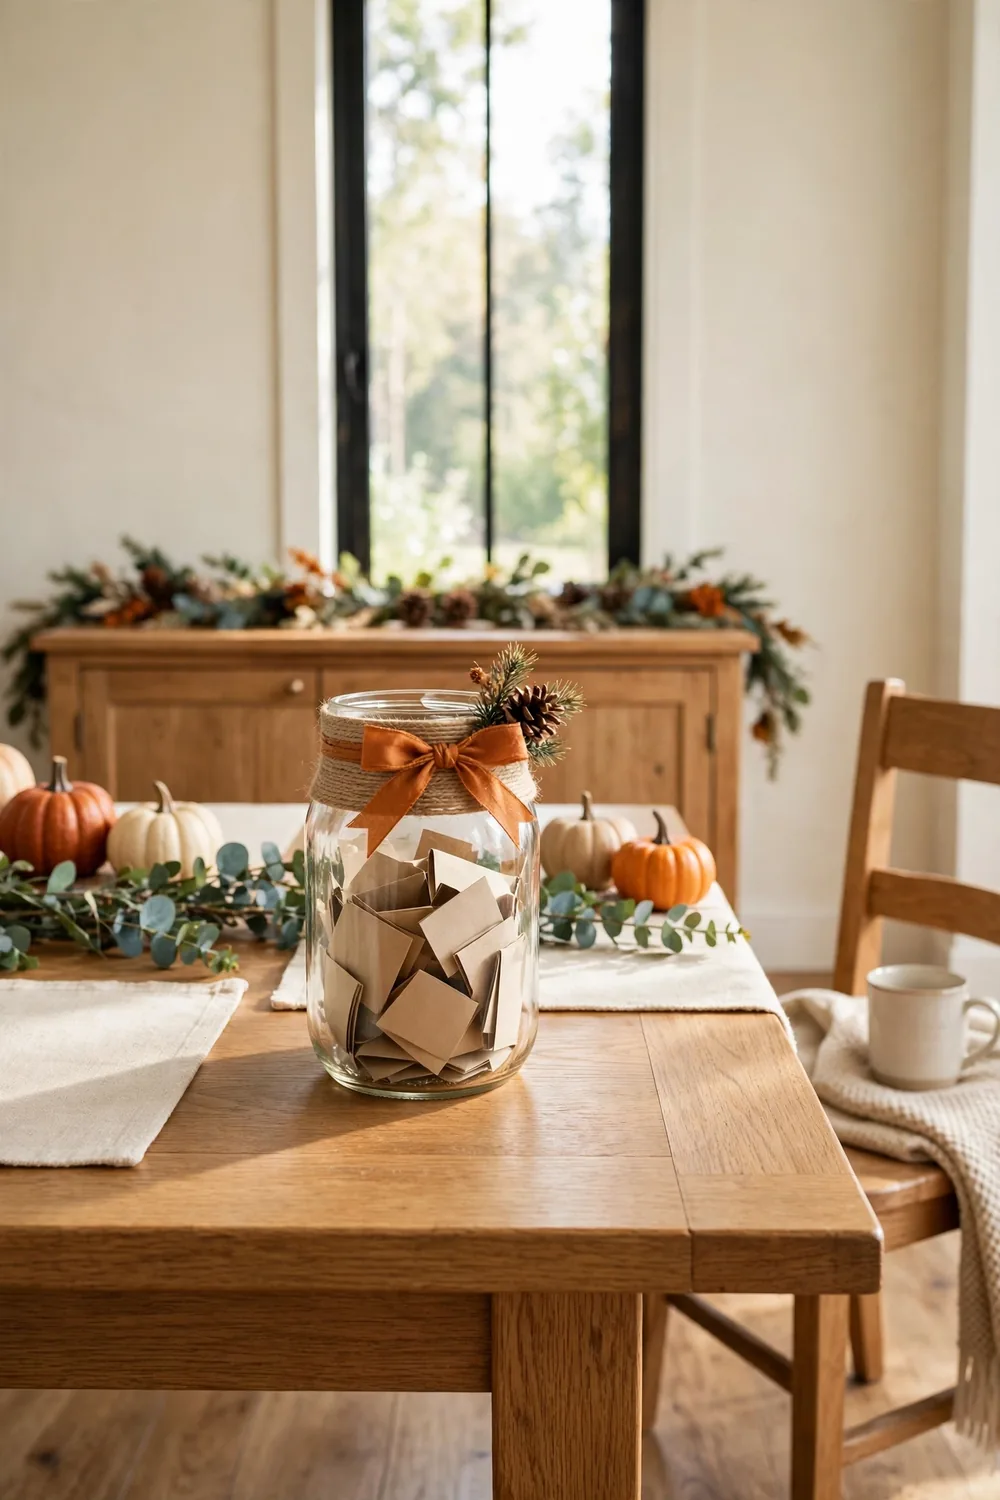
How to Make a Gratitude Jar for Thanksgiving
Thanksgiving week always feels full. The table gets set, the house gets cleaned, and loved ones arrive from near and far. A gratitude jar adds something sweet and calm to the whole day. Family and guests write what they feel thankful for and slip the notes inside. By evening the jar is full. Reading the notes aloud can become the best moment of the holiday.
This DIY version uses a clean mason jar, twine, and kraft paper slips. It takes about 45 minutes, costs very little, and needs no special tools. You can make it this weekend and have it ready before the first guest walks through the door.
Time: 45 minutes | Difficulty: Easy
What You’ll Need
- 1 quart (32-ounce) wide-mouth mason jar with lid
- 1 roll of natural jute twine, about 20 feet long
- 12 sheets of kraft paper or fall-colored cardstock, 6 by 6 inches or larger
- 1 fine-point marker in dark brown or black
- 1 pair of sharp craft scissors
- 1 spool of fall ribbon, 1 inch wide, 1 yard long
- 1 small pinecone, dried leaf sprig, or dried flower stem (optional)
Step 1: Wash and dry the jar

Start with a clean jar so the twine sits flat and the finished piece looks neat. Wash the mason jar and lid in warm, soapy water, then rinse and dry them well with a clean towel. Soak any paper labels in warm water for about ten minutes until they slide off. Rub a sticky spot with a drop of cooking oil on a cloth to lift the glue. Let the jar air dry for at least 15 minutes so no dampness hides under the rim. While it dries, clear a work table and lay out the twine, ribbon, paper, scissors, and marker. A tidy table keeps the twine from tangling and makes each step easier.
Step 2: Wrap the jar in twine

Unroll about six feet of jute twine from the roll. Start near the top of the jar and wrap the twine around it five or six times, keeping each loop flat against the glass and close to the one before it. Cover roughly the top third of the jar with the wraps. Tie a small, snug knot at the back of the jar and trim the loose end close to the knot. Turn the jar slowly in your hands and press each loop into place so the wrap looks even all around. If a loop slips, unwind it and wrap it again. A snug wrap keeps the twine from sliding when guests pick up the jar.
Step 3: Cut the gratitude slips
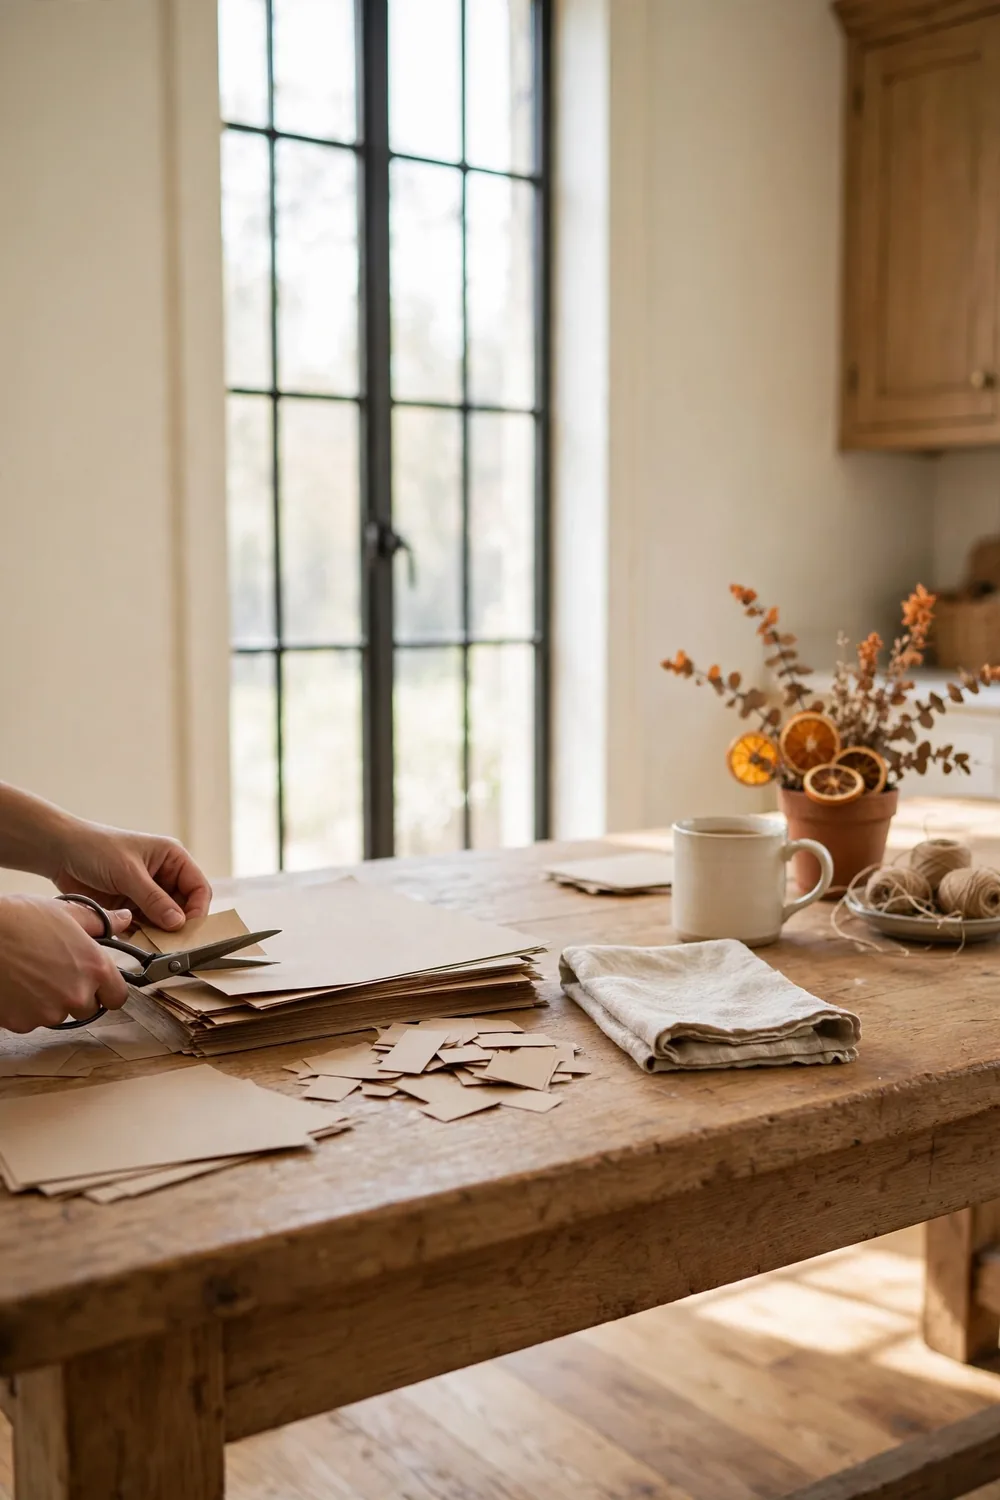
Take the kraft paper and cut it into slips about two inches wide and three inches long. Draw light pencil lines on the back of the paper to keep the slips even. Each 6-by-6-inch sheet makes six slips. Twelve sheets give you seventy-two, plenty for a big family. Stack two or three sheets together and cut them at once to save time. Keep the stack thin enough for the scissors to cut cleanly. Neat edges matter more than exact lines here. Fold each finished slip once, short end to short end, so it stands up well in the jar.
Step 4: Write prompts and fill the jar
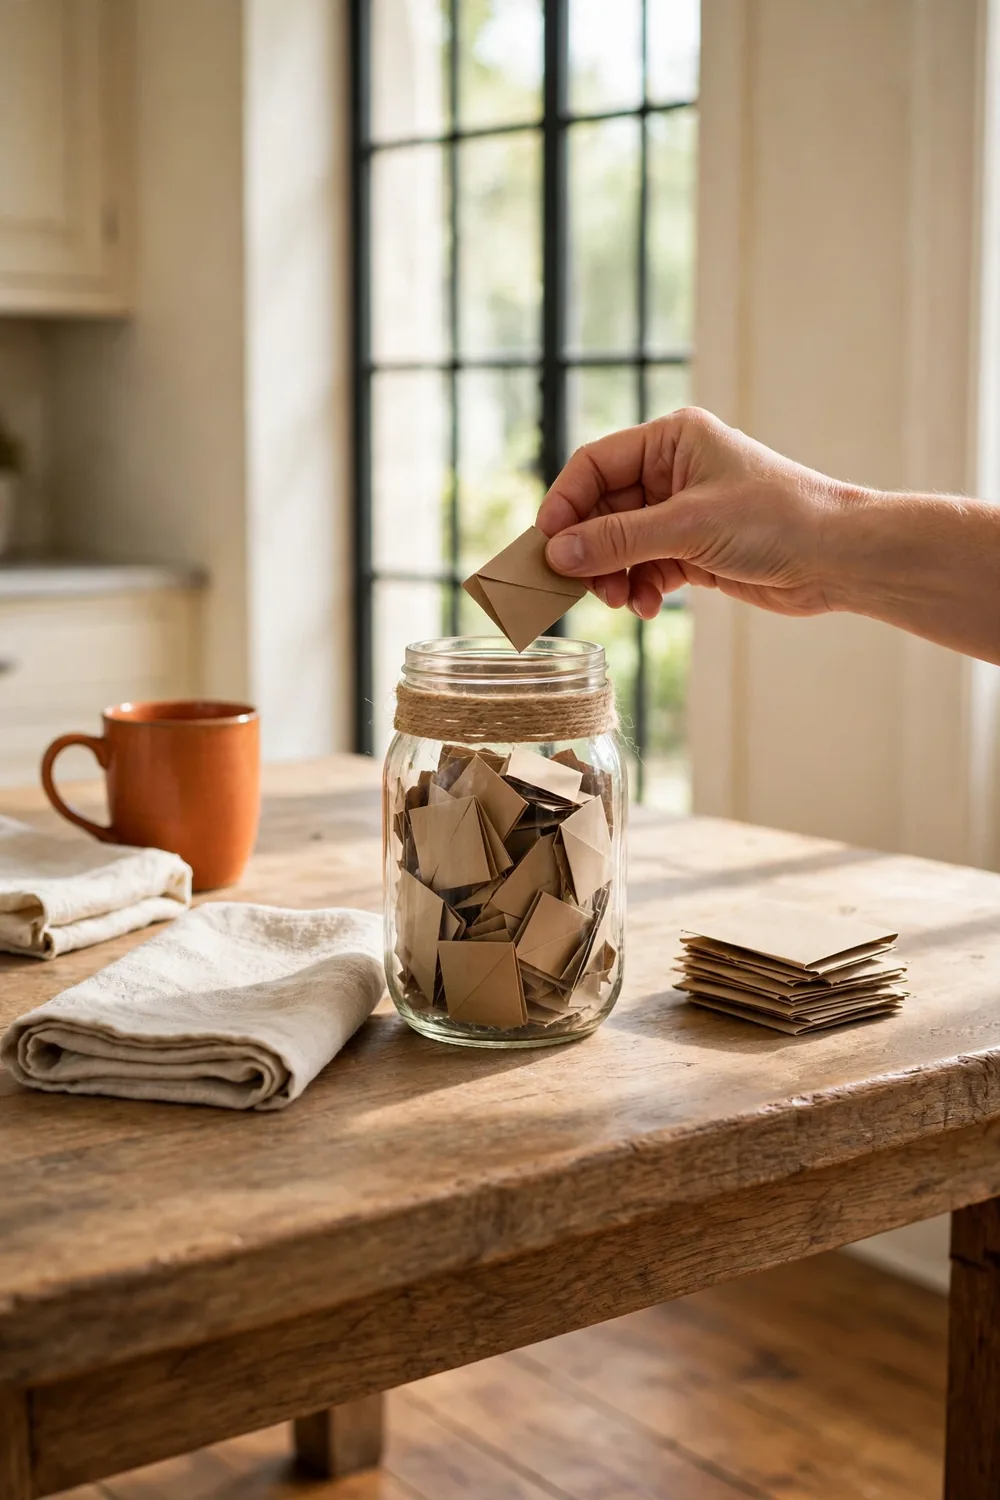
Write one short prompt across the top of each slip before folding it. Use simple starters like “A favorite meal is…” or “A person who makes me laugh is…”. Leave the rest of each slip blank for the answer. Written prompts help shy guests and kids get started fast. Fold each slip once and drop it into the jar until the jar is about three-quarters full. Save some room so guests can add their own notes on the day. Set out a small stack of blank slips and the marker beside the jar when the holiday comes.
Step 5: Dress up the lid
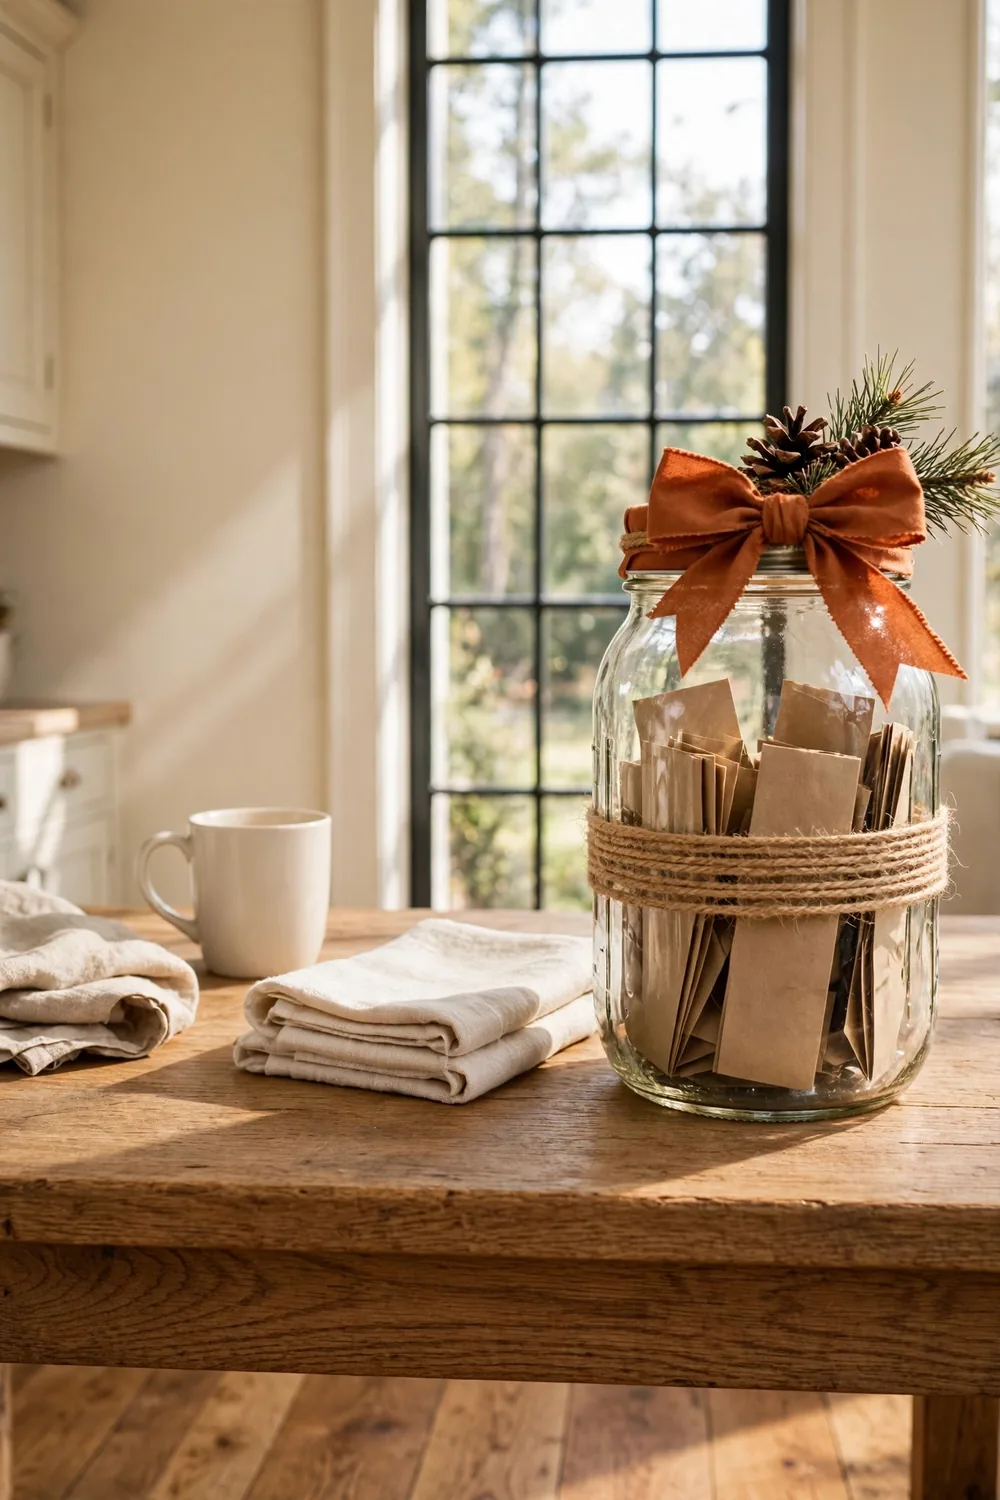
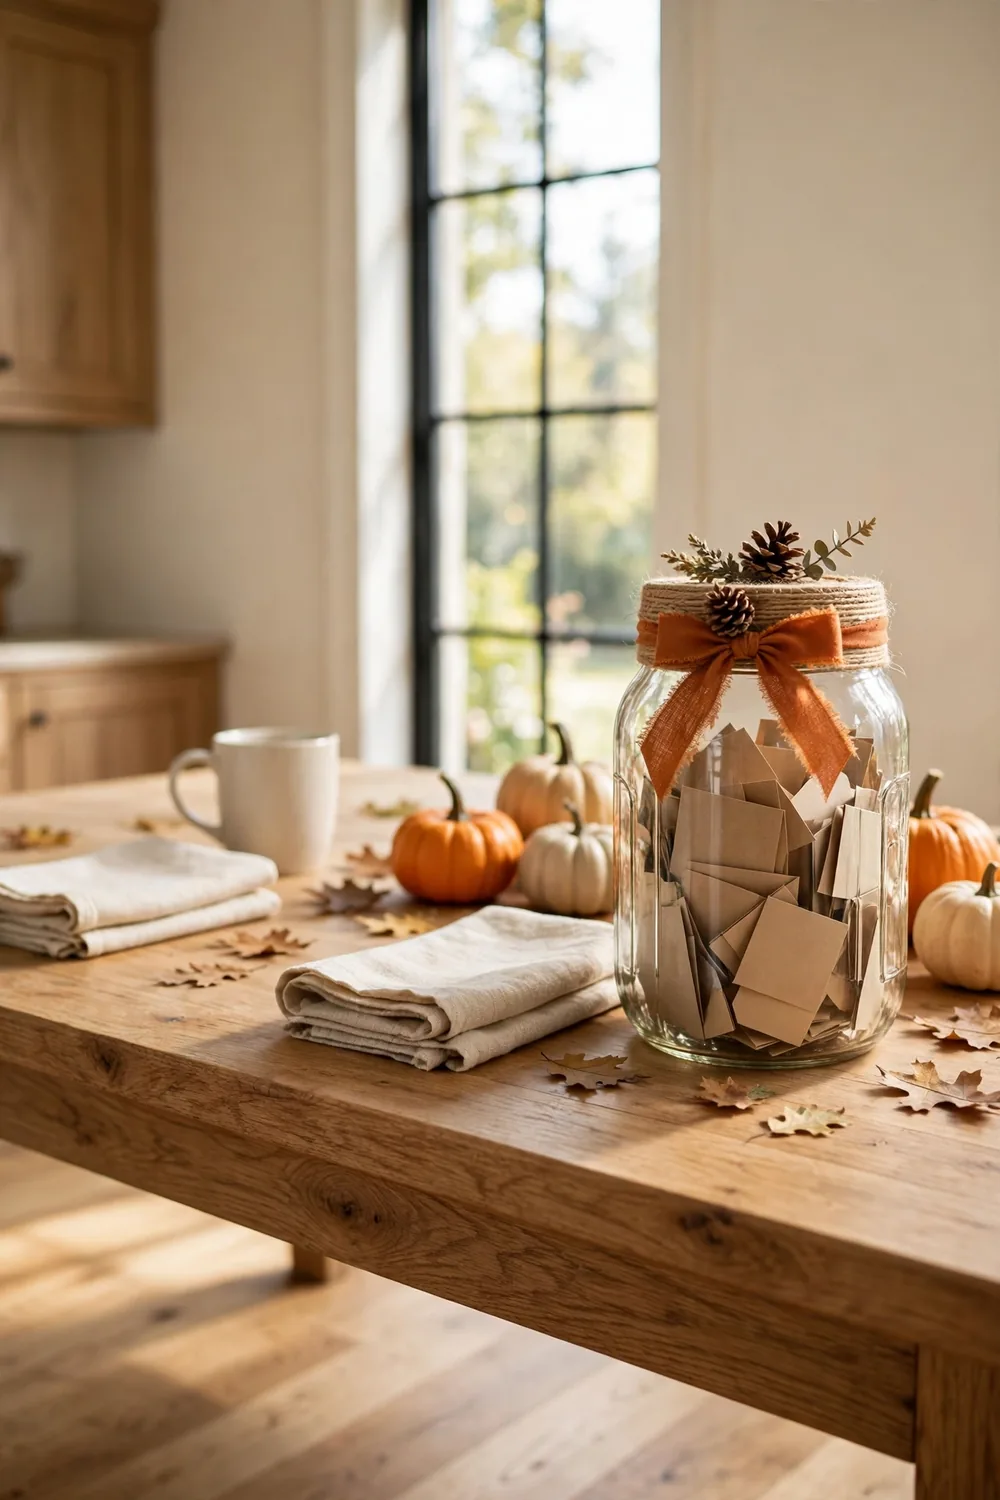
Give the lid a fall finish. Cut one yard of fall ribbon. Tie it in a simple bow around the rim of the lid, at the front of the jar. Tuck the pinecone, dried leaf sprig, or dried flower stem behind the bow so it peeks out above the rim. If the sprig keeps slipping, add a pea-size dot of hot glue behind it and hold it for ten seconds. Trim the ribbon ends at a slant so they hang neatly. The finished lid turns a plain jar into a centerpiece that suits Thanksgiving decor.
Step 6: Set the jar out and start the tradition
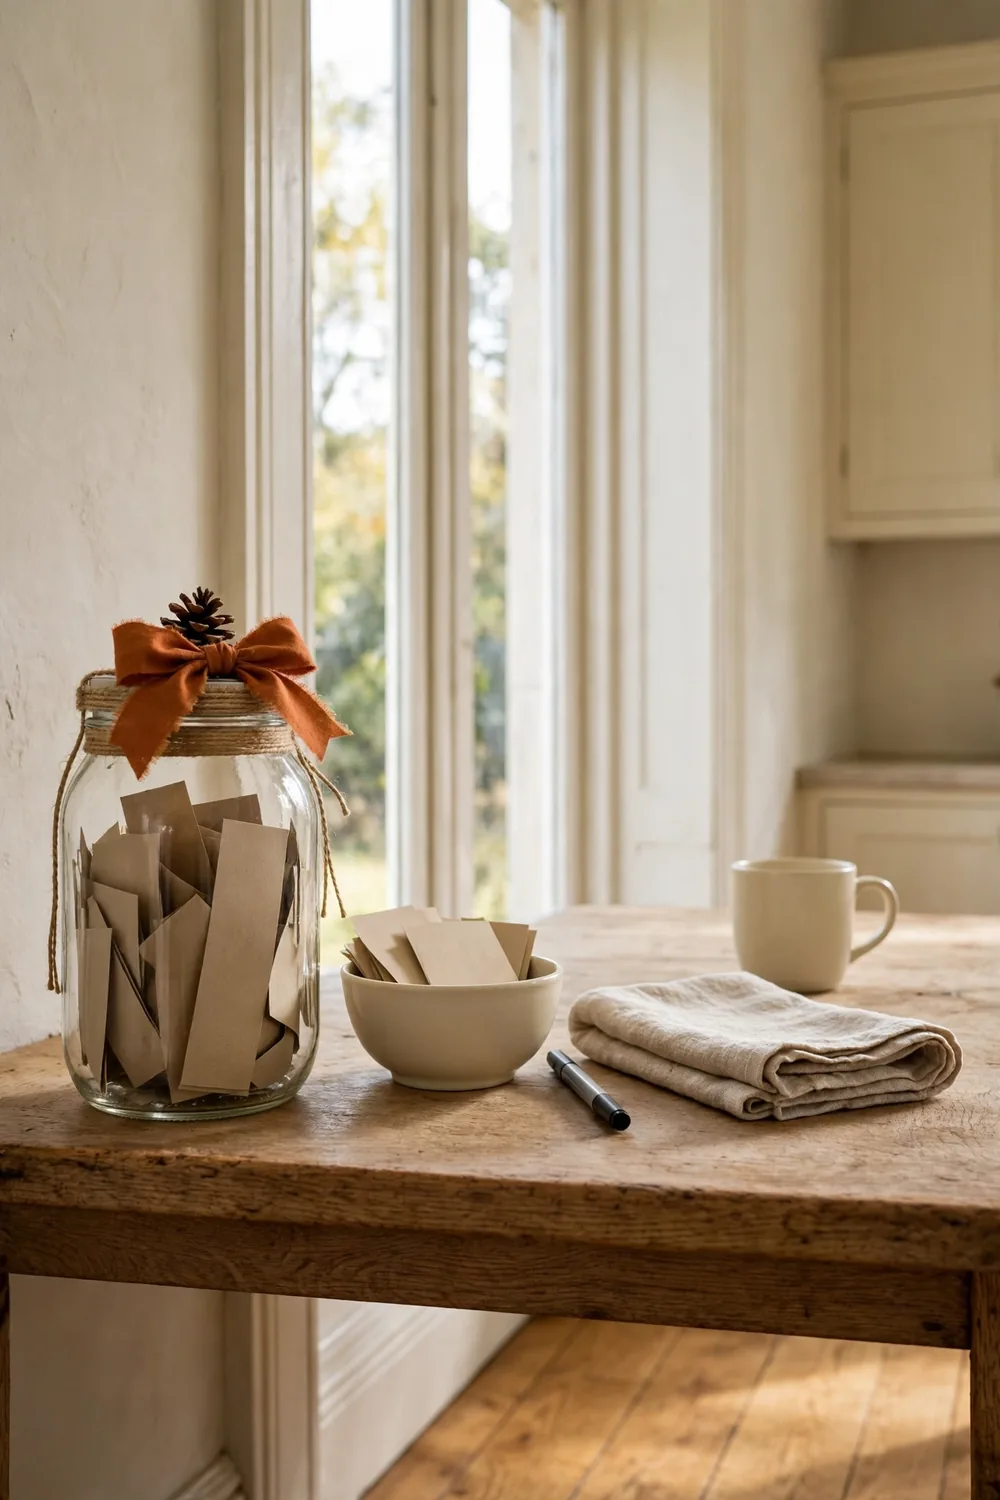
Set the jar where guests will see it: the entryway table, the coffee table, or beside the dessert spread. Set out the jar with the extra blank slips and the marker in a small bowl. Tell everyone what the jar is for as they arrive: write one thing they feel thankful for and drop it in. After dinner, gather around and read the notes aloud one by one. The notes often spark laughs and sweet stories. When the holiday ends, save the slips in an envelope and read them again next year.
Frequently Asked Questions
What size jar works best for a gratitude jar?
A quart (32-ounce) jar holds about seventy folded slips. That is enough for most families and their guests. For a party of twenty or more, pick a half-gallon jar so the slips fit with room to spare. A jar smaller than a quart fills up too fast and leaves little room for guests.
What should guests write on the slips?
Short, specific answers work best: a favorite food, a kind person, a memory from the year. The printed prompts on the slips do most of the work, so answers can be just a few words. Drawings count too, which makes the jar fun for kids who cannot write yet.
How can kids join in with a thankful jar?
Give young kids blank slips and crayons so they can draw the answers. Older kids can read the prompts aloud at the table. Let each child drop in one slip and read one slip from someone else after dinner.
Can you reuse the same jar next year?
Yes, and most families do. Keep the slips in an envelope with the date marked on it. Next year, refill the jar with fresh slips and store the old ones in a memory box. The collection grows more special every year.
Gratitude Jar for Thanksgiving Worth Trying
A homemade gratitude jar costs little and takes under an hour, yet it often becomes the highlight of the day. The twine and ribbon make it pretty enough for the table, and the little notes inside hold the real gift. Start the tradition this year and watch it grow. Keep this in mind for your next home update.