
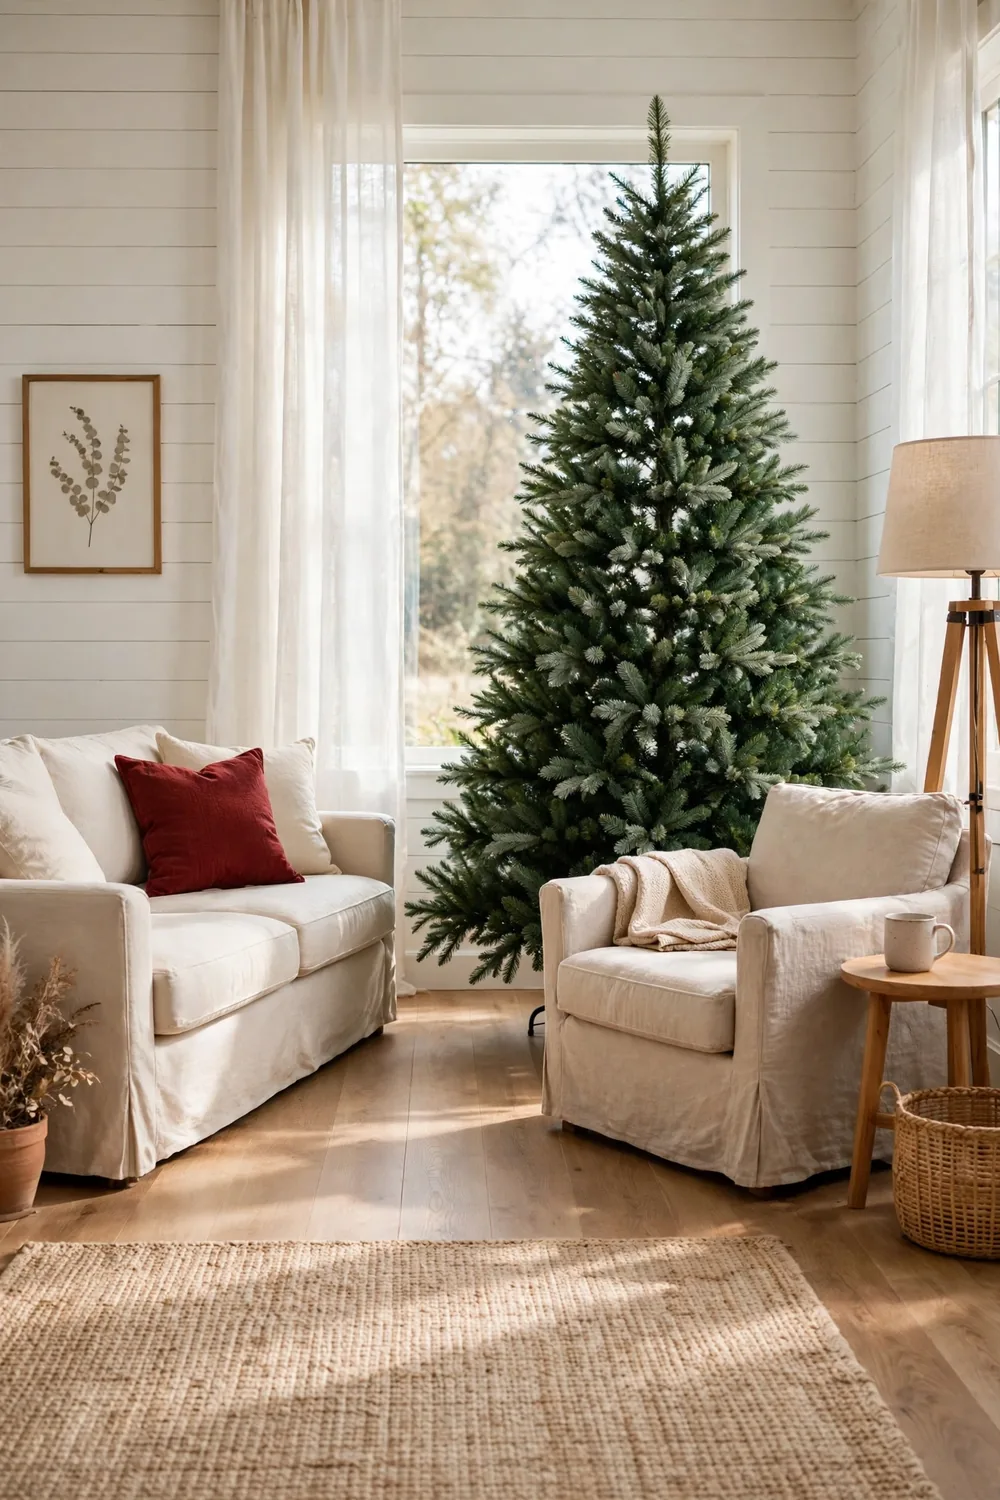
How to Fluff an Artificial Christmas Tree So It Looks Full
The box opens and the metal sections lock together. The tree stands there looking thin and flat. Every artificial tree starts out this way after months pressed into a small box. Learning how to fluff an artificial Christmas tree makes the single biggest difference. It turns a sparse, sad tree into one that looks full and lush.
Fluffing means opening each branch tip and angling it upward. The green layers then overlap and fill the gaps. It takes about 30 to 45 minutes for a 7-foot tree. No special tools are needed, only your hands and a little patience. Learn the order and the technique. The tree shifts from flat to full right before your eyes.
Set Up the Tree and Free Every Branch

Start by assembling the tree exactly as the box shows. Lock each section into the stand and push the pole pieces firmly together. Walk around the tree and pull every branch down from its folded storage spot. Each one should point outward and slightly downward. Work slowly so no branch snaps at the hinge. A broken hinge leaves a thin spot that never fills in.
Put on a pair of light work gloves before you start shaping the branches. The wire tips can scratch your hands and arms during a long session. Gloves also keep skin oils off the needles. Keep a small step stool nearby for the crown. Reaching up from the floor leads to rough shaping at the very top.
Start at the Bottom and Work Upward

Always fluff from the lowest tier to the top, and never work the other way around. The bottom branches are the longest. They build the wide base that makes the whole tree look grounded and full. Starting at the top means bumping finished branches while you reach past them. The bottom tier ends up rushed and thin.
Finish one full tier before moving up to the next one. Turn the tree slowly on its stand, or walk around it. Shape every side of the tier the same way. A tree that looks full from the front and flat from the back seems off from every other seat in the room. Give the back the same care you give the front.
Fan the Tips Up and Out at an Angle
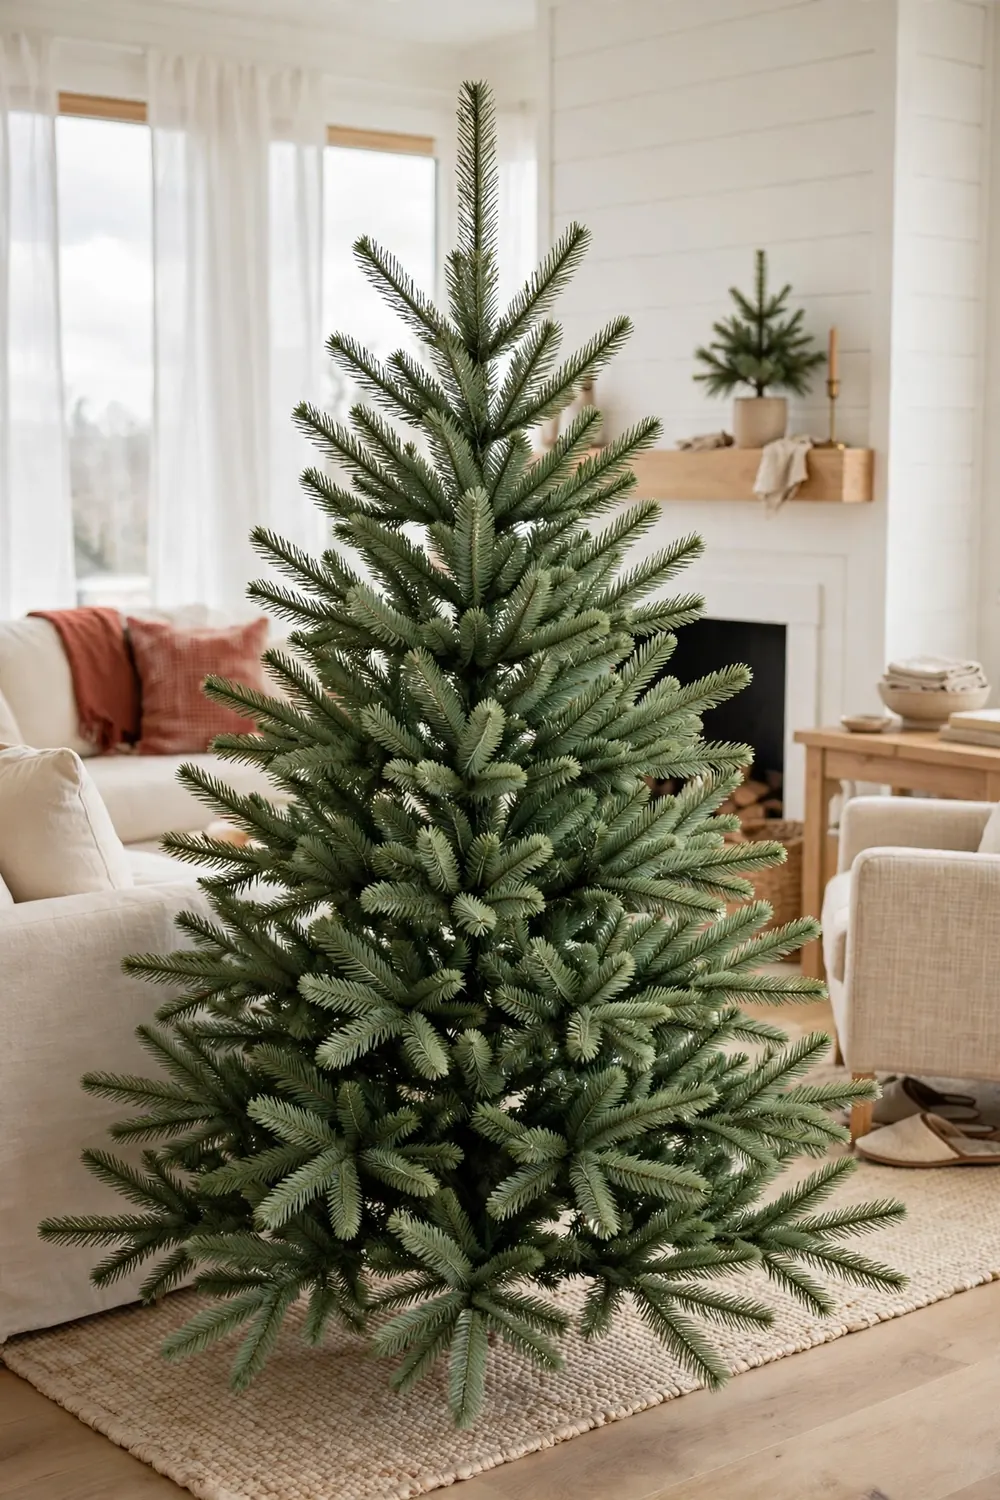
This is the move that does most of the work. Take one branch and spread its small tips gently apart like the ribs of a hand fan. Finish that branch completely before moving to the next one. Bend each tip upward at roughly a 45-degree angle, one by one. Point the outer tips up, and angle the inner tips a little higher to catch the light.
Keep the spacing even from tip to tip. Leave about a finger’s width between tips so the greenery reads as one thick layer. Do not bend tips straight up or press them flat against the branch. Both leave holes where the metal shows through. Steady, even angles across the whole tree build a lasting, real fullness.
Push Some Tips Inward to Hide the Pole
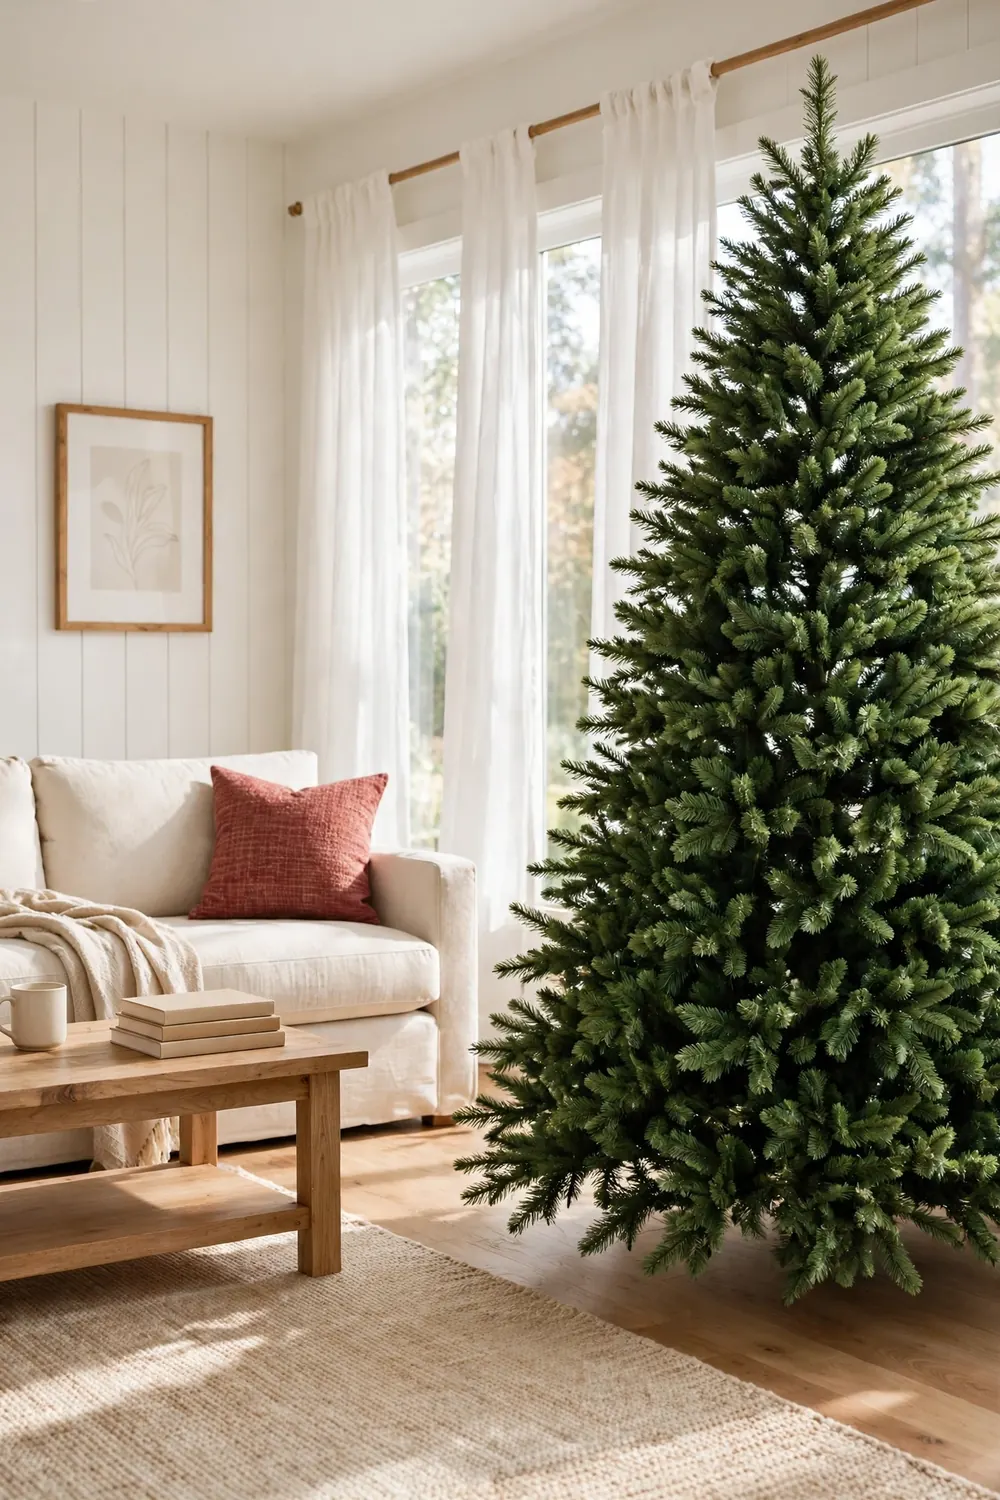
The bare pole in the center is what makes most trees look fake from across the room. Bend the innermost tips of each branch slightly inward and upward, and they will close over the middle. You want a soft tunnel of green running up the center. No silver pole should peek through the branches. This one step makes a bigger visual difference than any other part of the process.
Check your work by crouching to the height of a small child and looking straight into the tree. Kids and pets see the tree from down low, and the pole shows there first. Push any tip that still reveals metal a little higher. Keep going until the center reads as solid green from every height in the room.
Shape the Top and Check the Silhouette

The top of the tree is where a cone shape matters most. A wide, flat crown looks odd against the ceiling. Fluff the top section’s tips upward at a steeper angle than the middle branches. Let the tallest tips lean slightly inward toward the tree topper. This builds the classic pointed finish that reads as real from below.
Then step back at least ten feet and study the outline of the tree. Look for dents and flat spots in the outline. Walk to the side and check again. Then adjust the tips in that area until the shape looks even from the front, the side, and the doorway. Small fixes at this stage save a lot of rework once the lights go on.
Fill Thin Spots With Lights and Ornaments

Even a well-fluffed tree keeps a few thin patches, and decorating covers them well. Wind warm white lights deep inside the branches first, close to the trunk. The glow fills the shadows, and the tree reads as thicker than it is. Push each light strand in with your fingertips so it sits inside the branches. Lights strung only on the outer tips leave the center looking dark and hollow.
Hang larger ornaments in the gaps. Cluster a few ornaments at different depths to block any see-through spots. Shiny ornaments catch the light and draw the eye, which hides thinness better than any extra fluffing could. By the time the last ornament is hung, most trees look clearly fuller than they did bare.
Store the Tree So It Stays Easy to Fluff

How the tree is stored decides how hard next December will be. Take all the decorations off the tree and press the branches gently back up against the pole. Do not crush or tie them down hard. Slide each section into a cloth tree storage bag and keep the bag in a dry spot indoors. Damp storage can rust the hinges.
Trees squashed into the first small box come out flat and bent. The tips take twice as long to reshape. A roomy bag lets the branches keep some of their shape. Next year’s fluffing session takes less time. A little care in January pays off every holiday season. Label the bag with the tree’s height and tip count so setup goes faster next year.
Frequently Asked Questions
How long does it take to fluff an artificial Christmas tree?
Plan on 30 to 45 minutes for a standard 7-foot tree. Taller or denser models take a little longer. Rushing is the main reason trees look thin, because the last branches get skipped. Put on some music and work tier by tier until every branch is opened.
Are gloves needed while fluffing the tree?
Light work gloves or garden gloves protect your hands from sharp wire tips and keep the needles cleaner. They also give you a better grip when bending stiff branches upward. Any thin, flexible pair works, so store them with the holiday decor for next year.
Can an old, flat tree be fluffed back to fullness?
Yes, most older trees bounce back with a patient refluffing, even after years in storage. Bend each tip back into its upward angle. Spend extra time on the inner branches that hide the pole. If some branches stay limp, filling those spots with lights and larger ornaments covers them well.
How can you tell when the tree is fluffed enough?
Step back ten feet. Look for any spot where you can see the pole or the wall behind the tree. If the green reads as one unbroken layer from the front and the side, the fluffing is done. Most people stop too early, so give the tree one more slow pass before you start decorating.
Enjoy Your Fluff an Artificial Christmas
Now you know how to fluff an artificial Christmas tree so every branch helps fill out the shape. The order matters more than speed. Go from the bottom tier to the top. Keep the tips angled up and close the center. Then check the shape from across the room. Give the tree its full fluffing session before a single ornament goes on. The result will look fuller than you expected.
A quick yearly setup means the tree looks full from the very first night. Pin this now and thank yourself later.