

How to Make a Christmas Wreath from Scratch
The stores start selling fresh wreaths right after Thanksgiving, and the good ones cost a small fortune. Learning how to make a Christmas wreath at home solves that problem fast. With a simple wire frame and fresh greenery from the garden center, you can build a full, fragrant wreath in one afternoon for a fraction of the store price.
This project needs no special skills and no fancy tools. The method is simple: secure bunches of evergreen branches to a round frame with wire, layer after layer, until the circle looks full. Then add pinecones, berries, and a bow. Follow the steps below and your front door will wear a wreath that smells like the holidays.
Time: 2 hours | Difficulty: Easy
What You’ll Need
- One 16-inch metal wreath frame
- One spool of 22-gauge paddle wire
- Two large bundles of fresh fir branches, about 4 pounds total
- One bundle of fresh cedar branches, about 2 pounds
- Ten small pinecones, 1 to 2 inches long
- Twelve red berry picks on 8-inch stems
- One 10-yard roll of 4-inch wired ribbon
- One pair of sharp pruning shears
- One pair of work gloves
- One 3-gallon bucket of cool water
Step 1: Soak and Trim the Greenery

Fresh branches drink up water fast, so start by soaking them. Fill the bucket with cool water and stand the fir and cedar bundles in it for two to four hours. Wet stems bend without snapping and drop fewer needles while you work. After soaking, shake off the extra water and lay the branches on the table. Use the pruning shears to cut them into sprigs about six to eight inches long. Keep the cuts angled so each sprig has a strong stem for wiring. Sort the sprigs into two piles, fir in one and cedar in the other. This small bit of prep makes the layering steps go much faster.
Step 2: Lock the Wire to the Frame
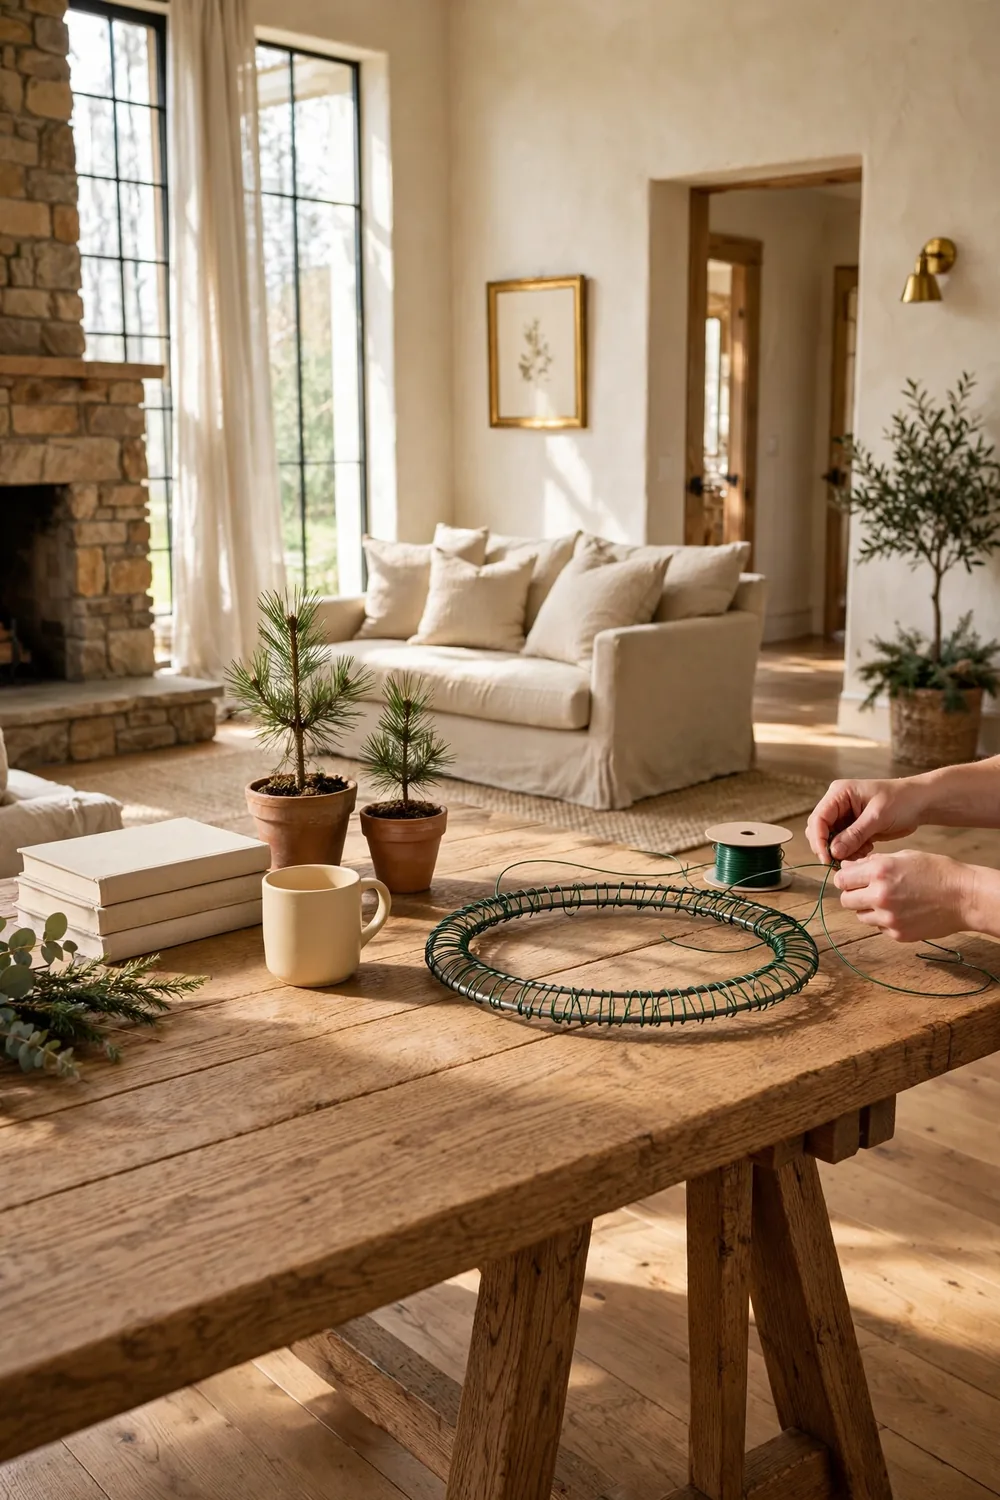
Unroll the paddle wire and tie the loose end to the metal frame with a tight knot. Wrap the wire around the frame three times to anchor it, then leave the paddle attached. The wire stays connected to the spool for the whole project, which keeps constant tension and saves your fingers. Set the frame flat on the table with the wire paddle on your right if you are right-handed. Keep the shears nearby to snip the wire at the very end. A firm anchor now means the wreath will not loosen later.
Step 3: Wrap the First Layer of Branches
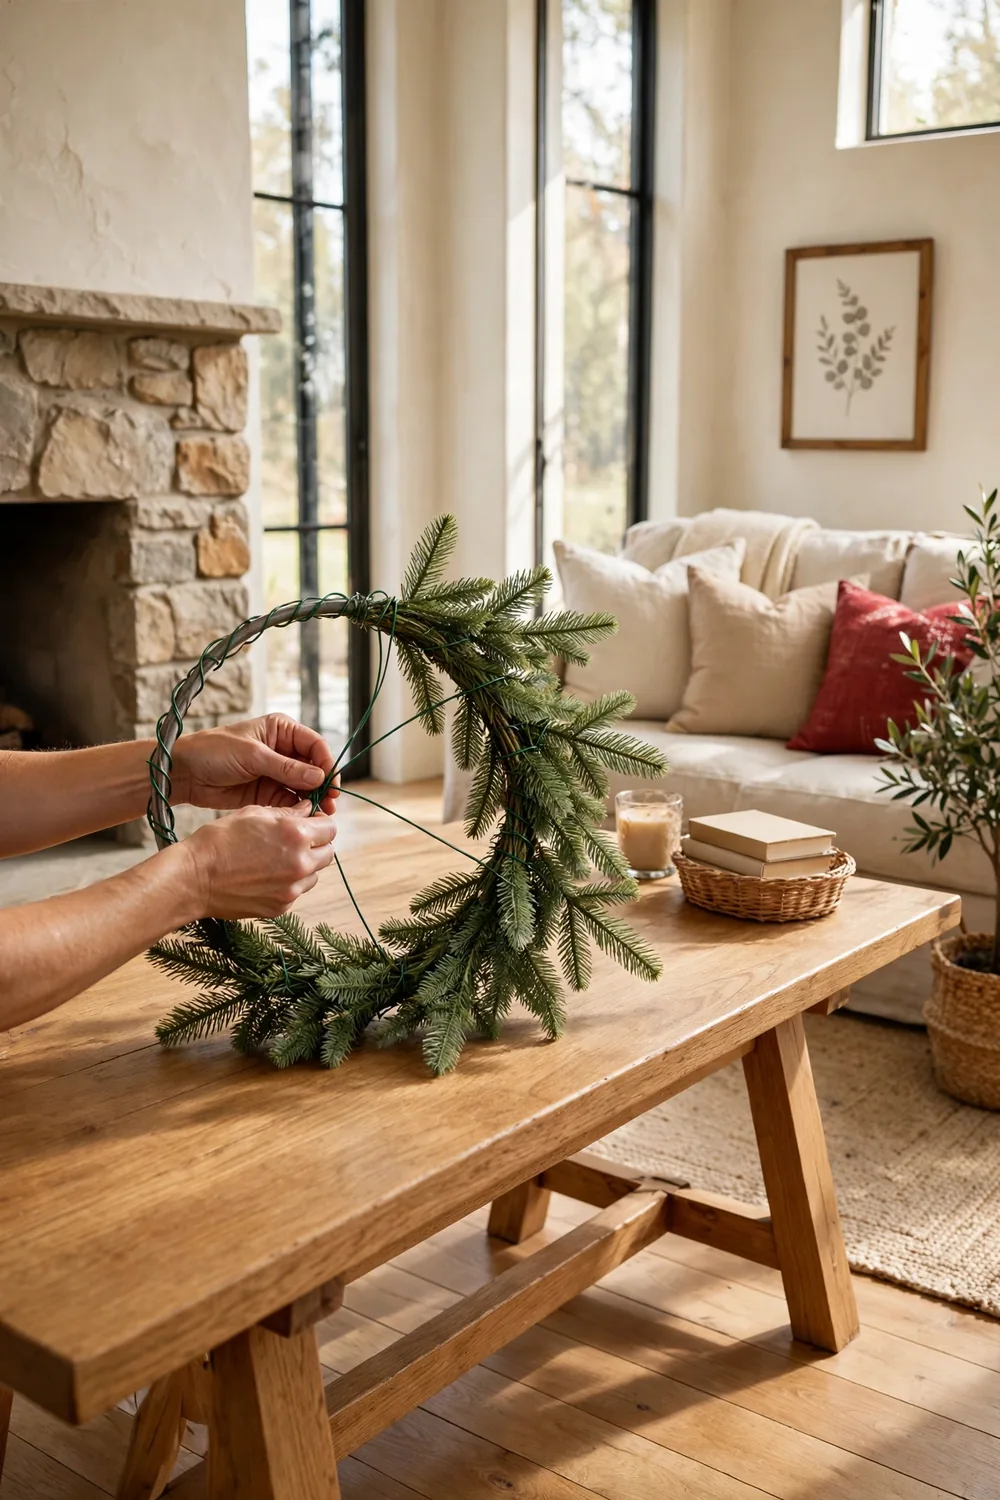
Grab three fir sprigs and line up their cut ends. Lay the bunch on the frame so the tips point clockwise around the circle. Hold the bunch tight and wrap the paddle wire around the stems and the frame three times. Do not cut the wire. Place the next bunch so its tips cover the wrapped stems of the first bunch. Keep moving around the frame, spacing the bunches about three inches apart. Each new bunch hides the wire of the one before it. When you reach the starting point, tuck the last bunch under the first and wrap the wire twice more. The frame should look like a rough green circle.
Step 4: Add the Second Layer for Fullness

The second layer turns a thin circle into a lush wreath. This time use the cedar sprigs and angle their tips slightly outward for a soft, layered edge. Lay each bunch between two fir bunches from the first layer so the gaps fill in. Wrap the wire around each bunch twice, keeping the same tension as before. Step back every few bunches and look at the wreath from the front. Fill any thin spots with an extra sprig before moving on. The cedar adds a soft, feathery texture that makes the fir look fuller. By the end of this layer, no metal frame should show through.
Step 5: Tuck In Pinecones and Berries

Now comes the fun part: the decorations. Set a pinecone deep into the greenery where two layers meet. Wrap a short piece of wire around its base and the frame to hold it firm. Space the ten pinecones evenly around the wreath. Slide the berry picks between the branches so the red clusters peek out above the green. Bend each stem to aim the berries outward. If a pinecone wobbles, add a dab of hot glue at its base and hold it for ten seconds. Hot glue gets very hot, so keep your fingers clear of the nozzle. Stand the wreath upright and check that nothing looks lopsided.
Step 6: Tie the Bow and Hang Your Wreath

Cut a four-foot length of the wired ribbon for the bow. Make two loops the size of your fist, cross them in the middle, and pinch the center tight. Wrap a short piece of wire around the pinched center and twist it to hold. Fluff the loops and trim the ribbon tails at an angle. Wire the bow to the top or bottom of the wreath, wherever it looks best to you. Finally, snip the paddle wire from the spool and tuck the loose end under a branch. Hang the wreath on your front door with an over-the-door hook, or rest it above your mantel. Give the branches a final fluff before you step back to admire it.

Frequently Asked Questions
How long does a fresh evergreen wreath last?
A fresh wreath usually stays green for three to four weeks indoors. Keep it away from heating vents and direct sun, which dry the needles fast. A light mist of water every few days helps the branches hold their color. If a few sprigs brown early, tuck fresh ones into the bare spots.
Can artificial greenery work for this project?
Yes, the same steps work with good faux branches. Choose wired stems so they bend and hold their shape around the frame. You will need about 40 to 50 sprigs to match the fullness of fresh greenery. The finished wreath lasts for years and stores flat in a box.
Where is the best place to hang a fresh wreath?
A covered front door or a cool entryway keeps a fresh wreath looking good the longest. Full sun and strong wind dry out the branches in days, so skip exposed spots. Above the mantel works too if the fireplace stays off most of the time. Heat rising from a fire will brown the lower branches fast.
Can kids help learn how to make a Christmas wreath?
Let kids handle the safe jobs while you manage the wire and shears. They can sort sprigs, place berry picks, and fluff the finished branches. Older kids can help wrap the paddle wire with your guidance. Keep hot glue and sharp tools in adult hands only.
Your Christmas Wreath from Scratch, Made Cozy
Your handmade wreath carries something store-bought ones never do: the smell of fresh evergreens cut that same week. Hang it where you will see it every day, and do not be surprised when guests ask where you found it.
Small touches like the bow and the berry clusters make it look like a florist made it. Save this tutorial to your holiday board so you can make a fresh one every December.