How to Make Mini Pumpkin Candle Holders
When the table needs a little fall warmth, mini pumpkin candle holders do the job in under an hour. You hollow out small pumpkins, drop in a tea light, and line them down a runner or across a mantel. The orange rind glows softly around the flame, and each holder costs only a few dollars to make.
This guide takes you through each step, from picking pumpkins that sit flat to scooping the insides clean. You need only basic kitchen tools and a few supplies from the craft aisle or the dollar store. The finished set has a true handmade look that suits fall parties and cozy nights at home.
Time: 45 minutes | Difficulty: Easy
What You’ll Need
- Mini pumpkins, 2 to 3 inches wide: one per candle holder
- Tea lights, real or LED, 1-1/2 inches across: one per pumpkin
- Small serrated knife, 1, with a sharp edge
- Metal teaspoon or melon baller, 1
- Cutting board, at least 12 inches long
- Paper towels, 1 roll, and a damp cloth
- Optional: white acrylic paint, 1 small bottle, and natural twine, 1 roll
Step 1: Pick pumpkins that sit flat
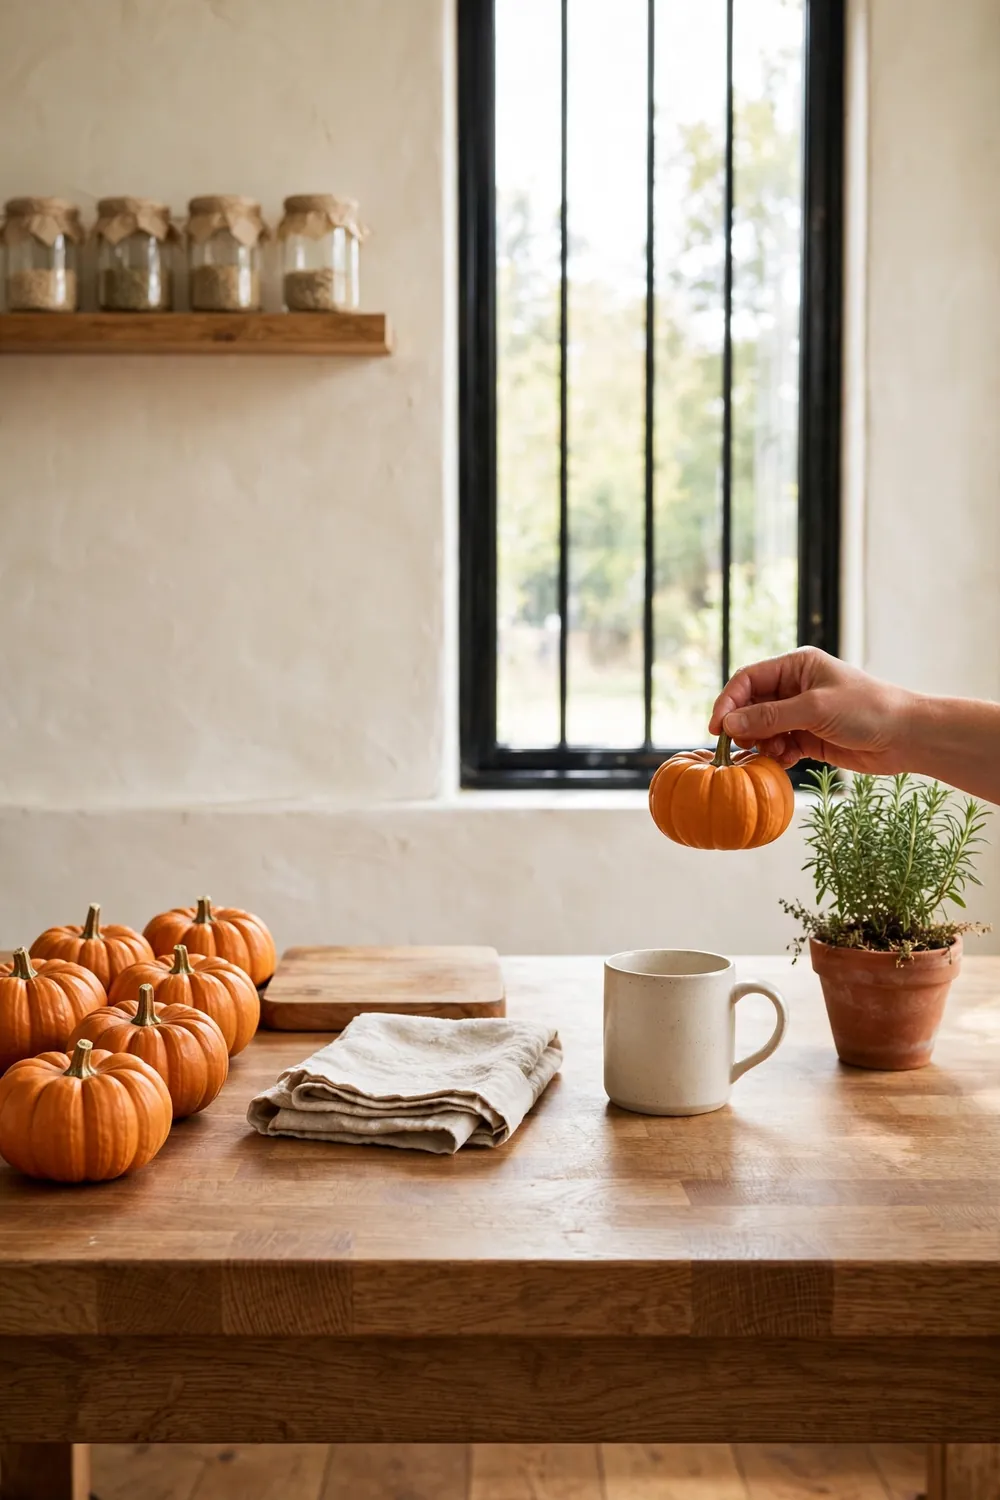
Start with pumpkins that stand steady on their own. Look for firm skin, a fresh green stem, and no soft spots, since firm pumpkins last longer once hollow. Pick pumpkins about 2 to 3 inches wide, which fit a standard tea light and sit well on a table or mantel.
Grocery stores sell mini pumpkins in mesh bags through September and October. Pumpkin patches and farm stands often sell them loose, so you can hand-pick each one for a flat bottom. Buy a few extra in case one softens during the week. Wipe each pumpkin with a damp cloth and pat it dry before you start to carve.
Step 2: Cut a lid from the top
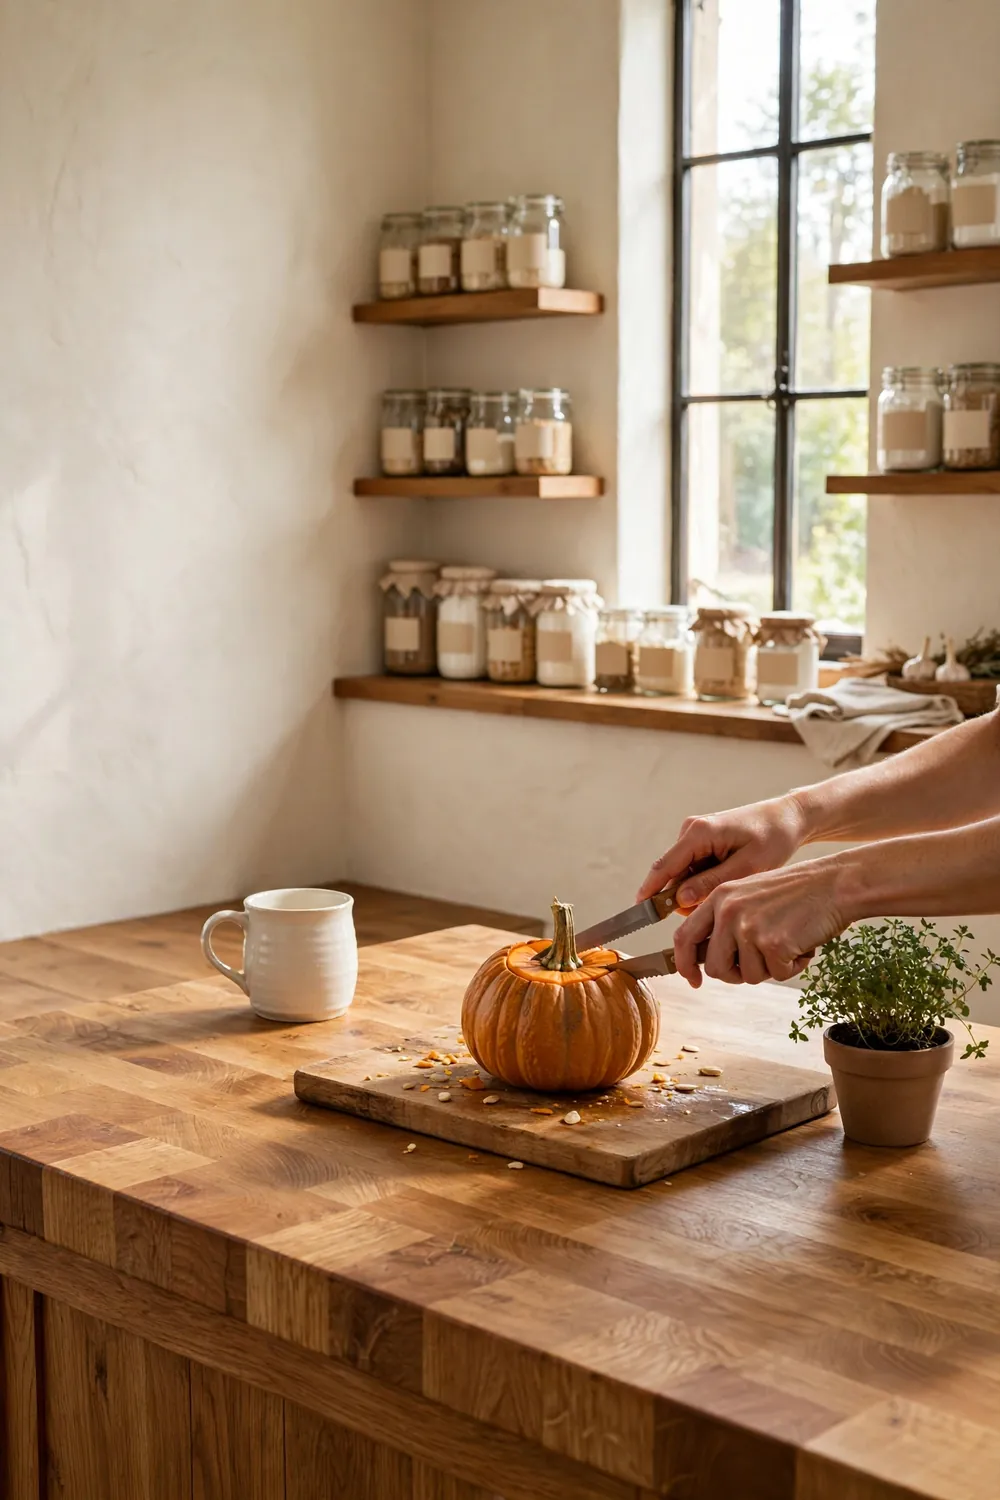
Set one pumpkin on the cutting board and hold its sides firm with your free hand. Push the tip of the serrated knife into the top at a slight angle, about 1 inch out from the stem. Saw gently around the stem to cut a lid about 1-1/2 to 2 inches across, keeping your fingers clear of the blade. The angled cut stops the lid from slipping down through the opening later.
Lift the lid off by the stem and set it aside as a tiny decoration for the table. Trim any rough bits of rind from the edge of the opening with the knife tip. Brush the loose crumbs off the board when you finish.
Step 3: Scoop the insides clean

Push the teaspoon into the pumpkin and scrape the walls with firm, even strokes. Pull out the seeds and stringy pulp as you go, thinning the walls to about 1/2 inch. Thin walls let more candle glow shine through the rind. Rinse the spoon when pulp builds up so it keeps scraping cleanly.
Save the seeds in a bowl if you want to roast them later with a little salt. When the inside feels smooth, blot it dry with a paper towel. A dry cavity keeps the cut edges fresh for a longer time.
Step 4: Fit the tea light inside
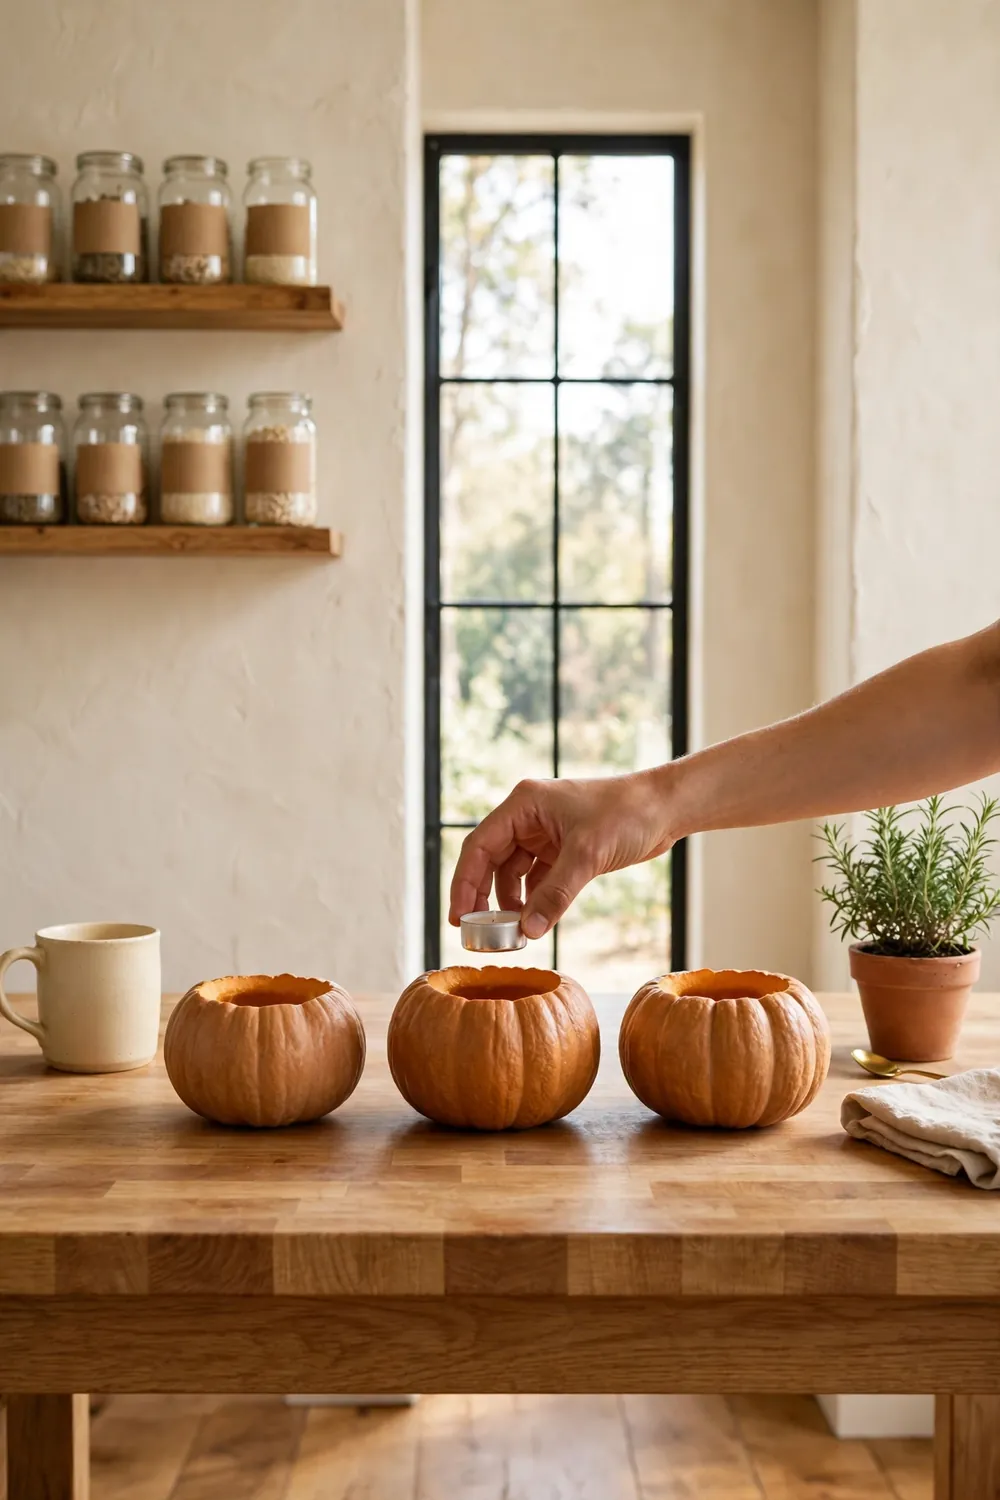
Drop a tea light into the hollowed pumpkin to test the fit. The 1-1/2 inch cup should sit flat on the bottom of the cavity with no wobble. If the opening feels tight, shave thin curls of rind from the edge until the light slides in with ease. Keep the walls about 1/2 inch thick so the pumpkin holds its shape.
A snug fit keeps the candle upright and centered, which counts most with real flames. Test each pumpkin the same way, since sizes can vary a little in one bag. Set the tested lights aside until you reach step 6.
Step 5: Add simple paint or twine accents
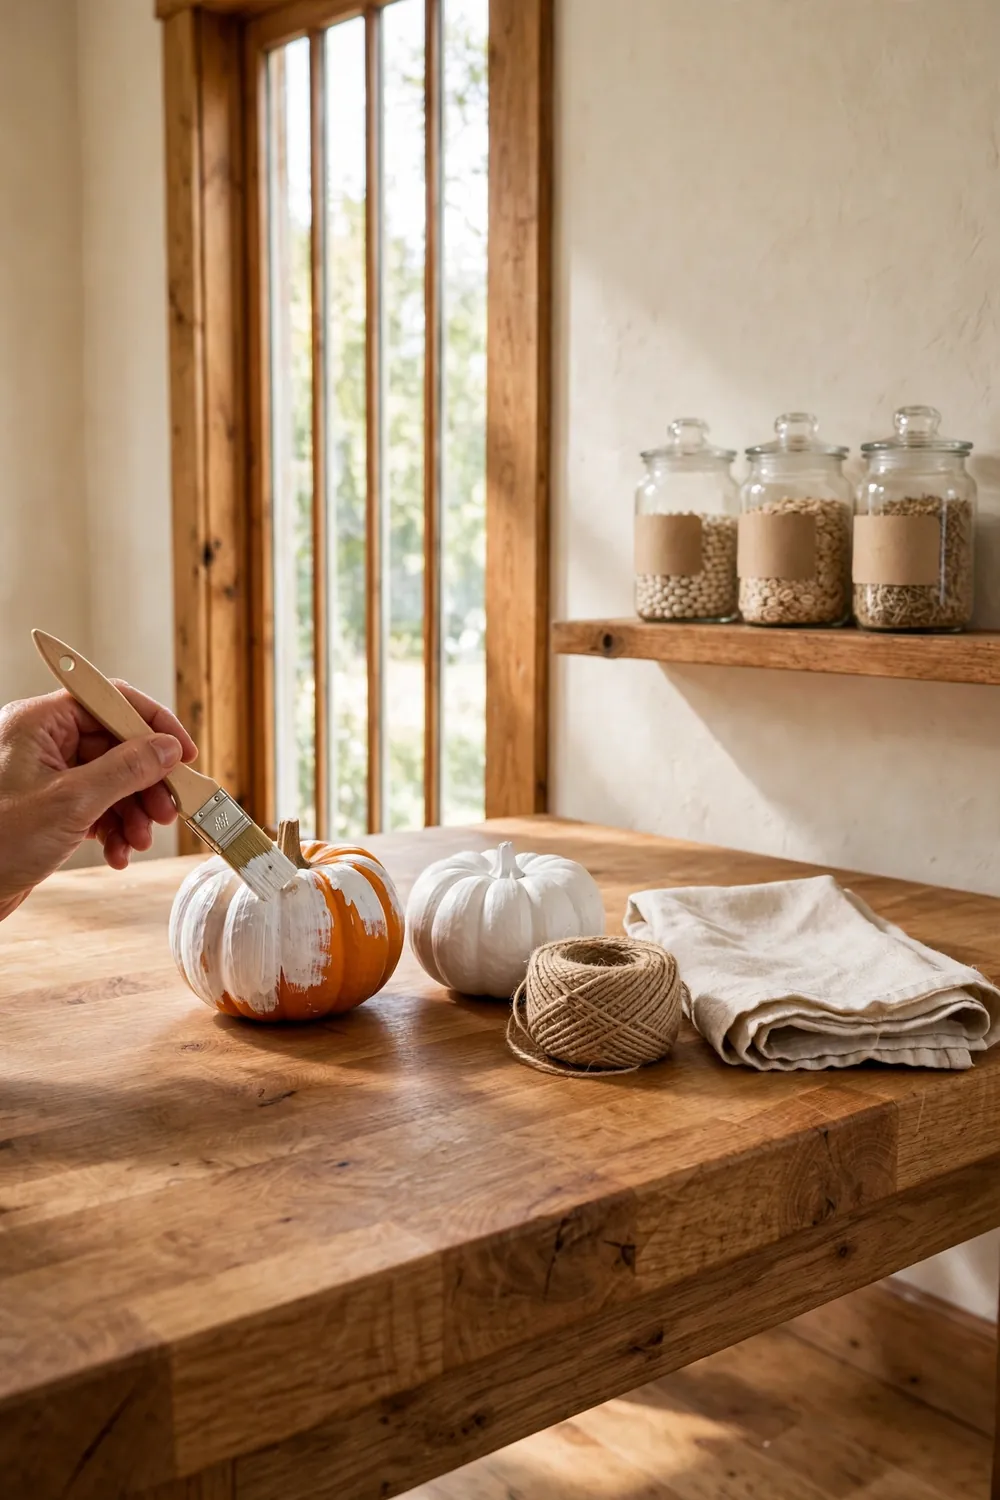
Skip this step if you love the plain orange look. For a softer style, brush a thin coat of white acrylic paint on the outside of the pumpkin. Let it dry for 20 minutes, then add a second coat. The paint dries chalky while the pumpkin texture still shows through. Wrap natural twine around the middle and tie a small bow under the stem.
Painting just the stem gold gives a pretty touch without hiding the rind. Let each painted pumpkin dry fully before you place a candle inside. Wet paint near a flame is never a good idea.
Step 6: Place the candles
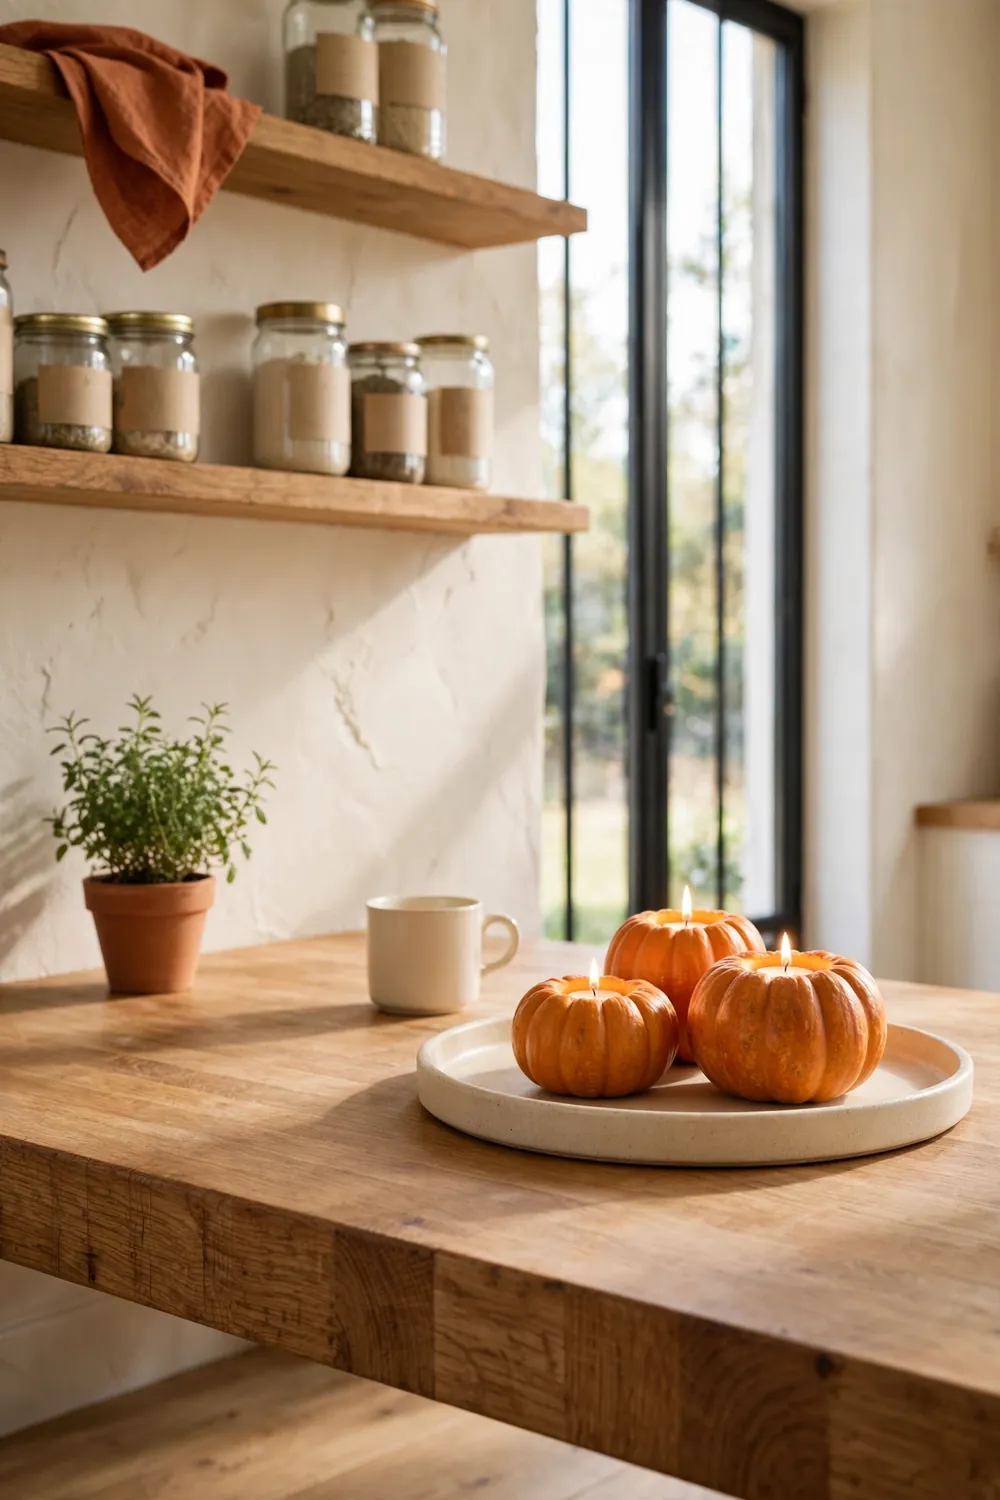
Set each pumpkin on a heatproof tray or clay plate before you add any flame. Drop the tea light into the cavity so it sits flat, then check that the wick stands straight if you use real candles. Light each one with a long-handled lighter so your fingers stay well above the opening.
Move the tray to its final spot, then light the candles last of all. This way you never carry open flames across the room. LED tea lights work the same way, so just switch them on and drop them in. The warm glow looks best as daylight starts to fade.
Step 7: Style them on your table or mantel
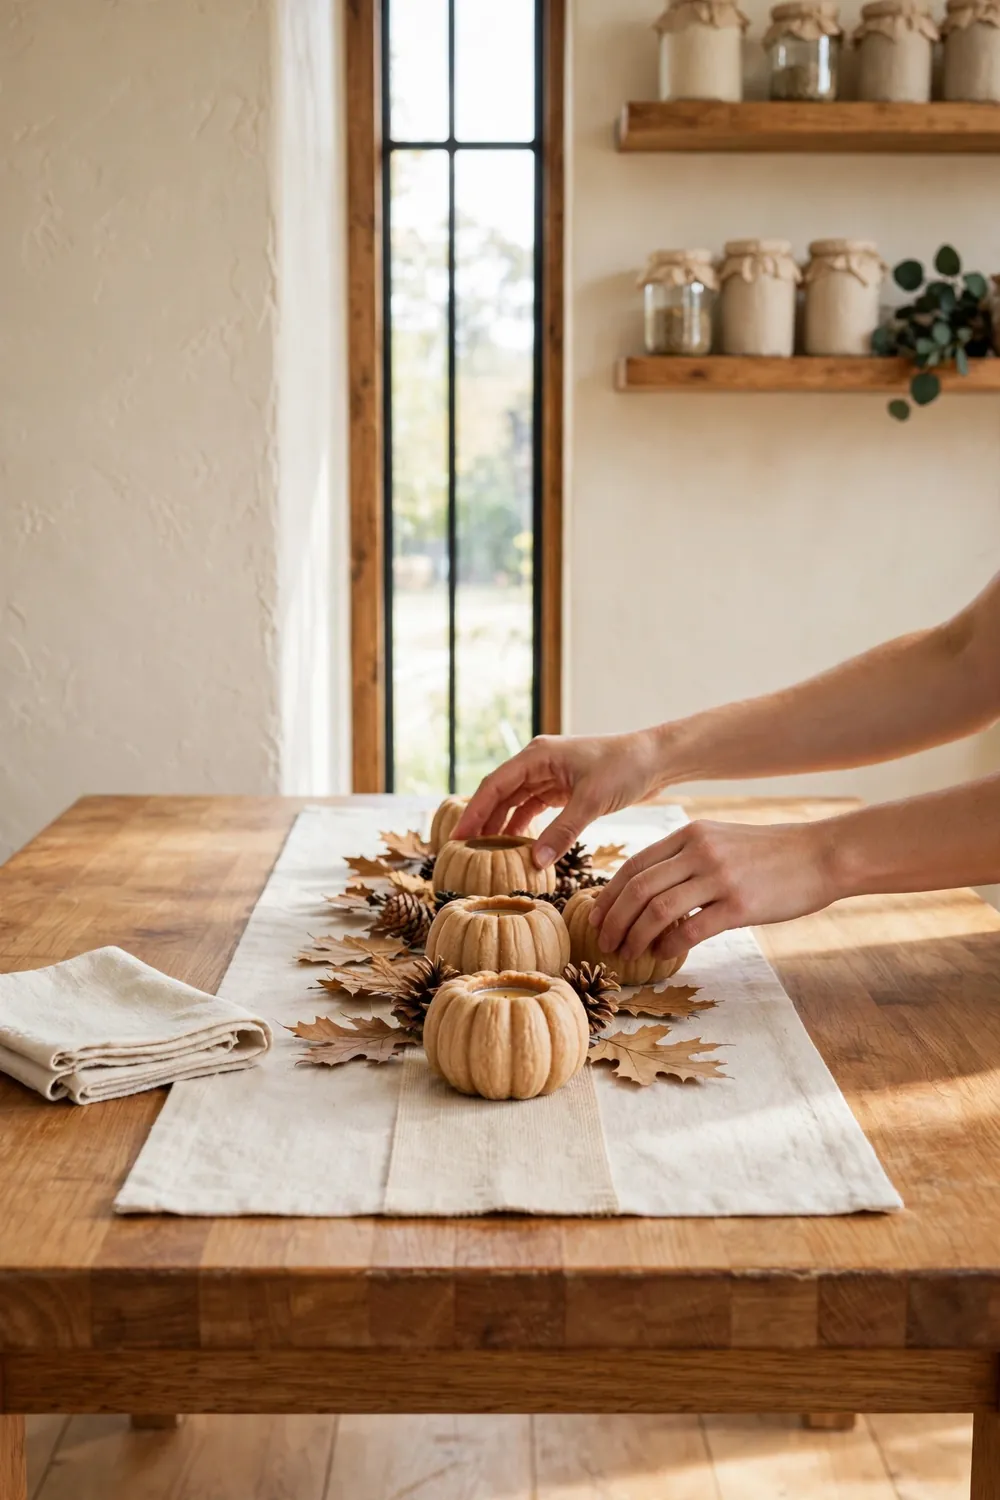
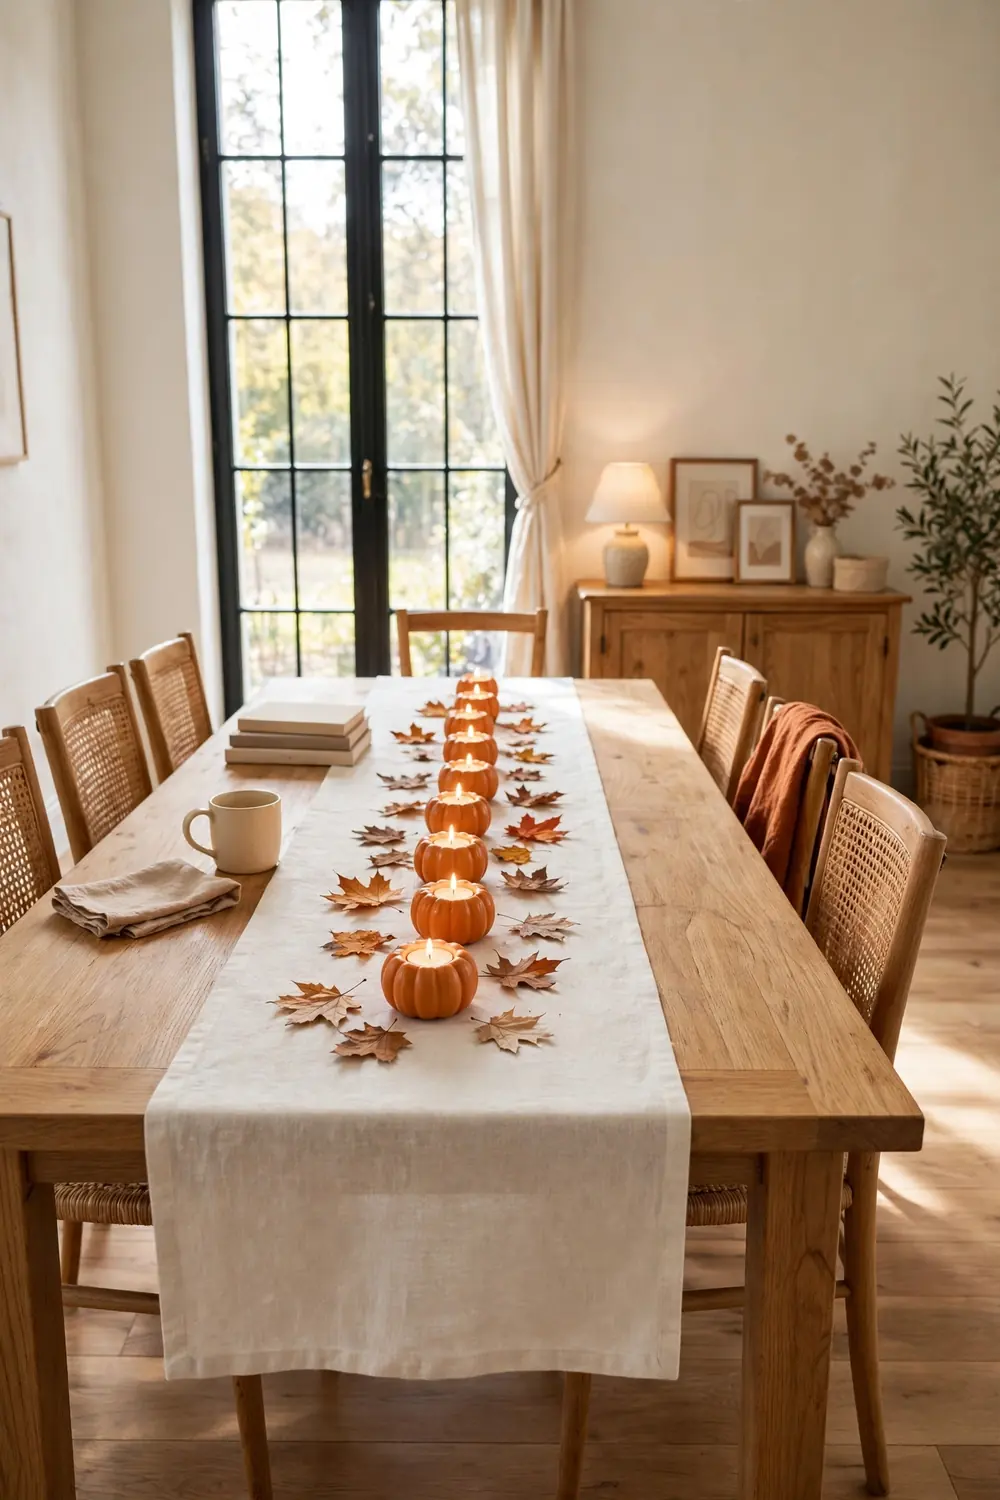
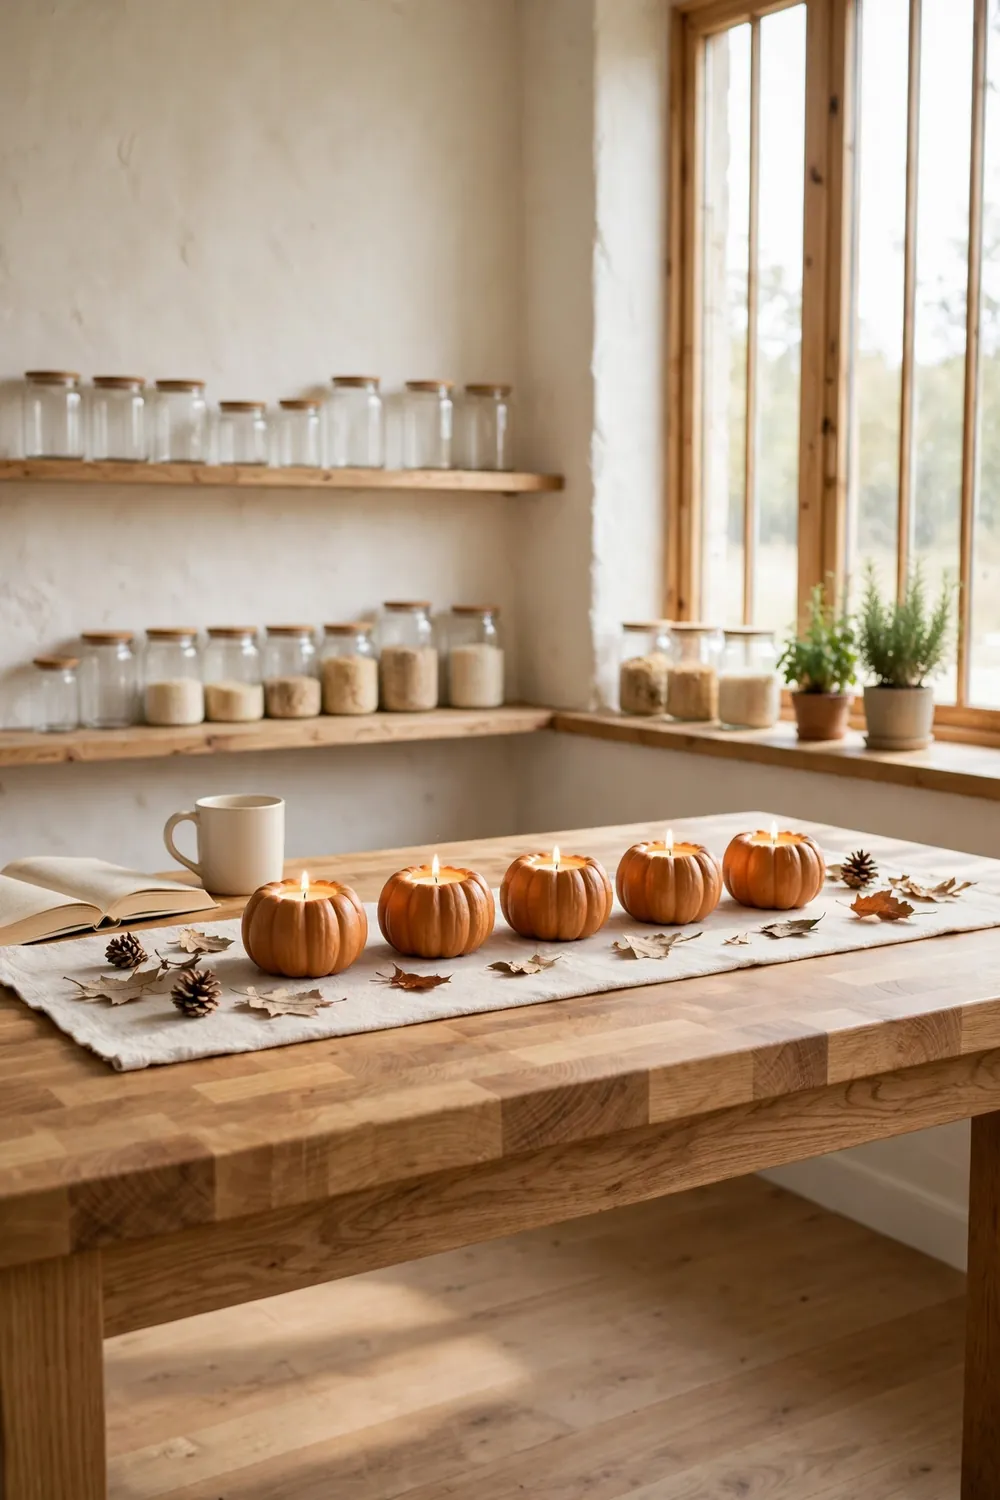
Line the finished holders down a table runner, or group three of them on a mantel. Odd numbers look natural, so use three or five for a small table and seven for a long one. Tuck fall leaves and small pinecones between the pumpkins to fill the gaps. They carry the autumn color down the whole table.
Keep the holders a few inches apart so the heat of real flames never warms a nearby pumpkin. Step back and check the line from a chair, then nudge any pumpkin that leans. The set should glow warmly against the wood or linen below.
Step 8: Follow basic candle safety
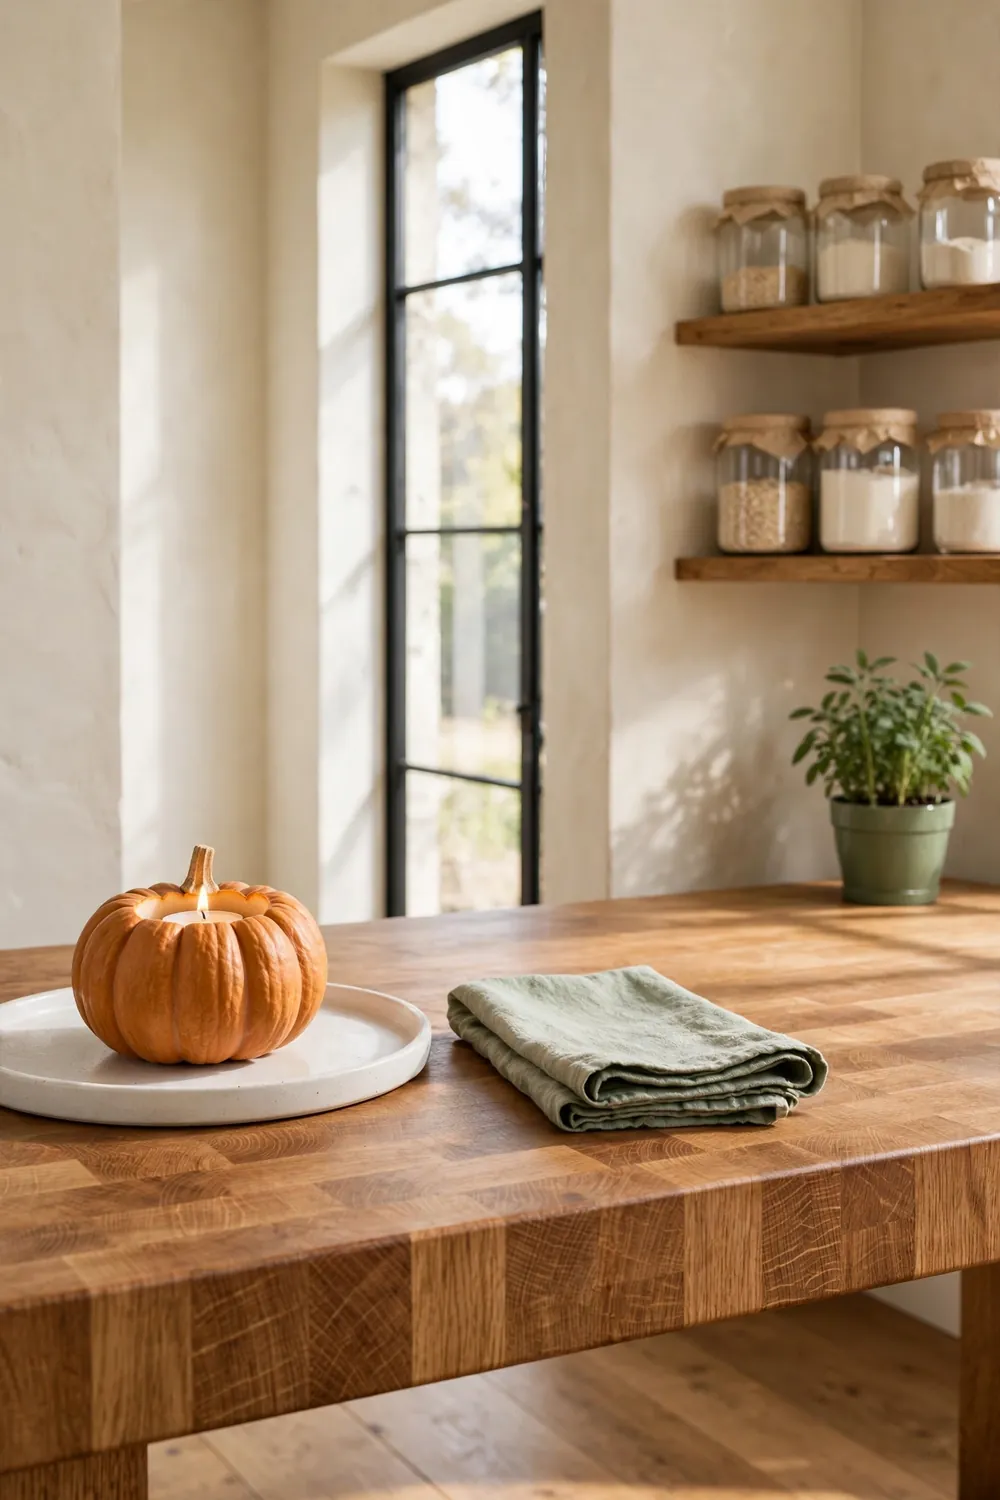
Never leave lit candles burning in an empty room. Keep each holder at least 12 inches from curtains, paper, and anything that can catch fire. Trim real tea light wicks to 1/4 inch before you light them. Always blow the candles out before you leave the house or go to bed.
Real flames dry the rind faster, so holders with real tea lights last about 5 days. LED versions stay cool and last for weeks. Keep pets and small children away from lit holders. Compost any pumpkin that feels soft or starts to smell, and set out a fresh one.
Making It Last Through the Season
Pumpkins are fresh produce, so a little care keeps them looking good for days. Store the finished holders in a cool spot when they are not lit, since warmth speeds up softening. Rub a thin layer of petroleum jelly on the cut edges right after carving. It slows moisture loss and keeps the edges from curling.
With real tea lights, plan to swap in fresh pumpkins every 5 to 7 days. LED tea lights let one set glow through the whole season. If the inside weeps liquid, blot it dry and sprinkle the cavity with a pinch of salt. When a pumpkin darkens or softens, compost it and hollow a new one. The second build takes about 20 minutes.
Frequently Asked Questions
How long do mini pumpkin candle holders last?
With real tea lights, a pumpkin holder looks good for 5 to 7 days before it starts to soften. LED tea lights run cooler, so the same holder can last 2 to 3 weeks. Toss any pumpkin with soft spots or a sour smell, and keep finished holders in a cool spot between uses.
Can you use real candles instead of LED tea lights in pumpkins?
Yes, standard 1-1/2 inch tea lights fit well and give the prettiest flicker. Skip pillar candles and tapers, since taller flames can scorch the rind and overheat the pumpkin. Trim each wick to 1/4 inch, keep the holder clear of anything flammable, and blow it out before you leave the room.
Do pumpkins need to be dried out before carving?
No, fresh pumpkins carve best and hold their shape for days after cutting. If the hollow weeps moisture, blot it with a paper towel and let it air-dry for 30 minutes. A thin rub of petroleum jelly on the cut edges also slows drying, so skip any pumpkin that already has soft spots.
Where do you buy mini pumpkins?
Grocery stores stock them from September through October, usually in mesh bags of 6 or 8. Look for them loose at pumpkin patches and farm stands, which lets you pick firm ones with flat bottoms. Craft stores carry faux mini pumpkins that look real and last for years. Use LED tea lights only in faux pumpkins, since foam melts near real flames.
Enjoy Your Mini Pumpkin Candle Holders
These little candle holders prove that fall decorating needs no big budget and no whole weekend. A bag of mini pumpkins, a few tea lights, and one quiet afternoon give you glowing decor for the table or the mantel. Try a row down the Thanksgiving table or a cluster by the front door. Save this project to your fall board so you can find it next October when the mini pumpkins return to the stores.