How to Make Fabric Pumpkins
Fall brings soft textures, and fabric pumpkins are an easy way to bring that cozy feel home. This fabric pumpkins diy guide shows you how to sew a plump little pumpkin in about 45 minutes, even if you are new to sewing. A no-sew shortcut is included too.
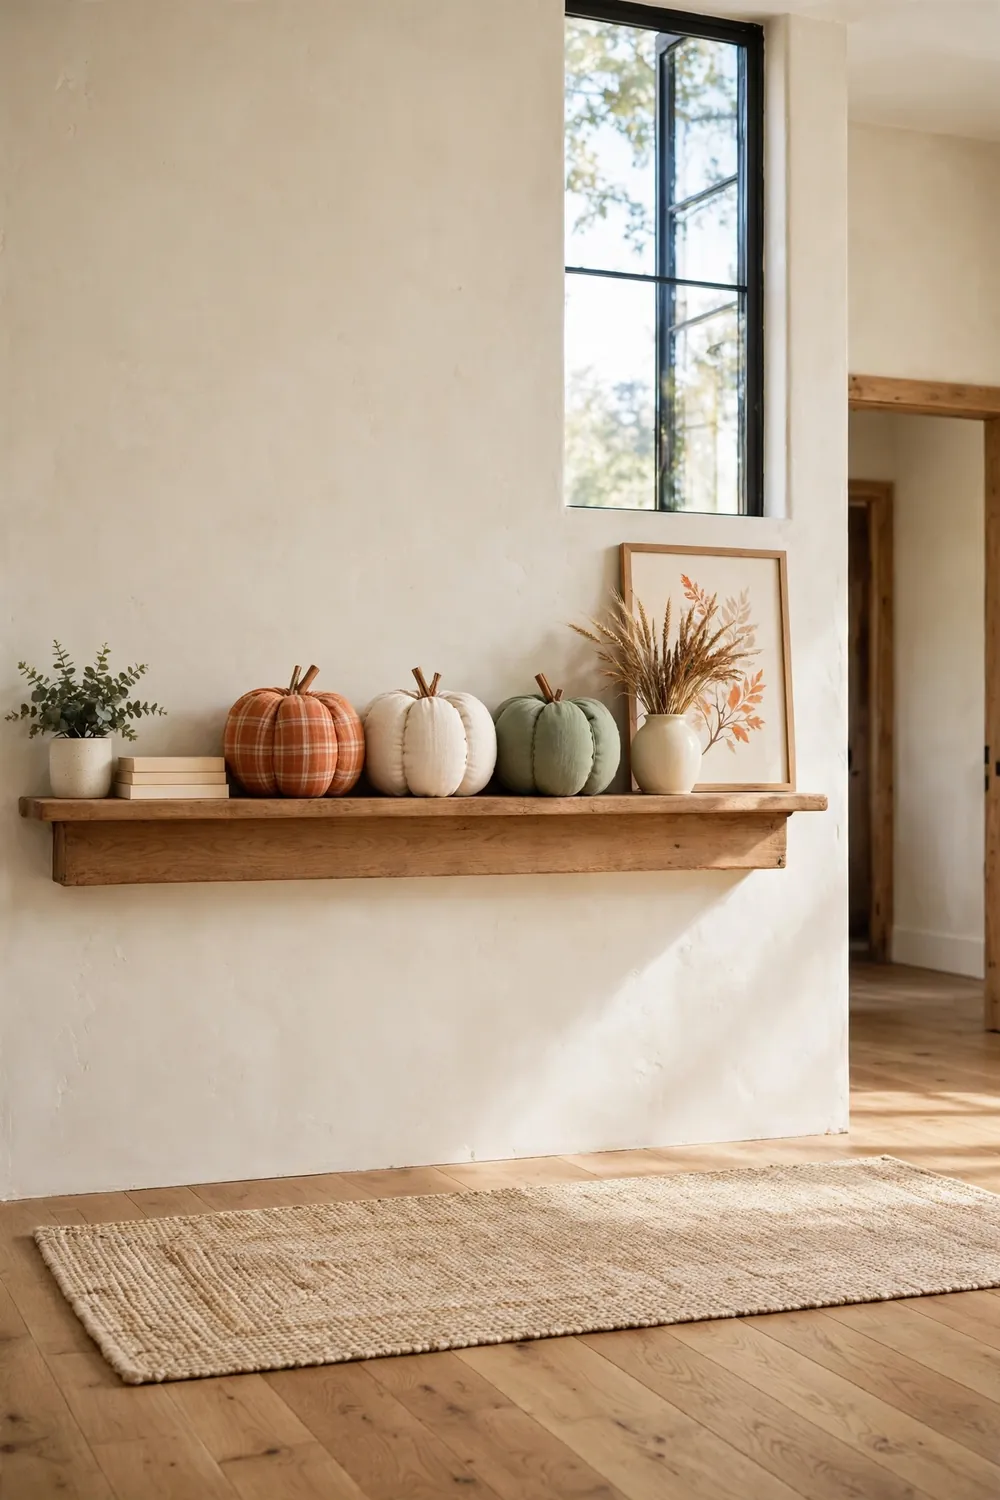
Store-bought fabric pumpkins can cost 15 to 25 dollars each, but a homemade one costs just a few dollars. You pick the print and color, so each pumpkin fits your fall decor. They look sweet grouped in threes on a mantel or shelf. Gather the items below and you will have one done before your coffee cools.
Time: 45 minutes | Difficulty: Easy
What You’ll Need
- Cotton or linen fabric, 1 yard (enough for 3 medium pumpkins)
- Polyester fiberfill, one 12-ounce bag
- Heavy-duty thread, one spool, in a color close to your fabric
- Hand-sewing needle, 1
- Fabric scissors, 1 pair
- Straight pins, about 10
- Ruler or tape measure, 1
- Large plate or bowl, 8 to 10 inches across, as a circle template
- Cinnamon sticks, 3 to 4 inches long, one per pumpkin
- Hot glue gun with one glue stick
- Fabric chalk or washable marker, 1
Step 1: Cut the Fabric Circle
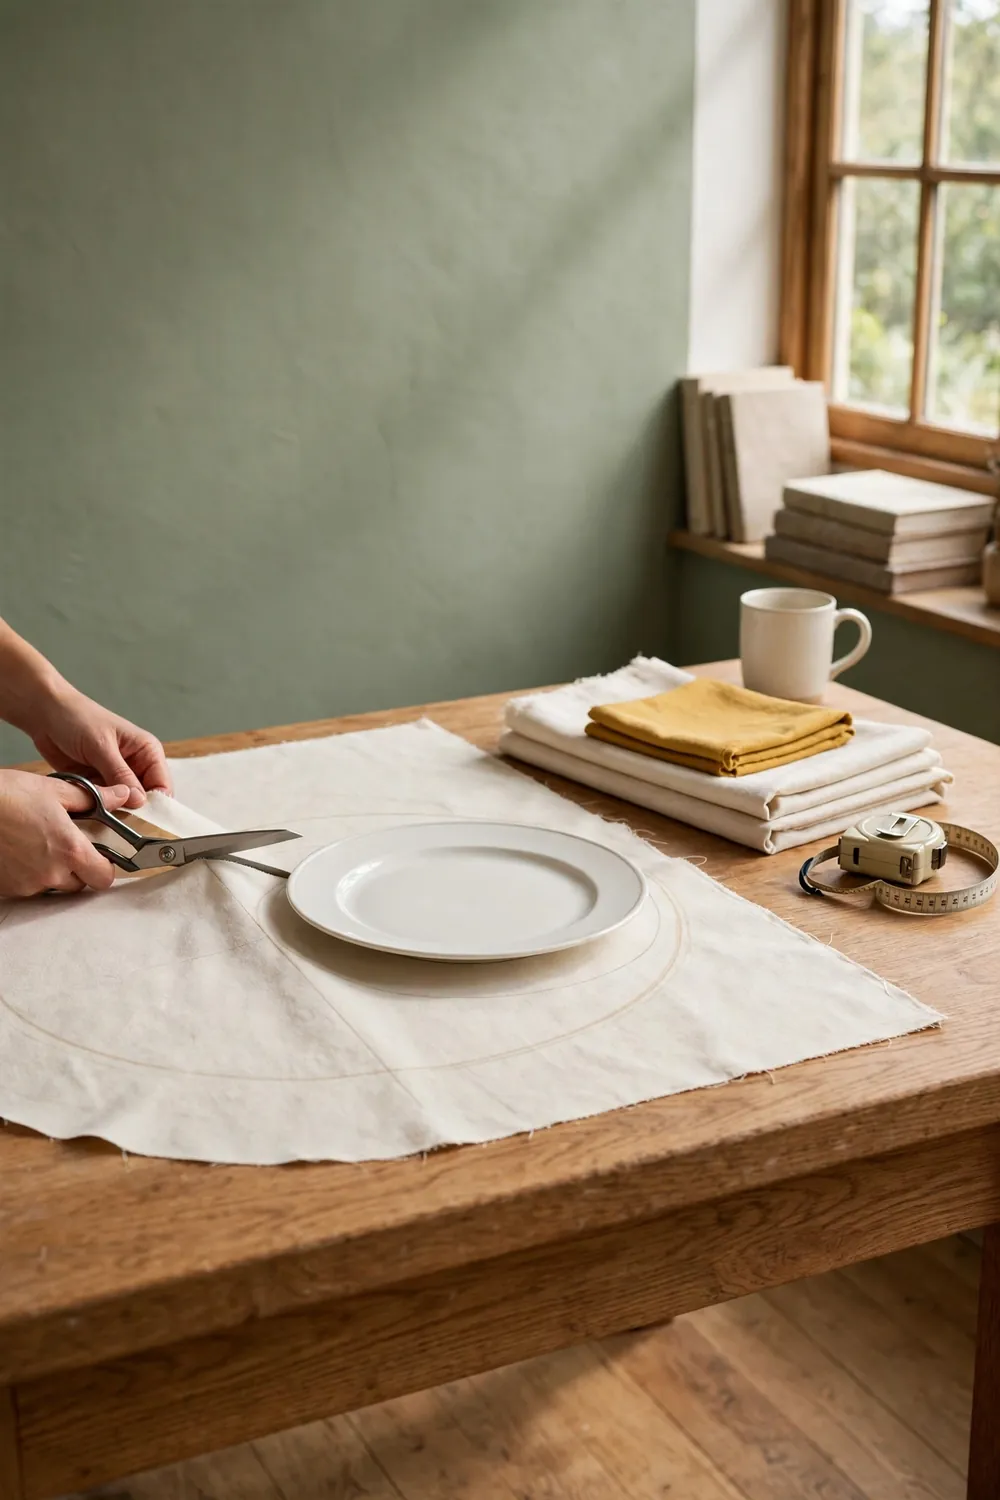
Each pumpkin starts as a flat fabric circle. A 22 inch circle makes a pumpkin about 7 inches wide, a nice size for shelves and mantels. For a small pumpkin use a 15 inch circle, and for a large one use a 28 inch circle.
Lay the fabric flat on your table and trace around the plate with fabric chalk. Cut just past the line with sharp fabric scissors. A clean cut frays less while you sew. If you are making more than one, cut all the circles now so the sewing goes fast.
Step 2: Stitch Around the Edge

Thread your needle with a double strand of heavy-duty thread and knot the end. Sew a running stitch 1/4 inch from the edge, with each stitch about 1/2 inch long. Keep going all the way around until you are back at the start.
Keep the stitches even and leave both thread ends loose. You will pull them soon to gather the fabric. Rest the needle in a pincushion or pin it to a scrap of fabric between steps, so it never lies loose on the table.
Step 3: Stuff the Pumpkin
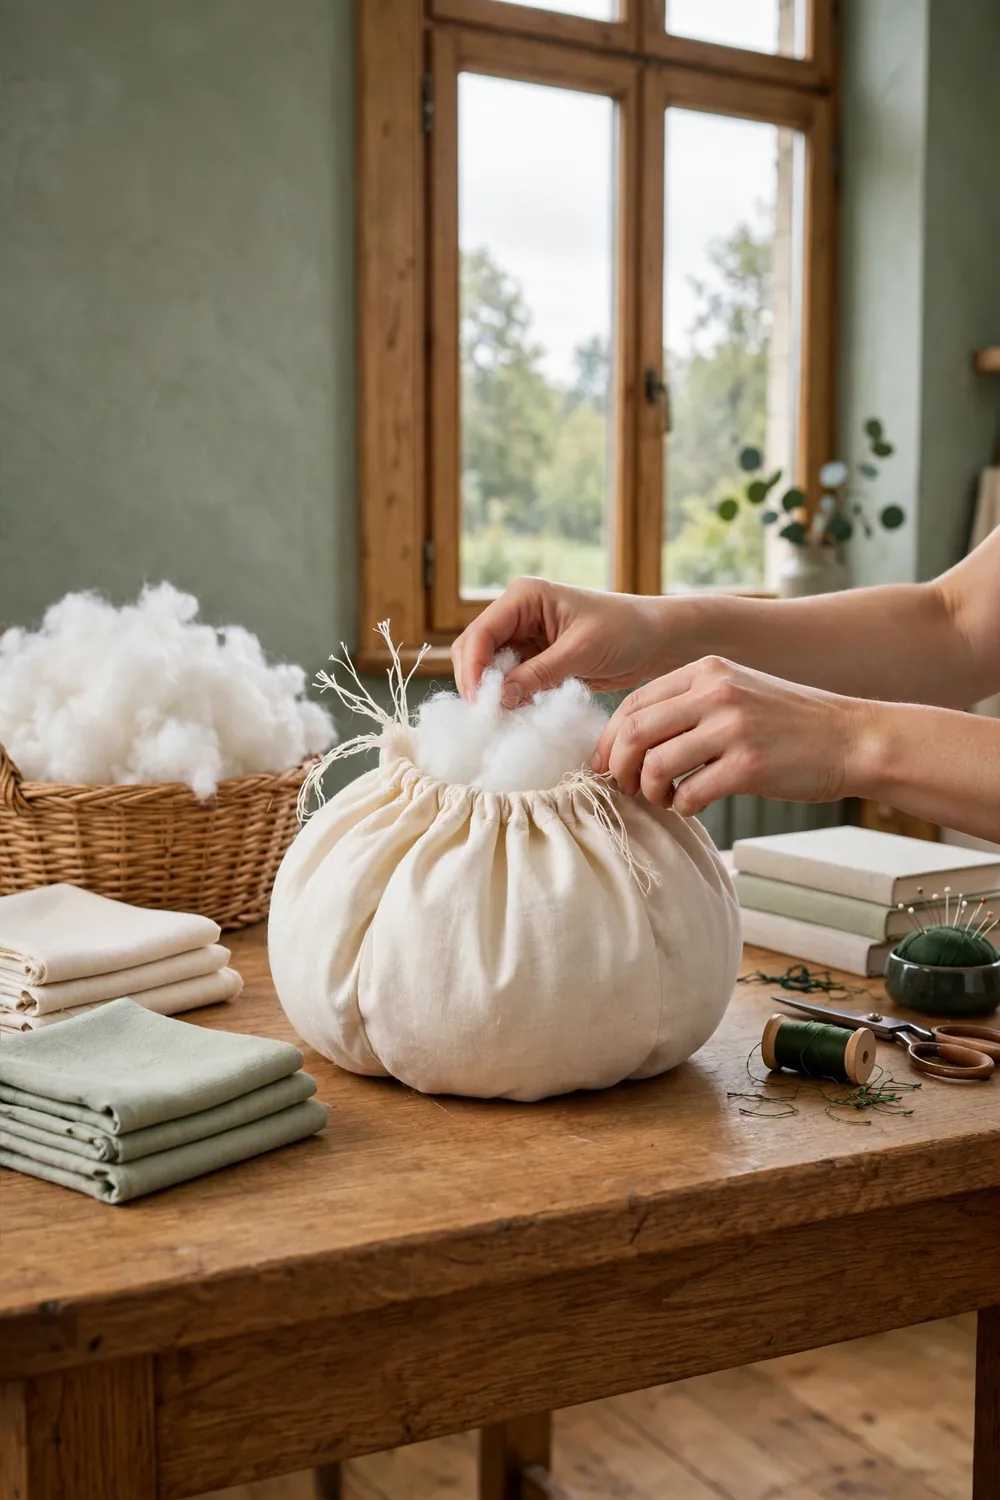
Hold both thread ends and pull gently so the circle bunches into a small pouch. Leave a 3 inch gap at the top for the stuffing. Push in small handfuls of fiberfill, pressing each one down and out to the sides.
Use lots of fill so the pumpkin feels firm and round. Two big handfuls is about right for a medium size. Smooth the fabric as you go to stop thin spots and lumps. A firm pumpkin holds its ribbed shape much better once you tie the wraps.
Step 4: Cinch and Shape the Segments
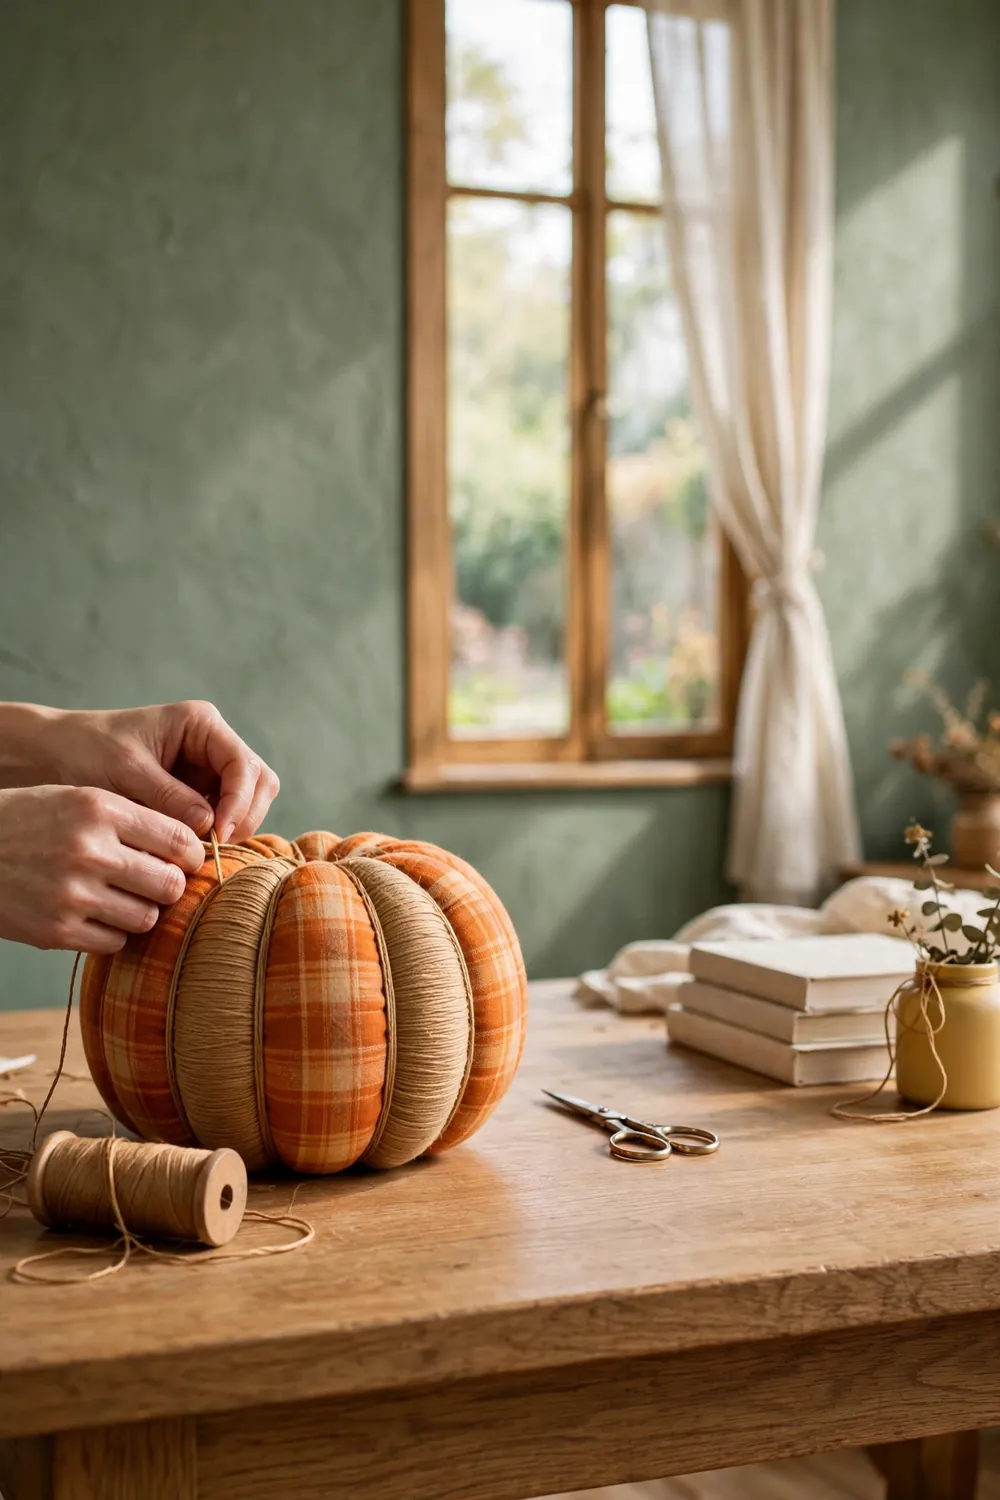
Pull the thread ends tight to shut the opening, then knot them well so the gathers stay put. Cut a 2 yard piece of heavy-duty thread and knot it around the bottom middle of the pumpkin.
Bring the long thread up one side, down through the top middle, and back under the bottom, pulling snug each time to dent the fabric into ribs. Do this 5 or 6 times, with the wraps spaced evenly around the ball. Tie the thread off at the bottom and tuck the knot into the gathers.
Step 5: Add the Stem and Finish
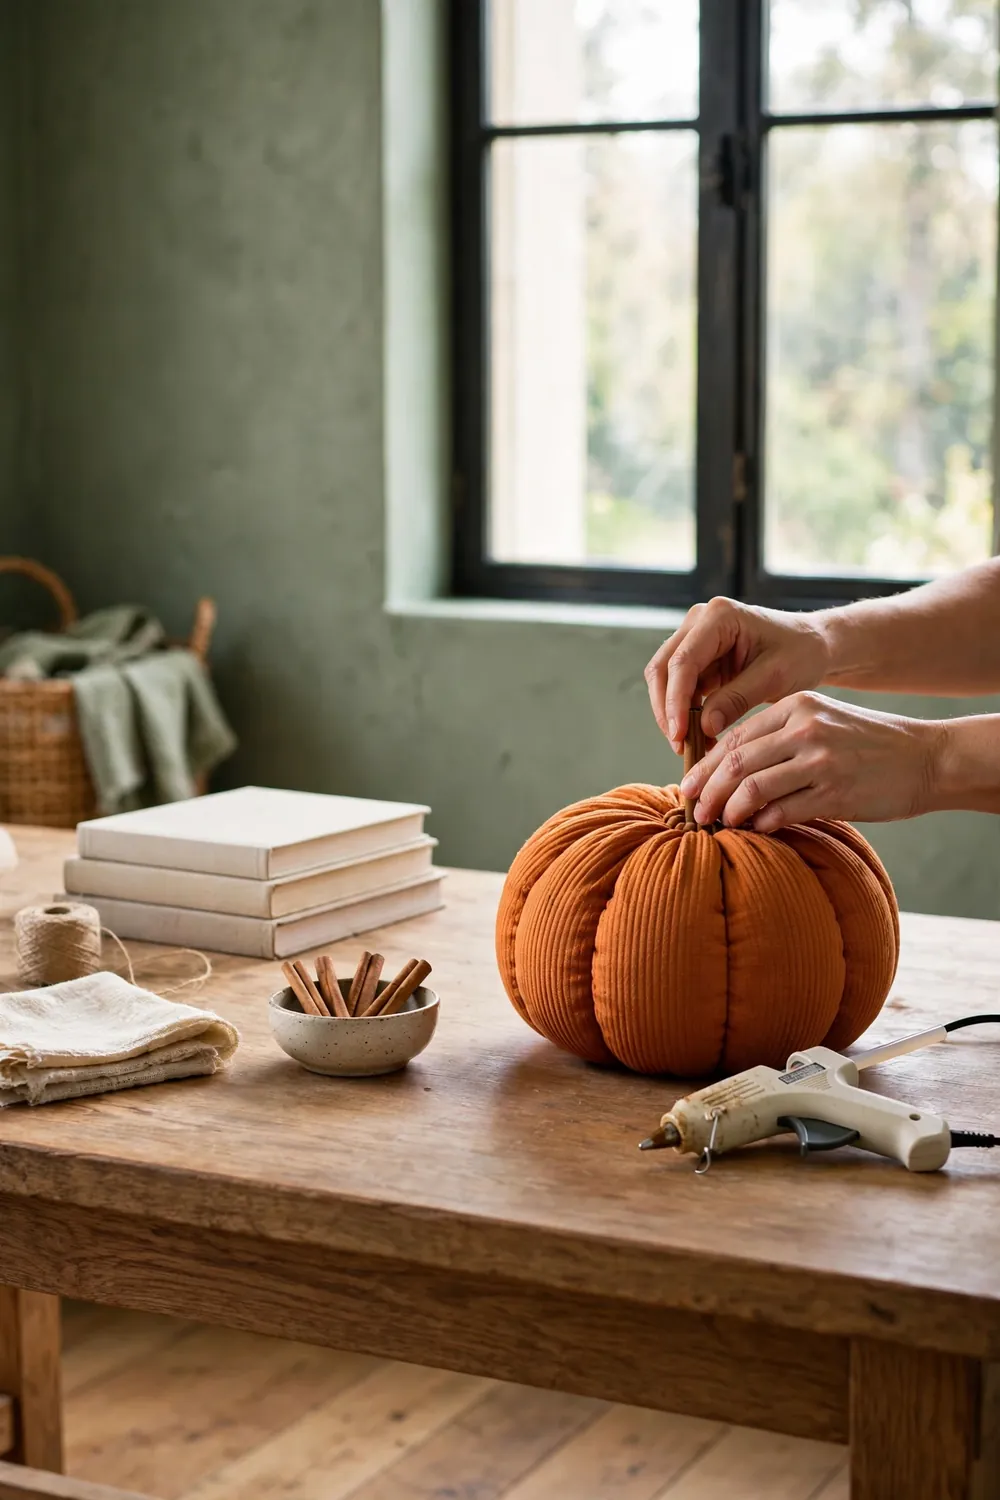
Push the raw gathered edge down into the top middle so it hides inside the pumpkin. Put a ring of hot glue around the top middle and press a cinnamon stick straight down into it. Hold the stick for 30 seconds while the glue sets.
Fluff the fabric ribs with your fingers so they sit evenly around the stem. Snip any loose threads close to the knot. Your pumpkin is done and ready for the mantel. Hot glue gets very hot, so keep little hands clear of the gun and the fresh glue.
How to Choose the Right Fabric
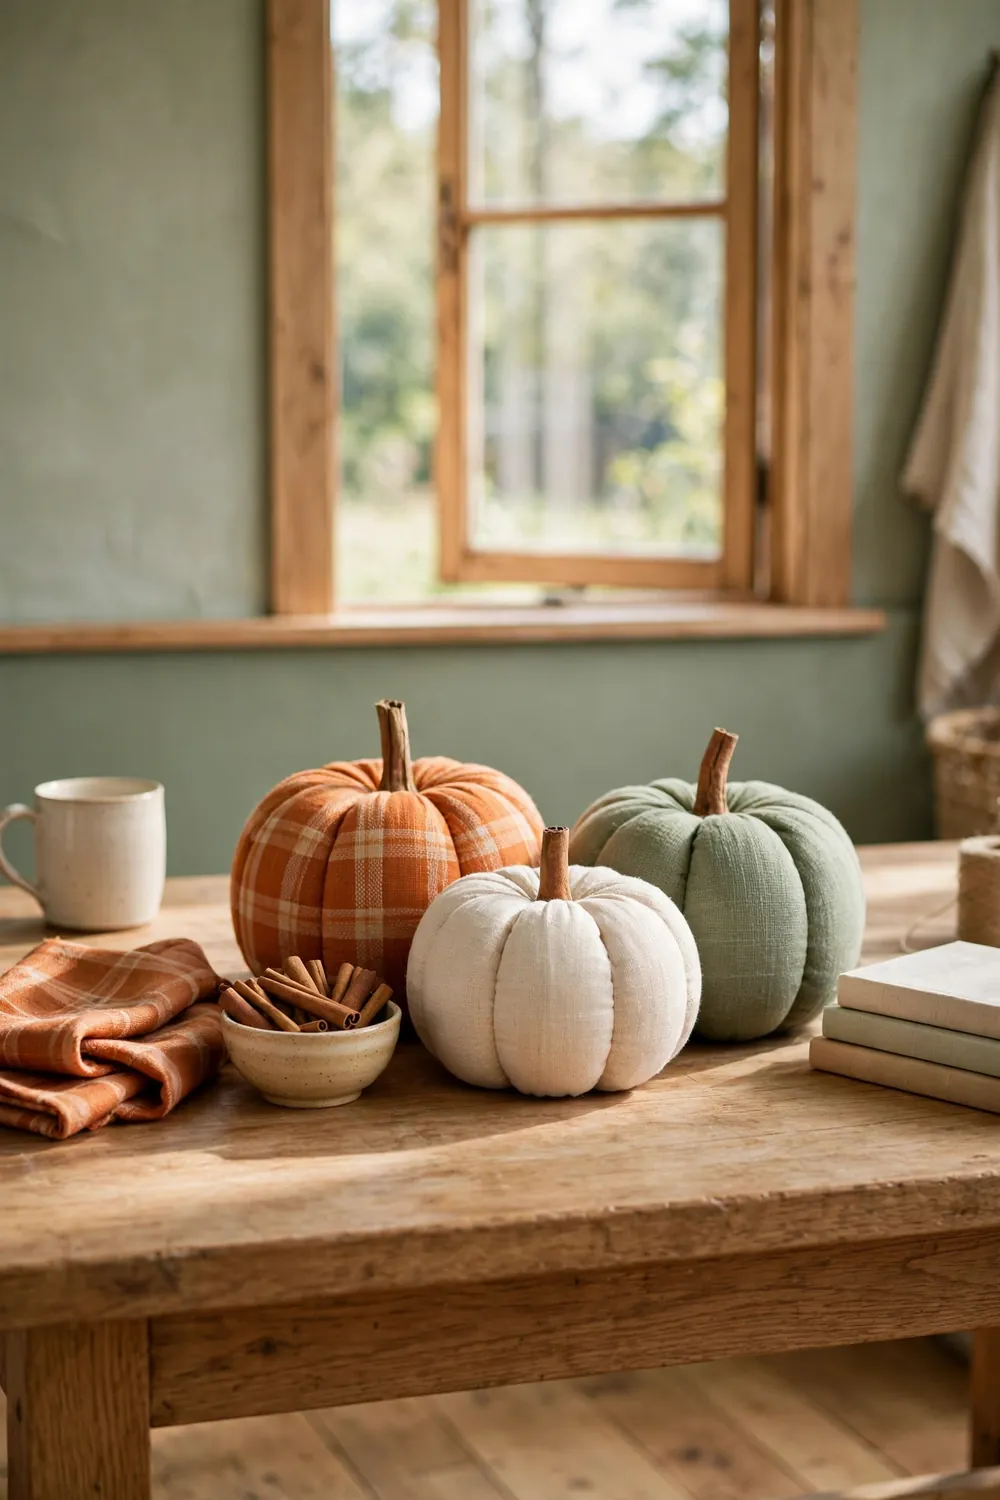
Most woven fabrics work for this project, but some give a tidier result. Mid-weight cottons and linen hold the bunched shape well and show the ribbed wraps clearly. Flannel and velvet make softer pumpkins that suit a rustic fall look.
- Quilting cotton: crisp ribs, easy to sew, lots of prints
- Linen: calm texture, nice with soft fall colors
- Flannel: soft and warm, great for farmhouse style
- Velvet: rich look, best for special display pumpkins
- Skip stretchy knits: they lose shape when stuffed
Wash and press your fabric before you cut so the done pumpkin keeps its size. Dark prints hide the stuffing better than pale solids. Pick a thread color close to your fabric so the wraps blend in.
Frequently Asked Questions
Can you make these pumpkins without any sewing?
Yes. Use a hot glue gun in place of the needle and thread in step 2. Run a thin bead of glue along the turned edge, press it down in small parts, and hold each part till it cools. The glue holds through the stuffing step, and the done pumpkin looks the same.
What fabric works best for fabric pumpkins?
Quilting cotton and linen are the easiest picks since they hold a crisp bunched shape. Flannel and velvet give a softer, cozier feel for a rustic look. Skip stretchy knit fabrics, as they lose shape when you pack in the stuffing.
How do you keep the pumpkin from looking lumpy?
Stuff in small handfuls and press each one flat to the sides before you add more. Use more fiberfill than you think you need, since a firm pumpkin smooths out better than a soft one. Rub the fabric with your palm as you go to stop thin spots.
How do you clean fabric pumpkins?
Wipe them with a damp cloth and let them air dry. Keep them away from sinks and rain, since wet stuffing takes very long to dry and can smell musty. Store them in a dry bin after fall and they will puff back up next season.
Your Fabric Pumpkins, Refreshed
You now know each step of this fabric pumpkins diy, from the cut circle to the glued stem. Mix fabrics, prints, and sizes for a full fall look on the mantel, the entry table, or the dining table.
They pack flat in a bin after the season and puff right back up next fall.