
DIY Tray Ideas: 21 Projects for Coffee Tables and Counters
These 21 DIY tray ideas turn plain wood and simple craft store blanks into trays that look made to order. A good tray gathers remotes and candles in one neat spot, so the coffee table always looks styled with zero daily effort.
Most of these projects take one afternoon and need only basic tools you likely own already. You will find painted wood trays, a poured resin design, a tile mosaic build, and lined baskets that work just as well on kitchen counters. Pick the style that fits your room and start this weekend.
Every idea lists easy materials and the drying time where it matters. Nothing here needs special skills, just a free hour and a little patience.
1. Painted Crate Tray With Rope Handles
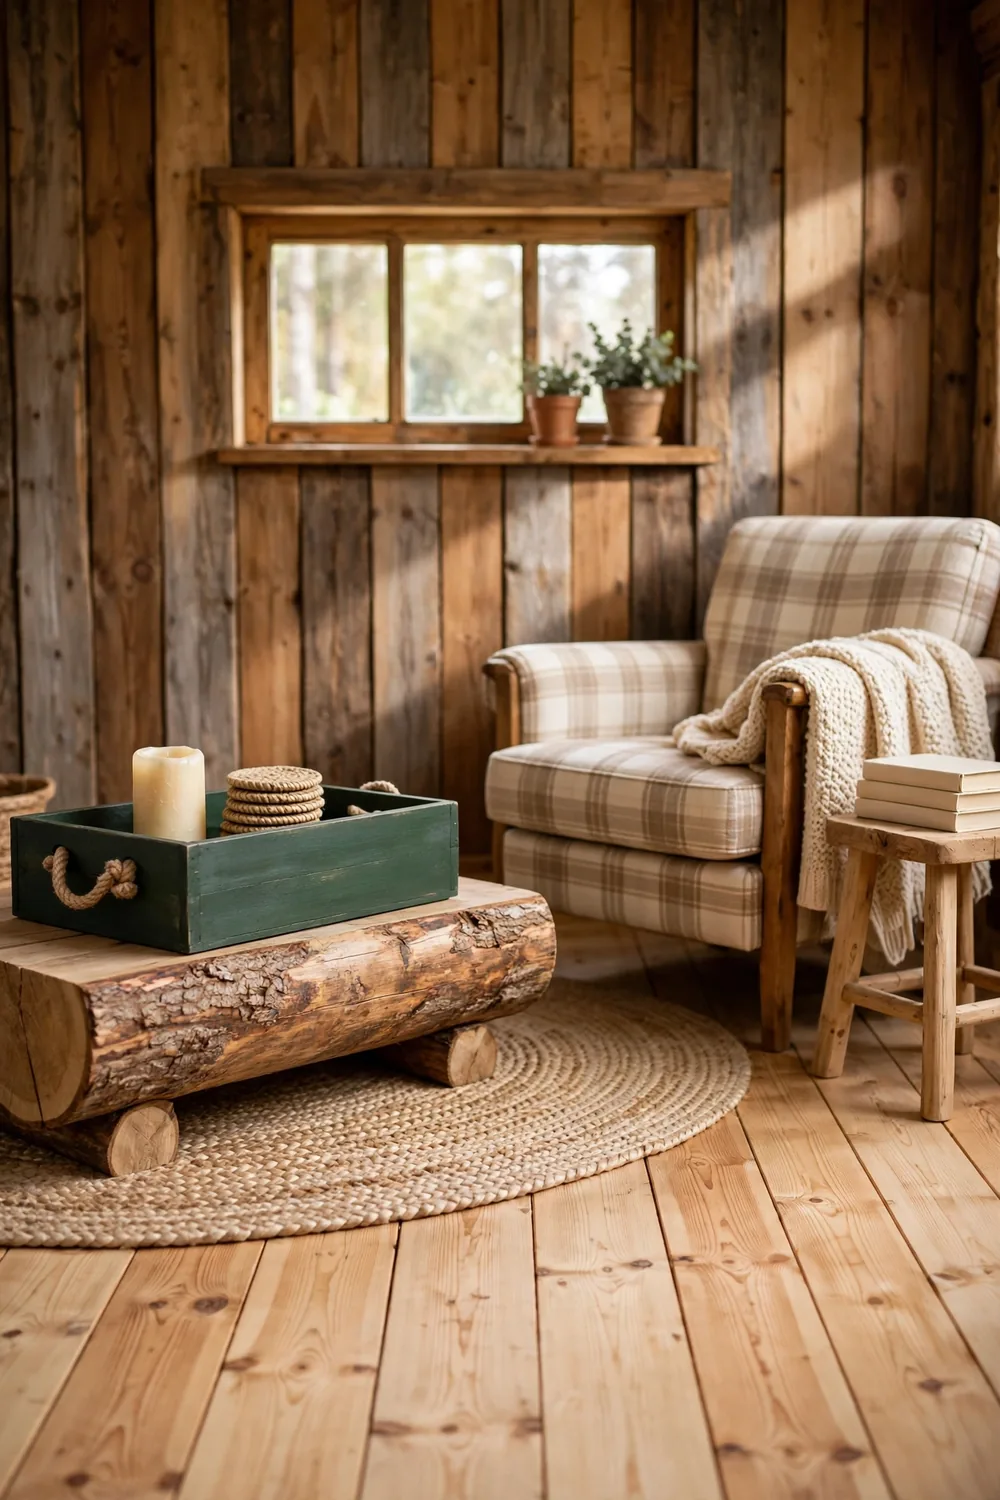
A small wood crate from the craft store becomes a sturdy tray with paint and rope. Sand it smooth, then brush on two coats of chalk paint, drying one hour between coats. Knot 18-inch lengths of thick cotton rope through the slats on each short side for handles.
Dab hot glue under each knot so the handles hold a full load. Seal the paint with a clear matte topcoat for easy wiping. It corrals the remote, a candle, and coasters on the coffee table.
2. Round Mirrored Tray With Gold Trim

A 14-inch round mirror on a wood base makes a tray that bounces light around the room. Cut a 16-inch plywood circle, or buy a precut round. Center the mirror, fix it with mirror adhesive, and let it cure for 24 hours.
Glue half-round trim around the edge to form a lip that stops sliding. Paint the trim gold and let it dry for one hour. The tray suits perfume bottles on a dresser or a candle and small plant on the coffee table.
3. Decoupage Floral Napkin Tray
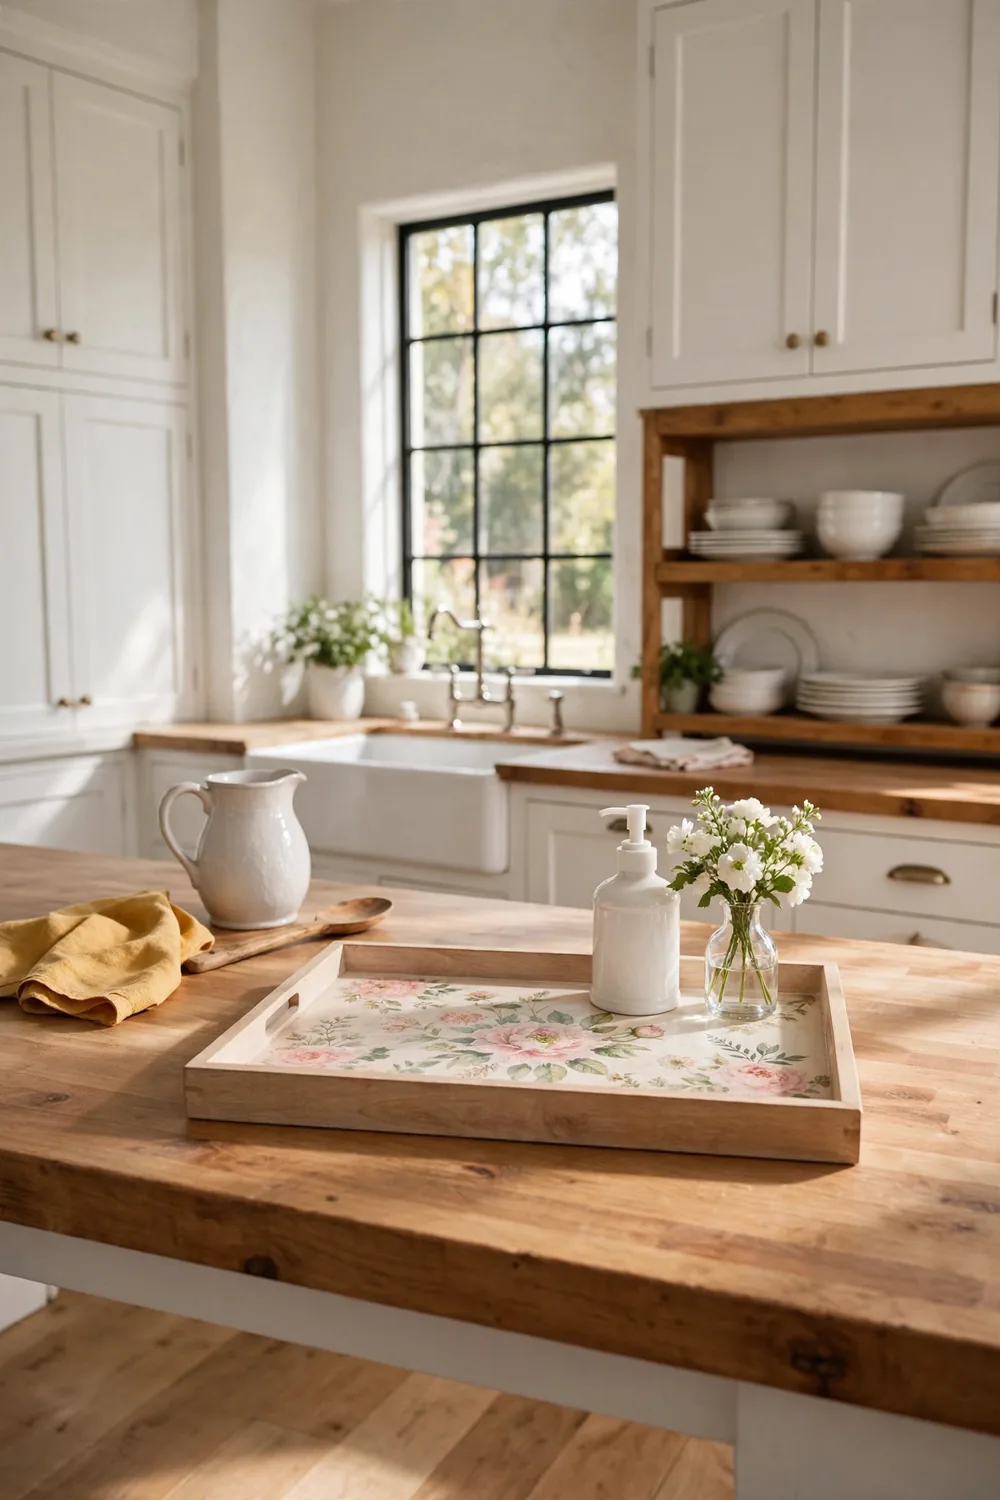
Pretty paper napkins give a plain 11 by 15 inch wood tray a custom printed look. Sand the tray lightly, then brush decoupage glue over the flat bottom. Lay the napkin down smooth, working from the center out to push air bubbles away.
Let it dry for 20 minutes, then add two thin topcoats, drying one hour between coats. Trim the edges with a craft knife for a clean line. It shines on the kitchen counter holding a soap dispenser and a small vase.
4. Faux Marble Contact Paper Tray

Marble contact paper turns a basic MDF tray into a stone lookalike for a few dollars. Cut the paper one inch larger than the tray bottom on all sides. Peel back a corner, line it up, and smooth it down with a credit card to chase out bubbles.
Fold the extra inch up the inside walls and press flat. Add two cup pulls from the hardware store as handles with short screws. Wipe with a damp cloth only, since soaking can lift the paper edges.
5. Lined Seagrass Basket Tray

A shallow seagrass basket from the dollar store works as a soft, textured tray. Choose one about 15 by 11 inches with low sides. Cut cotton fabric to fit the inside bottom and glue it down so small items do not catch on the weave.
Let the glue set for one hour before loading the basket. The weave hides dust and crumbs between cleanings. Use it for rolled throw blankets on the coffee table or fruit on the counter.
6. Chalkboard Label Kitchen Tray
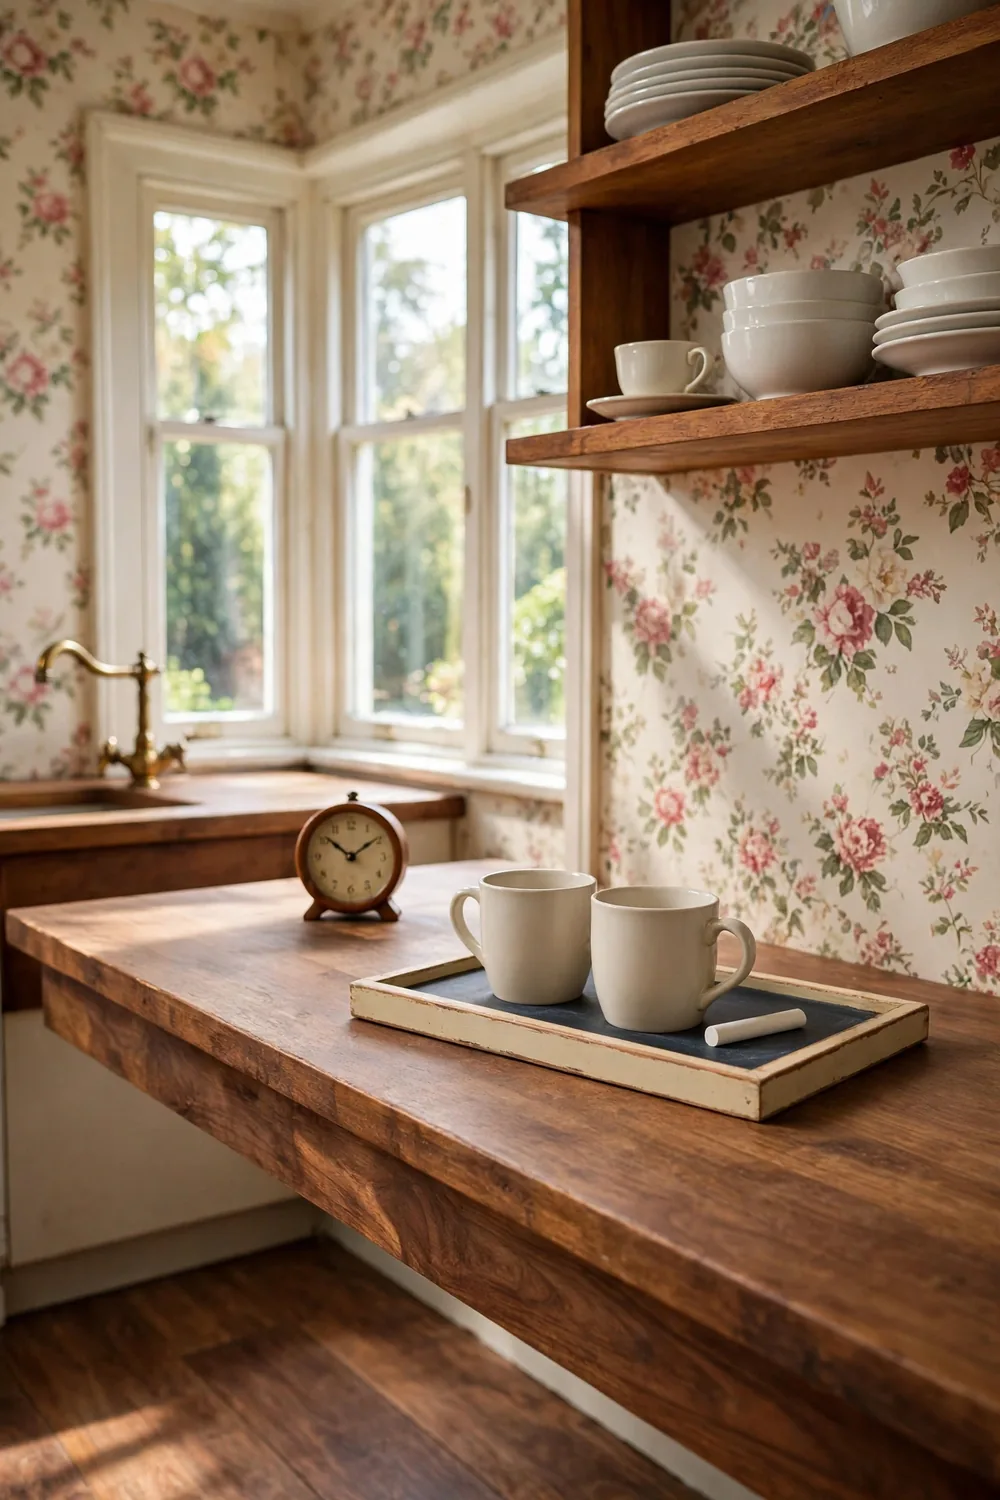
A small wood tray with a chalkboard center doubles as a serving piece and message board. Paint the center with two coats of chalkboard paint, drying one hour between coats. Let it cure for 24 hours, then rub chalk over it and wipe clean to season the surface.
Paint the rim a warm cream. Write the menu or a welcome note with a chalk marker. It sits by the coffee maker on the counter or carries mugs to the living room.
7. Mosaic Tile Coffee Table Tray

One-inch mosaic tiles turn a 12 by 12 inch wood base into a sturdy art piece. Spread tile adhesive with a notched trowel and press the tiles in a grid, leaving a quarter-inch gap. Let the adhesive set for 24 hours before grouting.
Push sanded grout into the gaps, wipe the haze off with a damp sponge, and let it cure for 24 hours. Seal the grout once dry so spills wipe up fast. The tile weight keeps the tray planted on the coffee table.
8. Leather Strap Handle Tray

Leather straps give a plain wood tray a rich, crafted feel. Buy a 12 by 16 inch unfinished tray and two 12-inch leather straps. Mark spots two inches from each short end and fix each strap with two brass rivets and a rivet setter.
Sand the tray and rub in furniture wax for a soft sheen, buffing after 15 minutes. The straps arch upright so the tray lifts with one hand. It carries books and a mug from room to room without a wobble.
9. Stenciled Farmhouse Tray
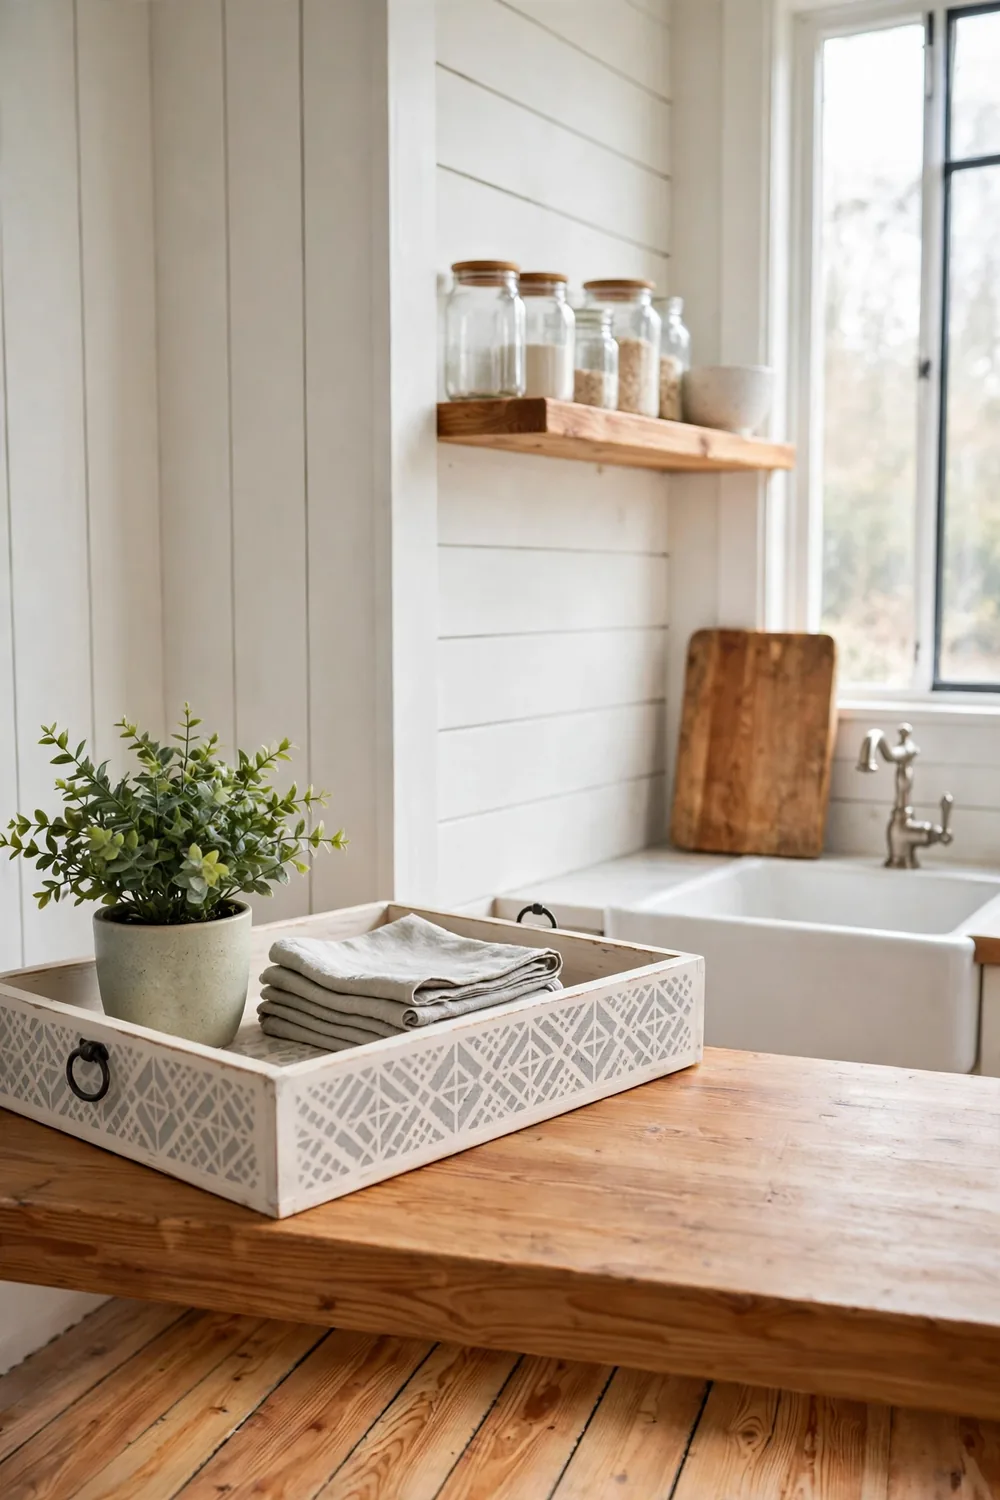
A stencil adds a graphic touch to a basic 10 by 14 inch tray. Paint the tray warm white and let it dry for two hours. Tape a grain sack stencil to the center and dab on gray paint with a nearly dry brush to stop bleeding.
Lift the stencil straight up while the paint is tacky for crisp lines. Seal with a matte topcoat after one hour. Add black cup pulls. It fits a coffee table vignette with a small plant and linen napkins.
10. Gold Leaf Edged Tray

Gold leaf sheets dress up a plain tray blank with real shimmer. Brush adhesive size along the rim and wait 30 minutes until it turns tacky. Lay the leaf over the tacky spots and press gently with a soft brush.
Brush off loose flakes and seal with a clear topcoat made for metal leaf, drying one hour. Paint the tray base deep green first so the gold pops. Use it to hold candles or serve dessert plates at a gathering.
11. Ocean Wave Resin Tray
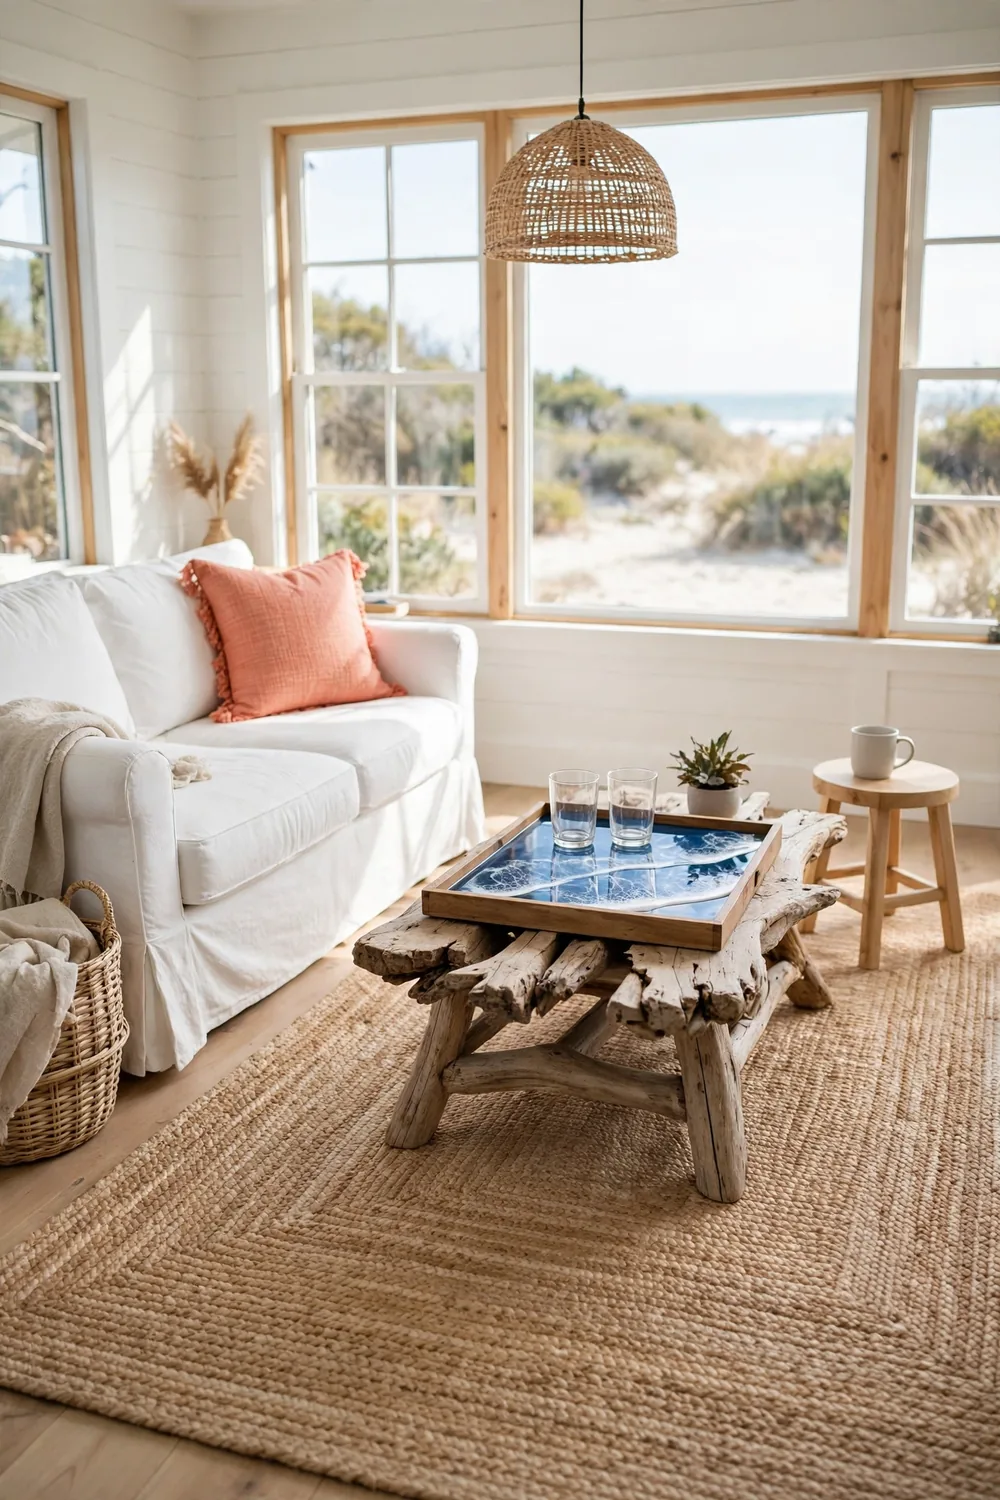
Epoxy resin poured over a wood tray makes a glossy wave design. Tape the tray edges to catch drips. Mix the two-part epoxy per the package and tint small cups blue and white. Pour the colors in bands and drag a toothpick through for waves.
Pop bubbles with a heat gun held six inches above. Let the resin cure for 24 to 48 hours in a dust-free spot. The hard finish wipes clean, so it works for drinks on the coffee table.
12. Rope Wrapped Round Tray

Cotton rope wrapped around a 13-inch round tray gives a coastal, handmade look. Start at the outer edge and hot glue the rope end down. Wrap tight rings across the bottom, adding a dot of glue every two inches so nothing shifts.
At the center, trim the rope and glue the end flat. Wrap one more ring around the rim for a finished edge. The texture grips cups so they do not slide. Style it on the coffee table with a candle and shells.
13. Cedar Plank Outdoor Tray

Cedar boards make a tray that handles patio duty and still looks good inside. Cut three 1 by 4 boards to 18 inches and glue them edge to edge with exterior wood glue. Clamp for two hours, then screw two battens underneath for strength.
Sand smooth and brush on two coats of exterior polyurethane, drying four hours between coats. Add rope handles through drilled holes on each end. It carries drinks outside in summer and firewood tools by the hearth in winter.
14. Vintage Window Frame Tray

An old six-pane window sash about 14 by 18 inches becomes a tray full of charm. Clean the glass well and lightly sand the wood frame. Paint the frame with two coats, drying two hours between coats, and distress the edges lightly.
Screw two cup pulls to the short ends for handles. Seal the paint with a clear topcoat. Set it over a pretty runner or scatter dried flowers under the glass. It suits a coffee table in a collected, vintage room.
15. Concrete Catch-All Tray
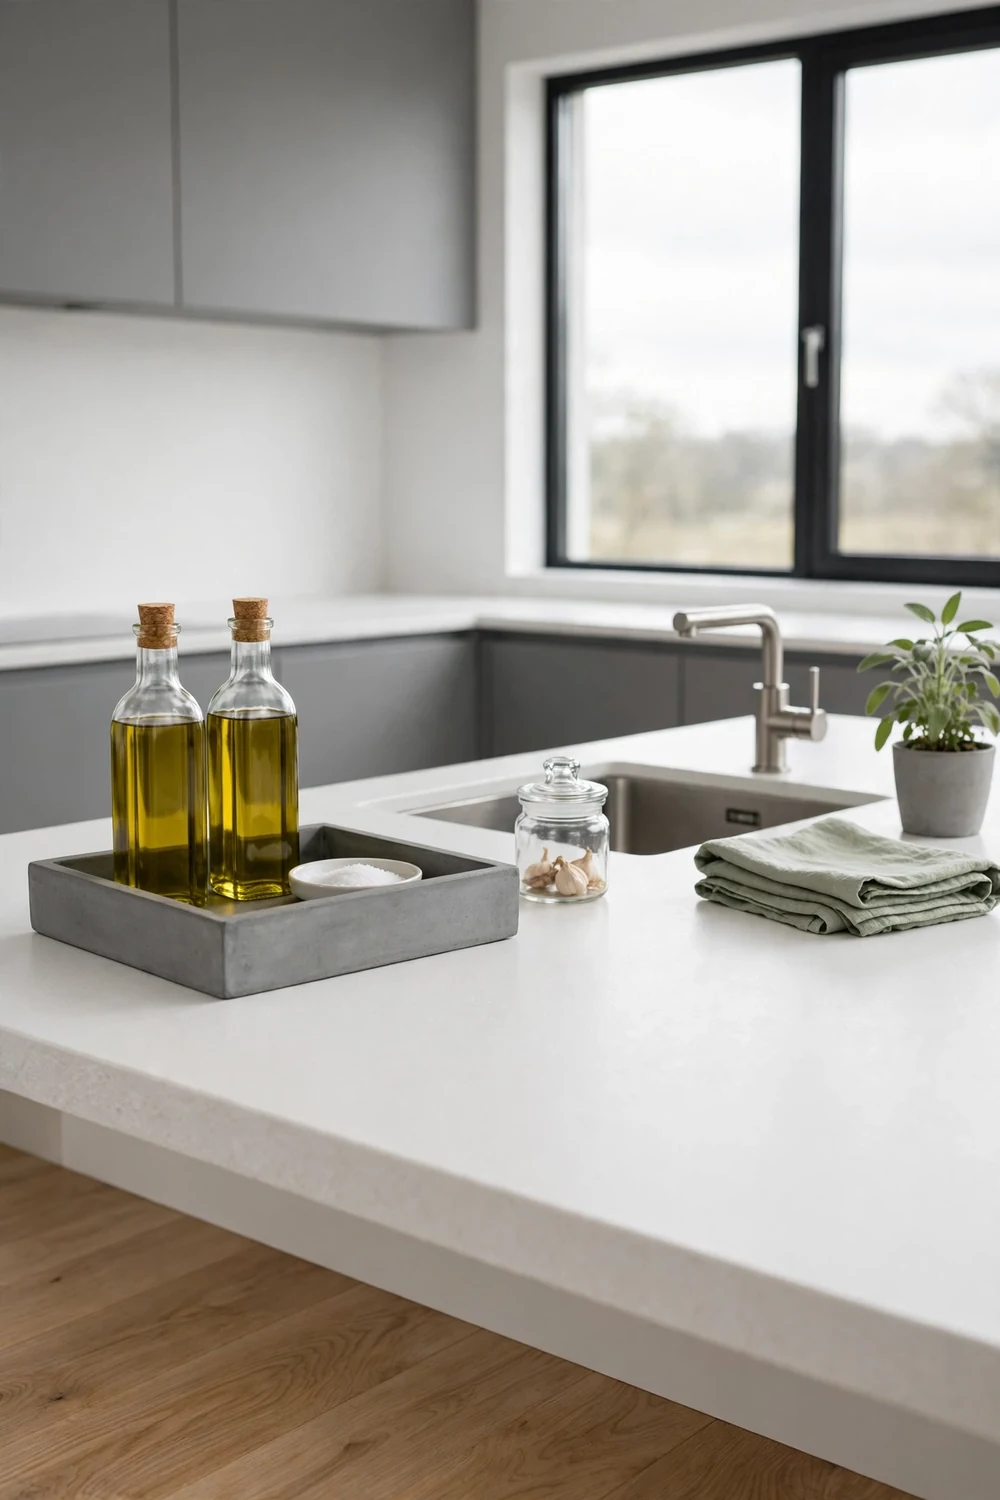
A 10 by 14 inch concrete tray brings an industrial edge to the counter. Build a simple mold from melamine boards, or use a shallow plastic bin as a form. Mix the concrete thick, pour it in, and tap out air bubbles.
Let it cure for 48 hours before removing the mold, then sand the edges smooth. Seal with a food-safe sealer so oils do not stain it. The heavy tray stays put by the stove holding oil bottles and a small dish of salt.
16. Braided Fabric Strip Tray

Braided fabric strips turn a plain tray into a soft, colorful piece. Tear cotton fabric into one-inch strips and braid three strands into long ropes. Coil the braid inside a 12-inch round base, gluing as you go so each ring sits tight.
Trim the end and tuck it under the last ring with extra glue. Use fabrics that match your room, mixing solids and small prints. The soft top protects the table under hot mugs and makes a cozy catch-all for keys.
17. Stained Glass Look Tray
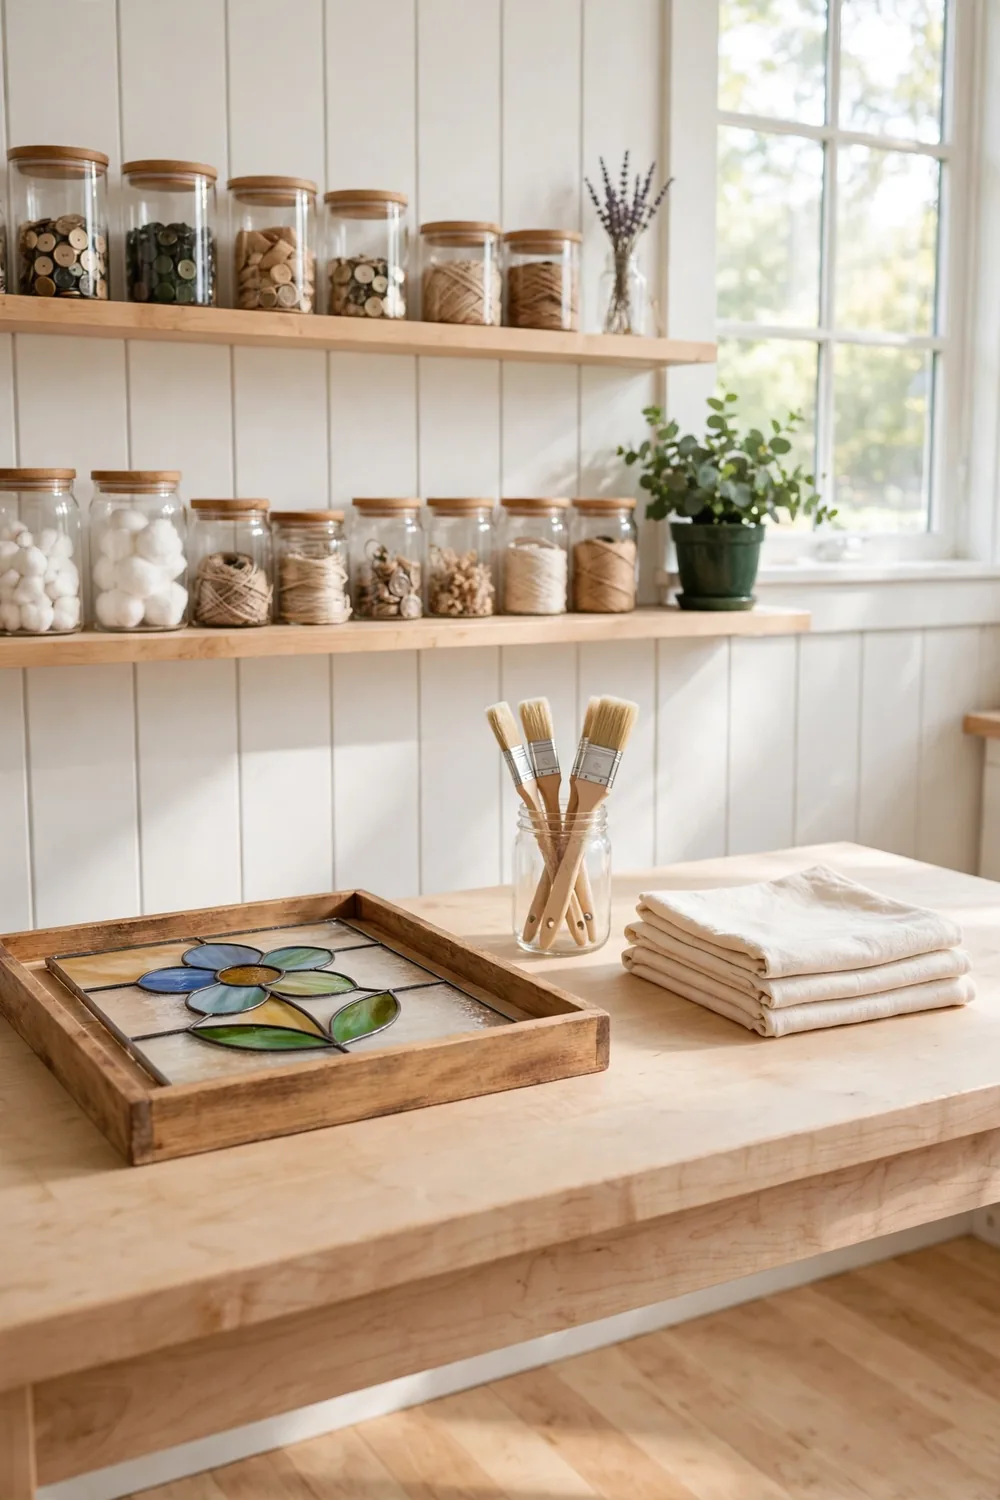
Gallery glass paint gives a tray insert the look of stained glass for little cost. Fit clear acrylic into a wood tray with a recessed bottom. Draw a simple flower or geometric design on paper, slip it under the acrylic, and trace the lines.
Fill each section with glass paint and let it dry for 24 hours without moving the tray. The colors glow when light hits them. Set it near a bright window or on the coffee table with a candle behind it.
18. Drawer Front Repurposed Tray
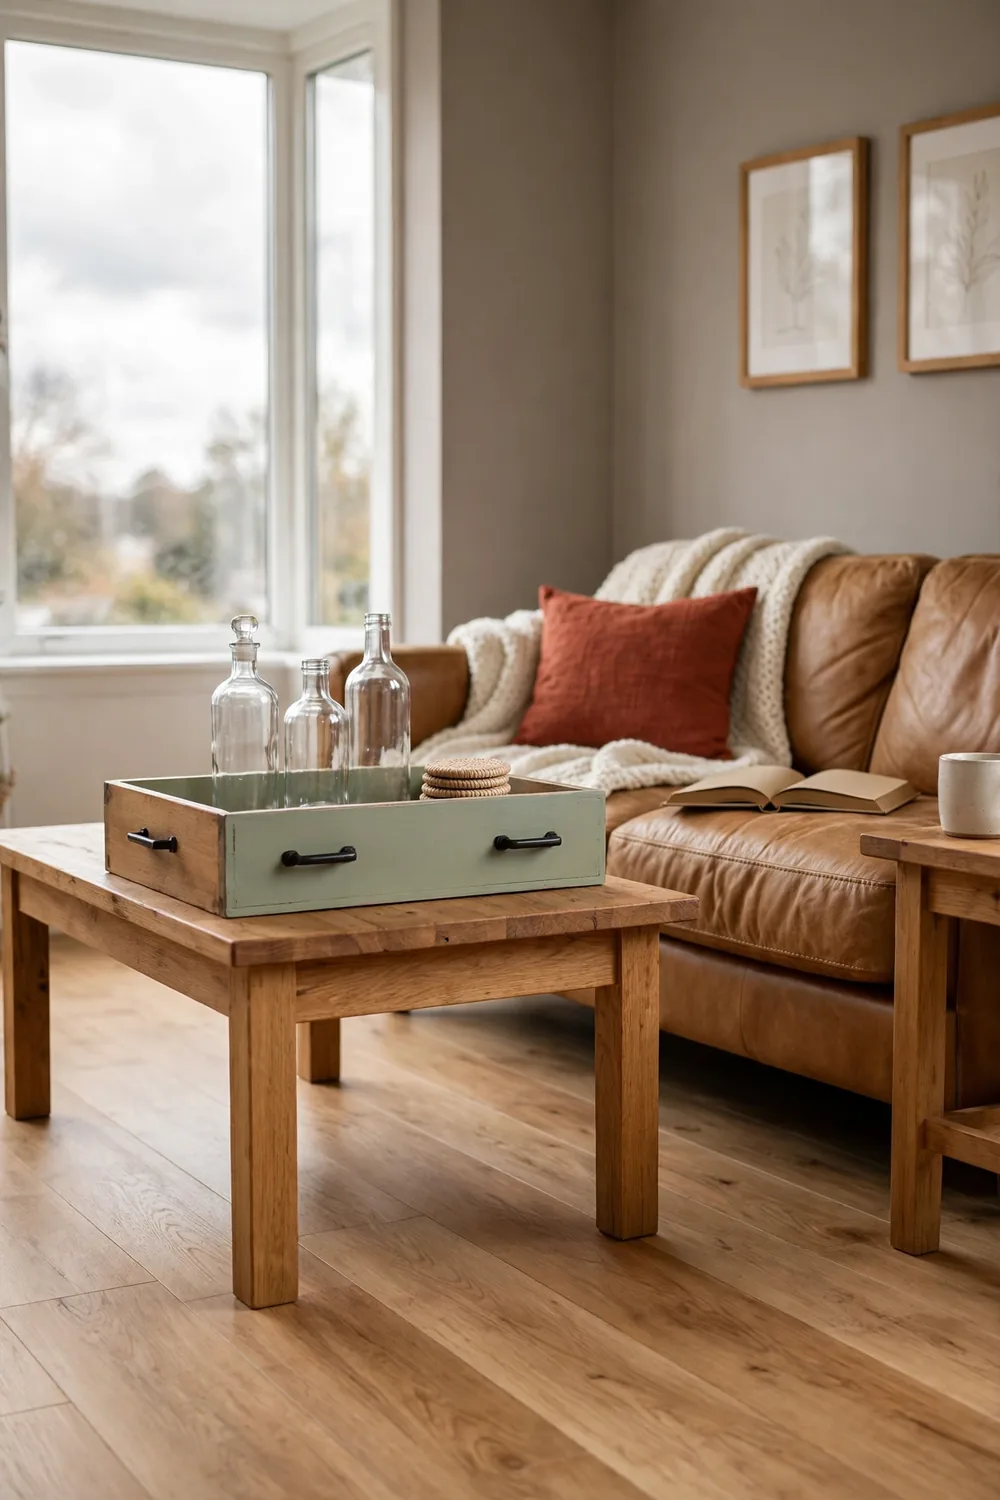
An old drawer from a thrift store dresser makes a deep, roomy tray. Pick one about 14 by 20 inches with solid sides. Clean it well, sand lightly, and paint the outside with two coats, drying two hours between coats.
Leave the inside natural or line it with pretty paper. Add two bar pulls to the short ends as handles. The tall sides keep bottles steady, so it works as a bar tray on the counter or a supply holder on the coffee table.
19. Cork Tile Coffee Tray

Cork tiles make a tray that loves hot mugs. Glue four six-inch cork squares into a shallow 13 by 13 inch wood tray. Let the glue dry for two hours, then trim rough edges with a craft knife.
Stain the frame a warm walnut and seal it with a matte topcoat. The cork soaks up drips and shields the table from heat rings. Keep it on the counter as a coffee station base for the mugs and sugar bowl.
20. Metallic Gold Spray Tray

A thrift store tray gets new life with metallic spray paint. Clean it and scuff with fine sandpaper so the paint grips. Spray light, even coats from eight inches away, waiting 30 minutes between coats, and let it harden for two hours.
Glue small ball feet to the bottom corners so the tray sits level. The gold finish catches the light and dresses up books and a candle on the coffee table. Touch up chips with a small bottle of matching gold craft paint.
21. Linen Padded Serving Tray

A padded tray protects wood tables and looks soft and inviting. Cut one-inch foam to fit a 14-inch round base and wrap it with linen. Pull the fabric tight underneath and staple it every two inches for a smooth top.
Glue a felt circle under the base to stop scratches. Choose a linen shade that matches your sofa for a pulled-together look. It carries breakfast in bed or holds the remote and reading glasses on the ottoman.
Frequently Asked Questions
What are the easiest diy tray ideas for a beginner?
Start with the painted crate tray or the faux marble contact paper tray. Both need only basic supplies and no power tools. You can finish either one in a single afternoon. Pick a small tray blank so the project feels quick and doable.
What size tray works best on a coffee table?
A tray between 14 and 20 inches long suits most coffee tables. It should cover about one third of the table surface so books and decor still fit around it. For a large sectional table, use two smaller trays at each end. Measure the table before you buy or build.
How do you seal a DIY tray for daily use?
Brush on two thin coats of clear matte polyurethane and let each coat dry for two hours. For trays that hold drinks, pick a water-resistant topcoat made for tabletops. Resin and tile trays need no extra sealer on the design itself. Reapply the topcoat once a year on hard-use trays.
Can you use a wooden tray for food?
Yes, if the finish is food-safe. Use a food-safe oil or a sealer labeled food-safe on any surface that touches food. Keep painted or resin-coated trays for wrapped snacks and dry goods. Line the tray with a cloth napkin when serving unwrapped food.
Happy Crafting
A handmade tray brings order and style to the busiest spots in the house. Start with the project that matches the tools you own, then try a bolder finish on the next one. Small upgrades like these make daily routines feel a little more special, and guests always notice the details.
Keep this list handy for your next free weekend.