
How to Make a Thankful Tree for Thanksgiving (Step by Step)
The days before Thanksgiving fill the house with small, happy jobs. The pies are planned, the guest beds are made, and the table is waiting for one last touch. A thankful tree brings the whole family into the spirit of the day before anyone sits down to eat.
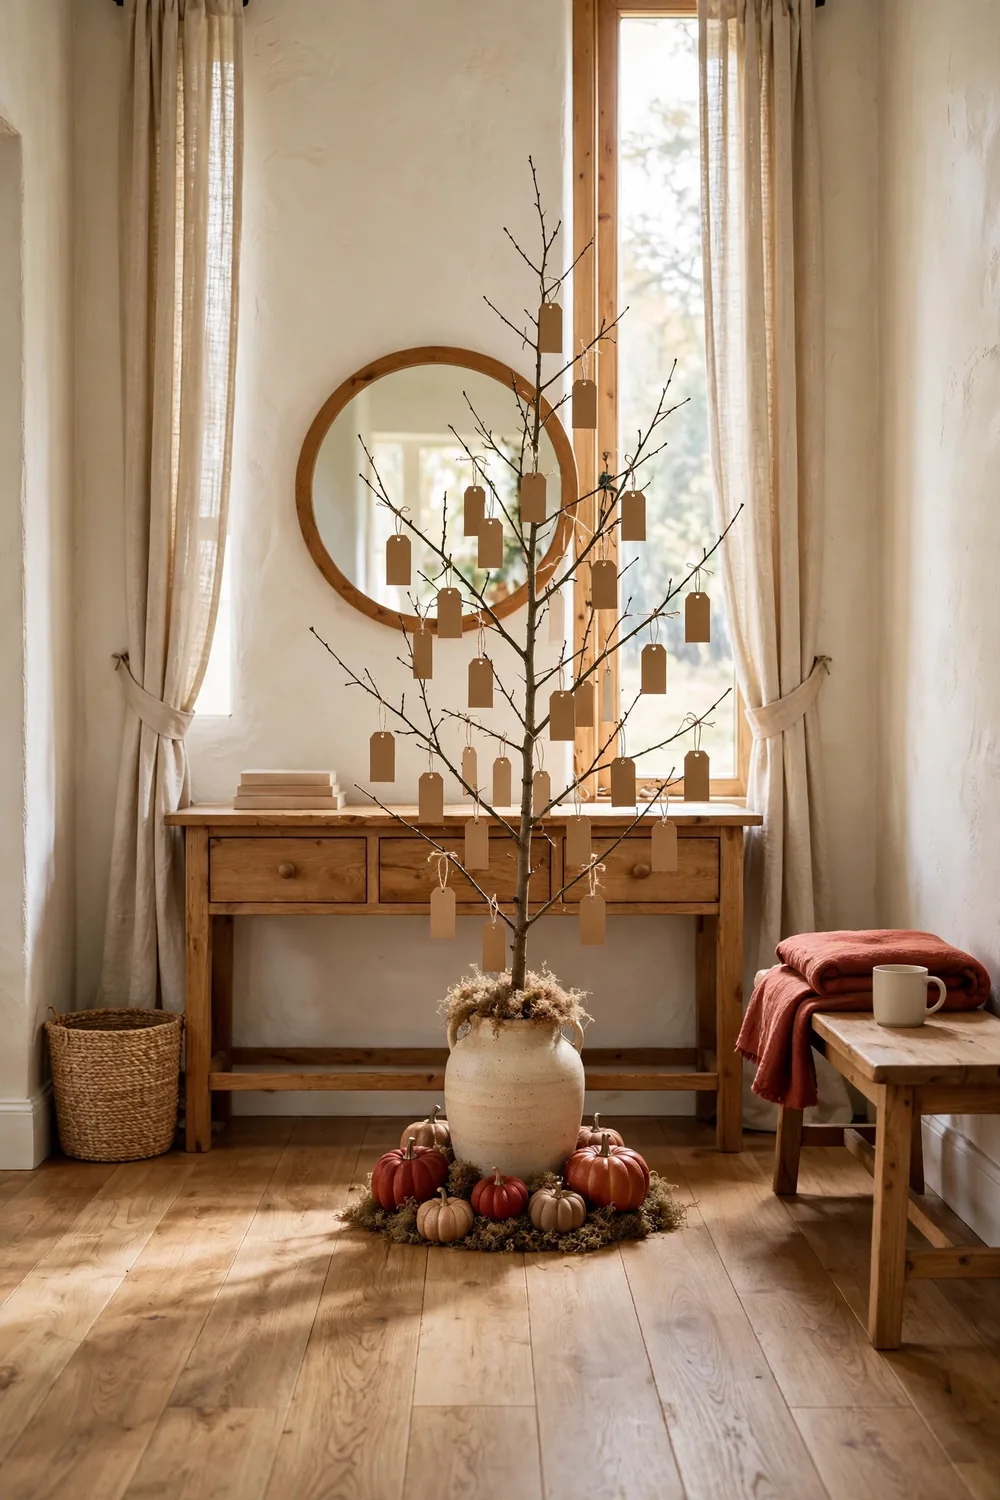
This simple thankful tree uses one bare branch, a sturdy vase, and a set of paper tags. Guests and kids write down what they feel grateful for, then hang their notes on the branches. By dinnertime, the bare wood turns into a tree full of sweet messages.
The project takes about 45 minutes and needs no special skill. Everything comes from the backyard, the craft drawer, or the dollar store. Once it is done, the tree works as a centerpiece, a mantel decoration, or a warm greeting by the front door.
Time: 45 minutes | Difficulty: Easy
What You’ll Need
- 1 sturdy branch, 24 to 36 inches long, with a few small side twigs
- 1 heavy vase or pitcher, 6 to 8 inches tall with a wide base
- 2 cups of small stones or dried beans, or 1 block of floral foam
- 10 sheets of kraft paper or cardstock in letter size
- 1 roll of natural twine, cut into 25 pieces about 8 inches long
- 1 single-hole paper punch
- 1 pair of sharp pruning shears or sturdy scissors
- 1 dark brown marker and 1 leaf-shaped rubber stamp with brown ink
Step 1: Find and Trim the Branch

Head outside and look for a fallen branch with a nice shape. Oak, maple, and birch branches all work well because they are strong and full of small twigs. Choose one that stands 24 to 36 inches tall once it sits in the vase, with side twigs spread in different directions.
Use pruning shears to trim off any broken tips and cut the bottom at a slight angle so it sits flat. Shake off loose bark and wipe the branch with a dry cloth. An adult should handle the shears and keep fingers away from the blades when cutting.
Step 2: Anchor the Branch in the Vase

Fill the vase about two-thirds full with small stones or dried beans. Push the cut end of the branch deep into the stones until it stands straight on its own. The weight at the bottom keeps the tree steady once tags start to add weight to the branches.
If the branch wobbles, add more stones and pack them tightly around the stem. Floral foam also works well here. Cut the block to fit the vase, soak it in water for ten minutes, then press the branch firmly into the center. Give the branch a gentle shake to make sure it does not tip before moving on.
Step 3: Cut the Paper Tags

Cut the kraft paper into tag shapes about 2 inches wide and 3 inches tall. Plain rectangles work well, and leaf or circle shapes add charm for kids who want to help. One sheet of letter-size paper yields about 12 tags, so 2 sheets give plenty for a big family.
Punch one hole near the top of each tag with the single-hole punch. Thread an 8-inch piece of twine through each hole and tie a simple knot to make a loop. Stack the finished tags in a small bowl next to the tree so they stay neat until it is time to write.
Step 4: Write and Decorate the Tags

Write one thing you feel thankful for on each tag with the dark brown marker. Short notes work best because they are easy to read from a few steps away. Kids can draw small pictures on their tags while adults help with the longer words.
Press the leaf stamp into the brown ink pad and stamp one corner of each tag for a finished look. Let the ink dry for a minute before stacking the tags. Set out extra blank tags and the marker near the tree so guests can add their own notes when they arrive.
Step 5: Hang the Tags on the Branches
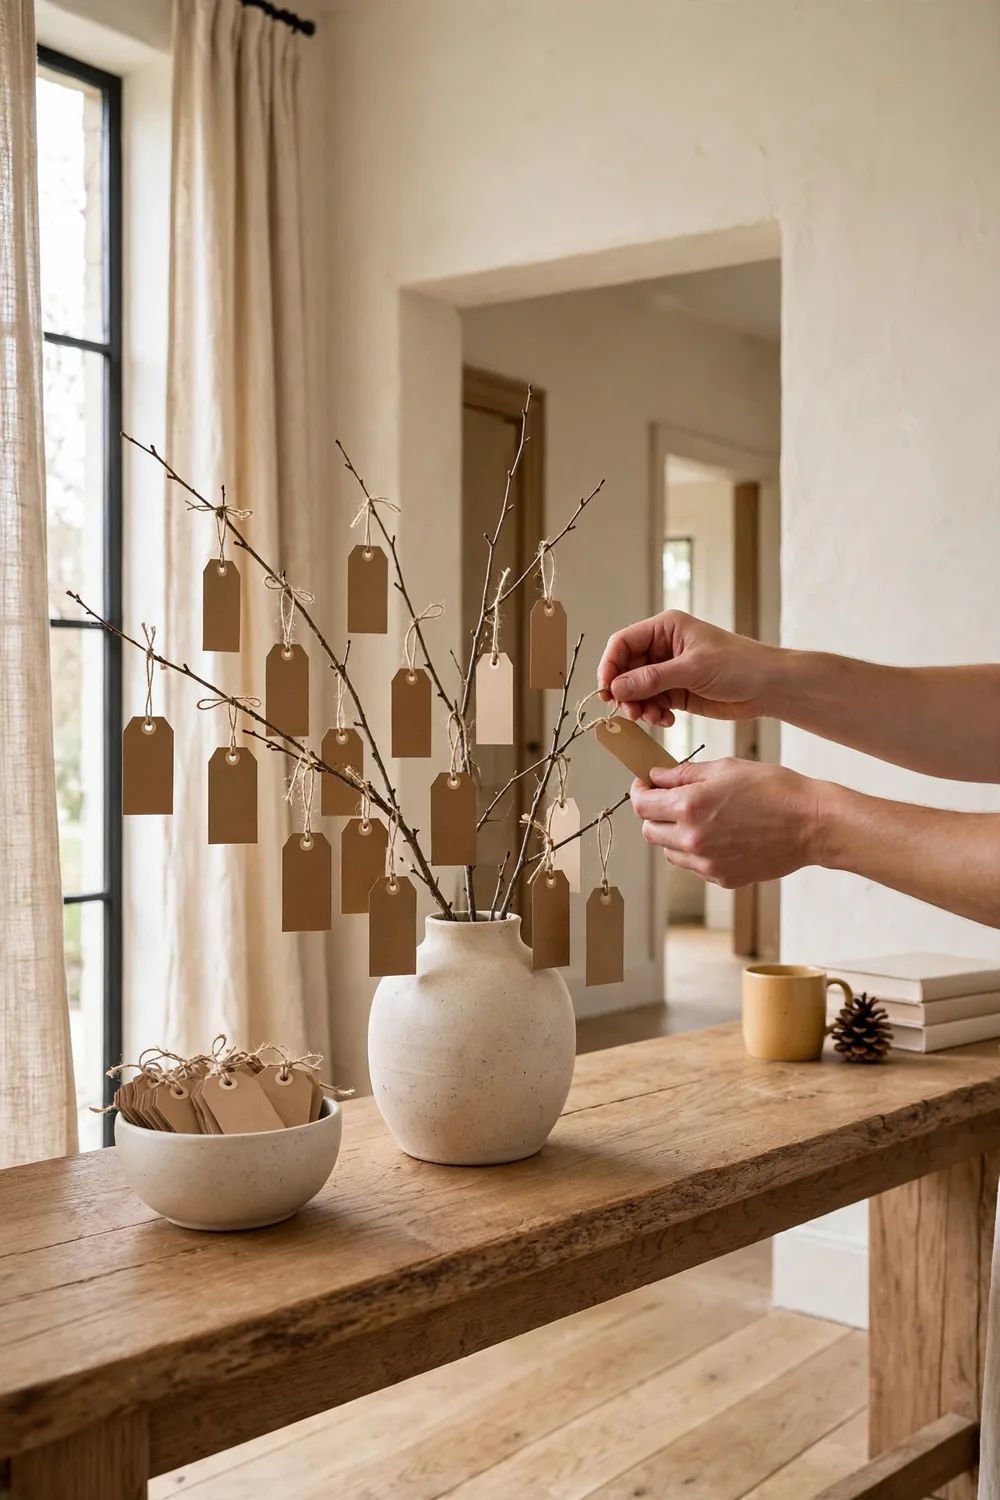
Slip each twine loop over a small twig and let the tag hang freely. Spread the tags around the whole tree so every side looks full, placing larger tags lower and smaller ones near the top. About 20 to 25 tags fill a 30-inch branch nicely without crowding it.
Turn the vase slowly and check for bare spots as you work. Move a few tags if one side looks heavy. The tree should stay steady while you turn it, which tells you the loops are secure and the branch is balanced.
Step 6: Style the Base and Find Its Spot
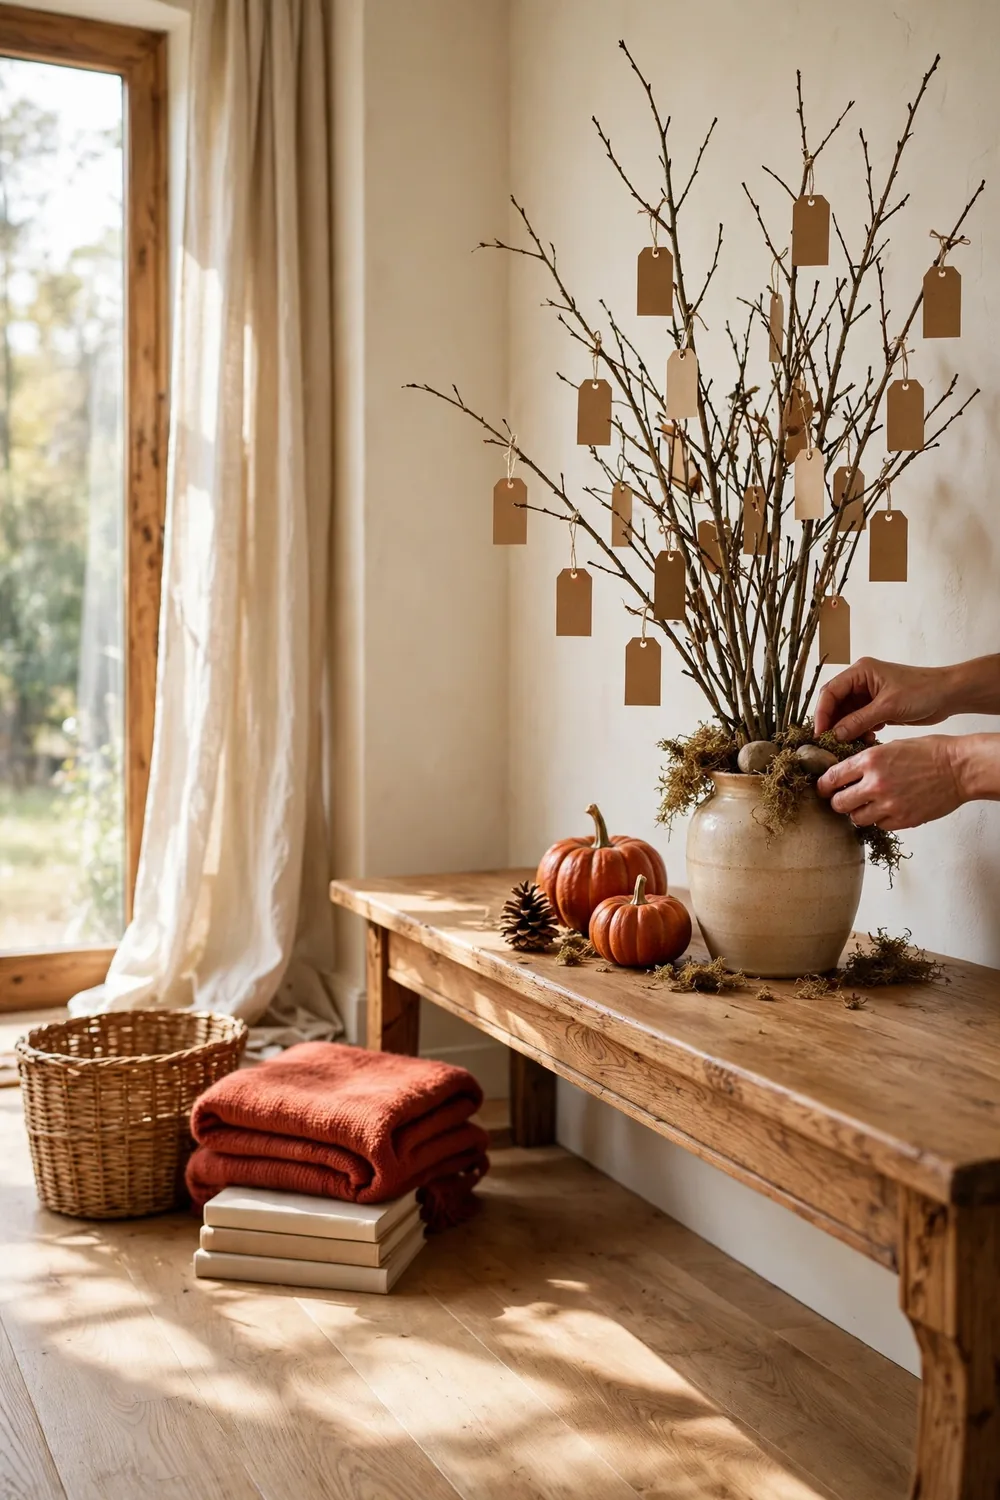
Cover the stones at the top of the vase with a thin layer of dried moss for a soft, finished look. Tuck two or three mini pumpkins or pinecones around the base of the vase on the table. These small touches hide the stones and tie the tree to the rest of the fall decor.
Set the finished tree where guests will see it first, like the entryway console or the center of the dining table. Keep it away from busy doorways where sleeves might catch the tags. A spot with soft daylight nearby makes the kraft paper glow warmly in the afternoon.

Frequently Asked Questions
What kind of branch works best for a thankful tree?
Hardwood branches like oak, maple, or birch hold tags well because they are stiff and full of twigs. Avoid soft evergreen boughs, which droop under weight and shed needles indoors. A branch about 30 inches tall with many side twigs gives the fullest look.
How do you keep a thankful tree DIY from tipping over?
Weight is the secret. Fill the vase two-thirds full with stones or dried beans before adding the branch. Choose a vase with a wide, heavy base, since tall narrow vases tip more easily. Test it with a gentle shake once the tags are hung.
Can kids help make the thankful tree?
Yes, and they love it. Let kids cut simple tag shapes, stamp the leaf designs, and write or draw their thankful notes. Keep an adult on branch trimming and hole punching duty. Hanging the tags works well as a family job on Thanksgiving morning.
How long will the thankful tree last?
The branch and vase setup lasts for many weeks indoors. Paper tags stay crisp for the whole season if kept dry. Many families keep the tree up through the weekend and save the tags in an envelope as a keepsake.
A Thankful Tree to Enjoy
A thankful tree turns an ordinary branch into the warmest decoration in the house. Every tag holds a small story, and reading them together becomes a new favorite part of the day. It costs almost nothing and means more than store-bought decor.
Set the tree out early so guests have time to add their notes. Save this project to make again next November and watch the tradition grow.




One Comment
Comments are closed.