19 Fall Leaf Crafts for Kids and Adults
Each fall the yard fills with leaves in rust, gold, and deep red, and most of them end up in the trash. Those same leaves are free craft supplies with rich color no store box can match. This list of fall leaf crafts for kids and adults turns one leaf hunt into projects worth keeping.
You do not need special tools or a big budget for these ideas. Most use leaves, twine, glue, and things already in the craft drawer. Pick the ones that fit your time, and let the kids lead on the messy ones. By the end of the weekend the house will glow with warm autumn color.
1. Pressed Leaf Garland Across the Mantel
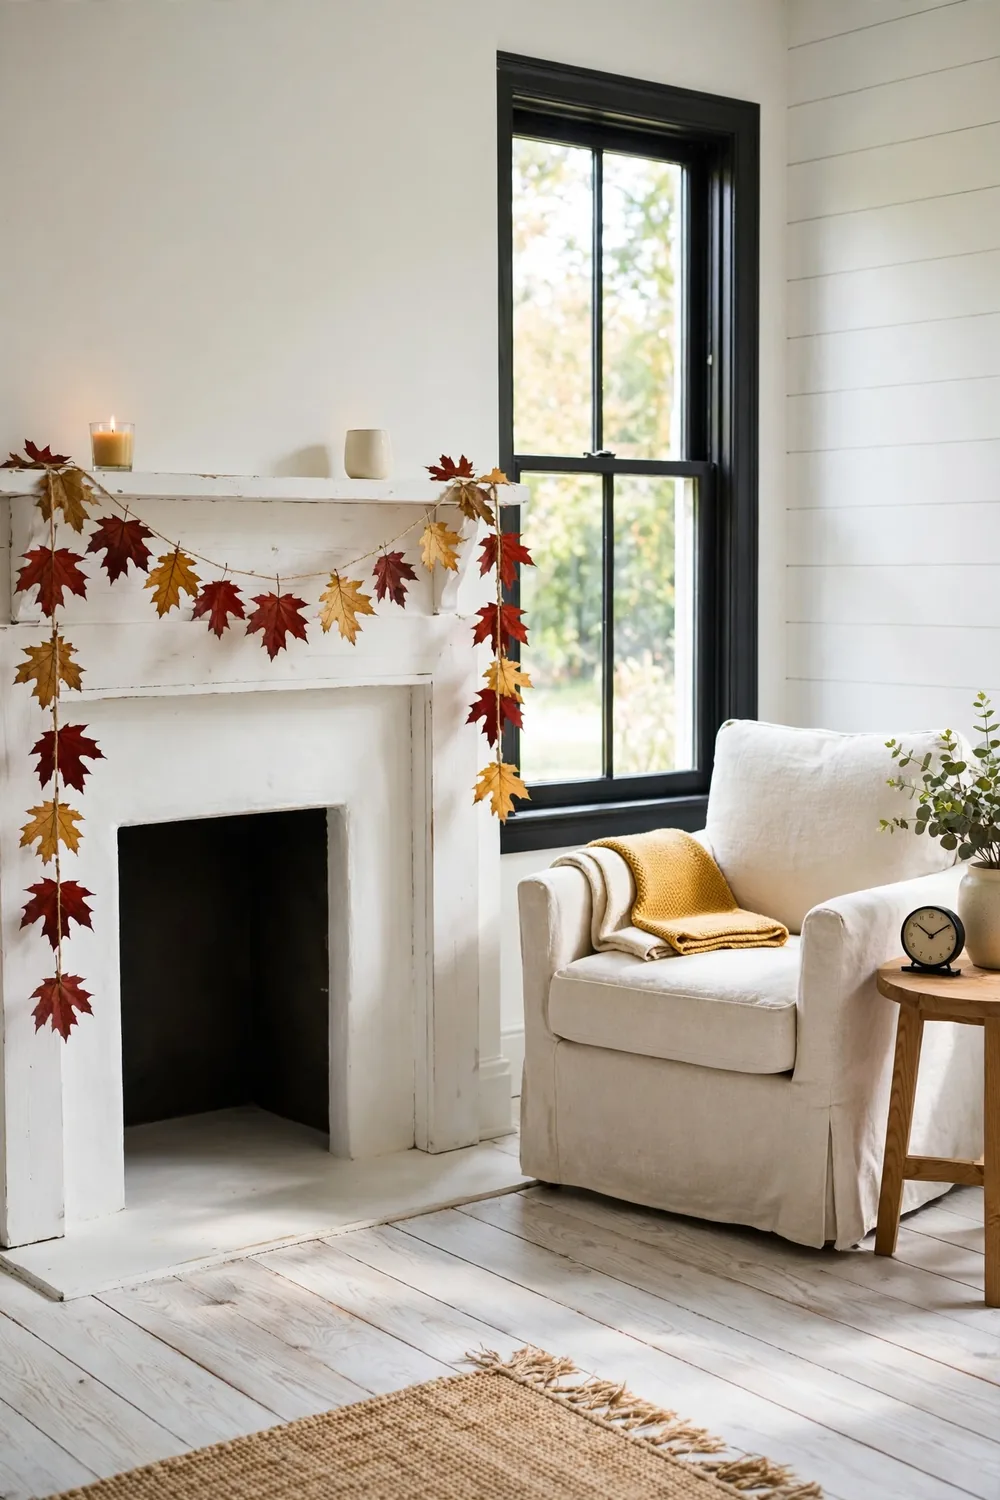
Pick the flattest, brightest leaves from the yard and press them under heavy books for two full days. Thread twine through a needle and push it through the thick stem end of each leaf, spacing the leaves three inches apart. Mix maple, oak, and birch leaves so the color shifts along the string.
Drape the garland so the middle dips a little and both ends hang past the mantel edges. Keep the rest of the mantel bare except for two candles so the leaves stay the star. Fresh leaves curl after about a week, so press a spare batch and swap them in to keep the garland full.
2. Leaf-Print Tote Bags for Little Hands

Plain canvas totes and a bottle of fabric paint are all kids need for this fun craft. Brush paint on the back of a big leaf, press it firm onto the tote, and peel the leaf up to show the print. Let each child pick their own leaves and colors, then lay the bags flat to dry for a full day.
Press the dry paint with a warm iron and a thin cloth so the art lasts through the wash. The totes work as library bags, lunch bags, or gifts for grandparents. Make a set in new leaf shapes so each bag feels one of a kind.
3. Painted Maple Leaf Table Scatter
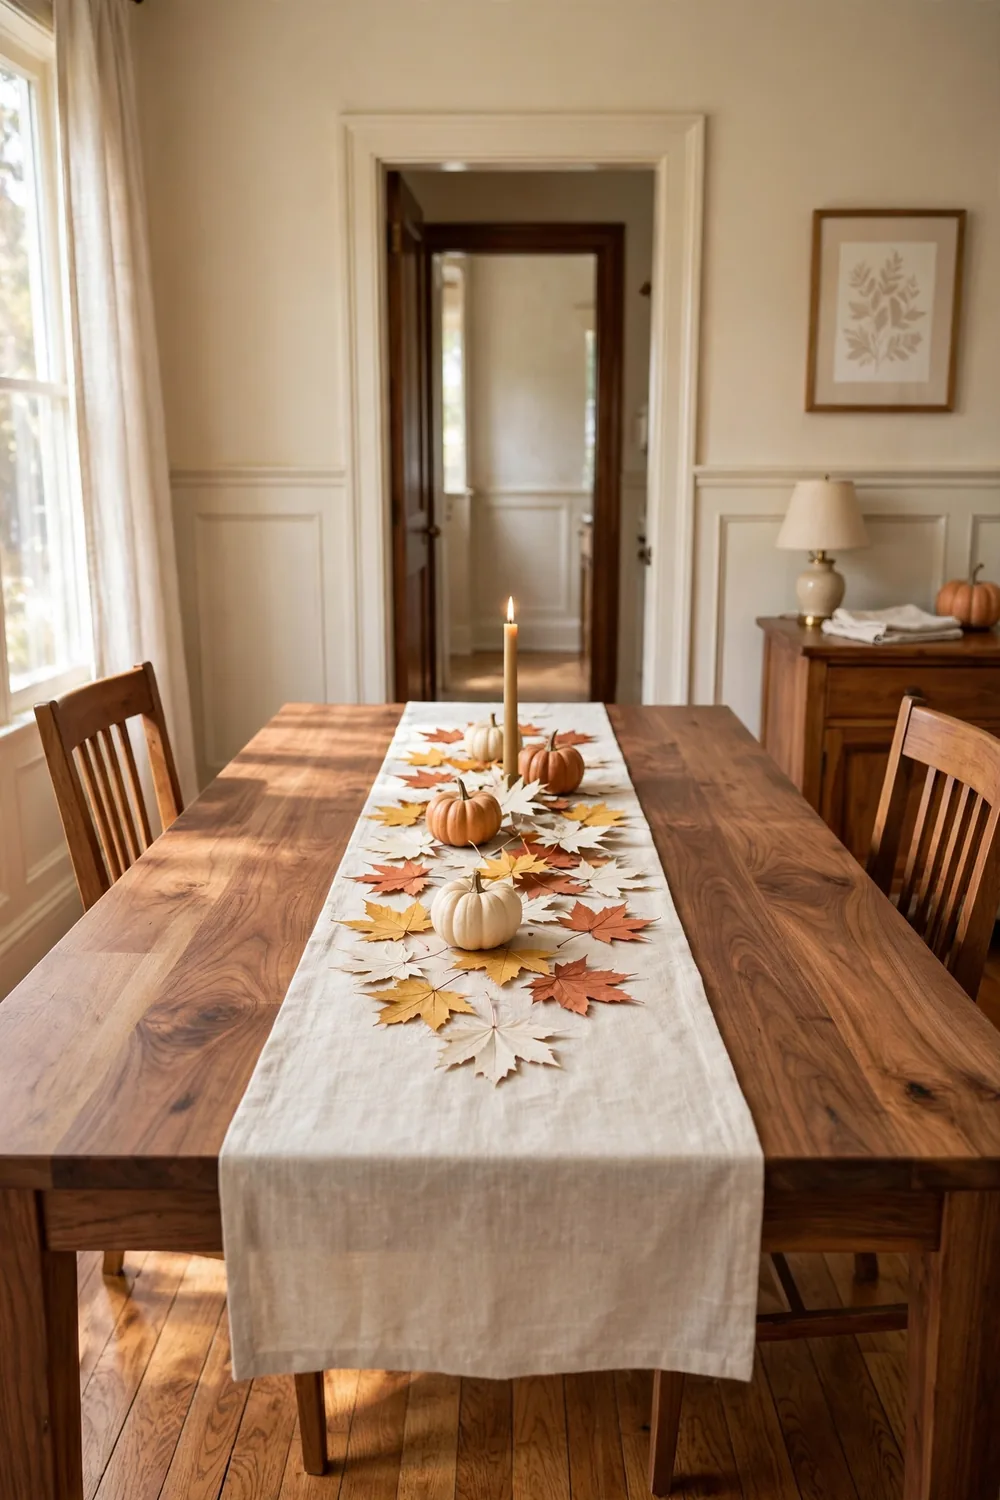
Pick big maple leaves and paint them with craft paint in cream, mustard, and terracotta. Leave some leaves plain and paint just the tips of the rest for contrast. Let the paint dry, then brush on clear matte sealer so the color stays bright.
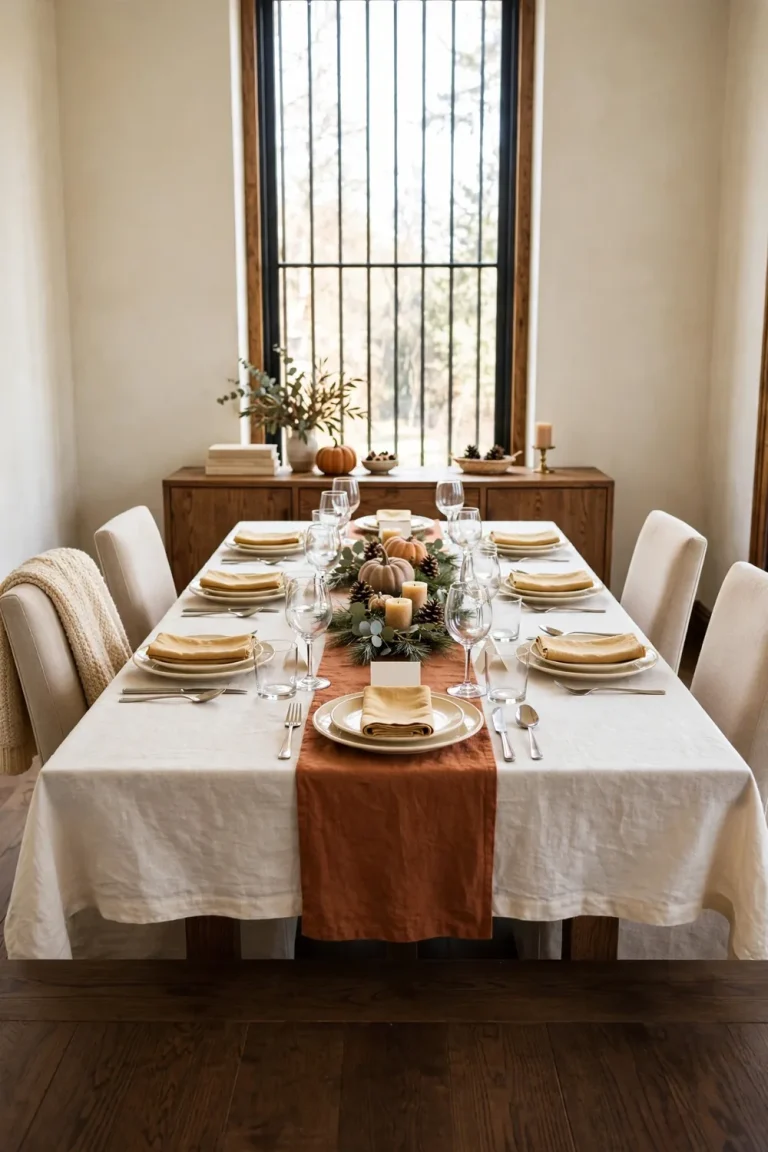
Lay the leaves down the middle of the table over a plain runner. Tuck a few small pumpkins and one tall candle between the groups for a set look. Guests always pick them up for a closer look at the painted veins. Pack them flat in a box after dinner and use them all season.
4. Twig and Leaf Mobile by the Nursery Window
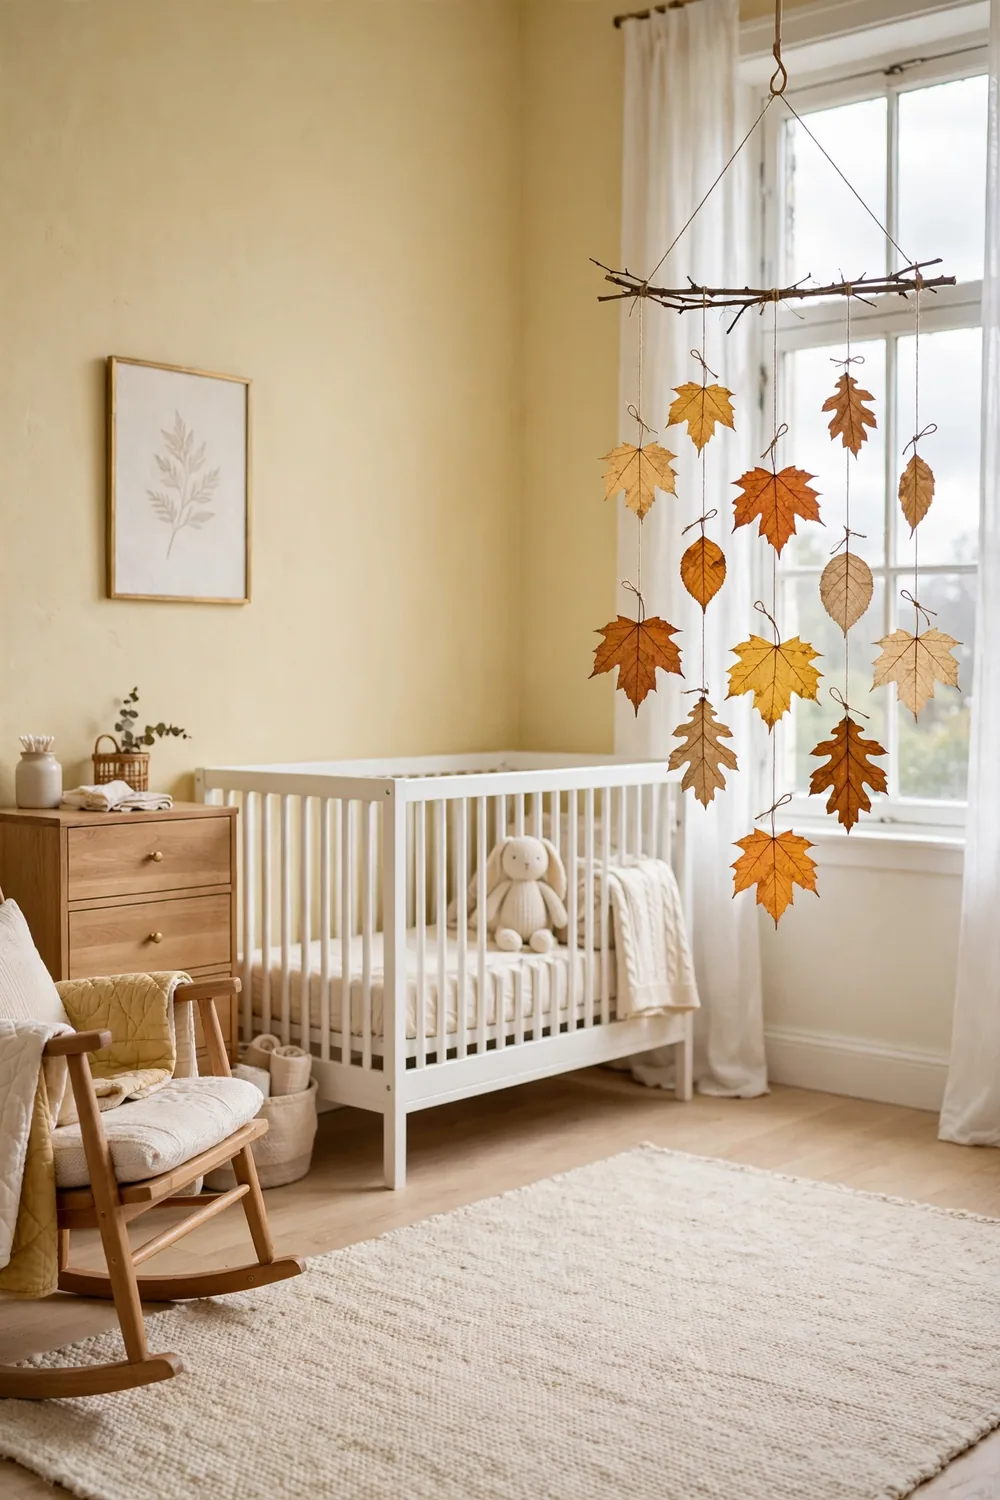
Tie a strong twig to two strings and hang it from a small hook near the window. Cut more string in new lengths and knot a pressed leaf to the end of each one. Hang the strands from the twig so the leaves float at new heights.
The leaves catch the light and move in the slightest breeze, which babies love to watch. Keep the mobile high so little hands can not reach it. Trade the leaves for paper stars in winter to keep the twig in use all year.
5. Wax-Dipped Leaves in a Stoneware Vase
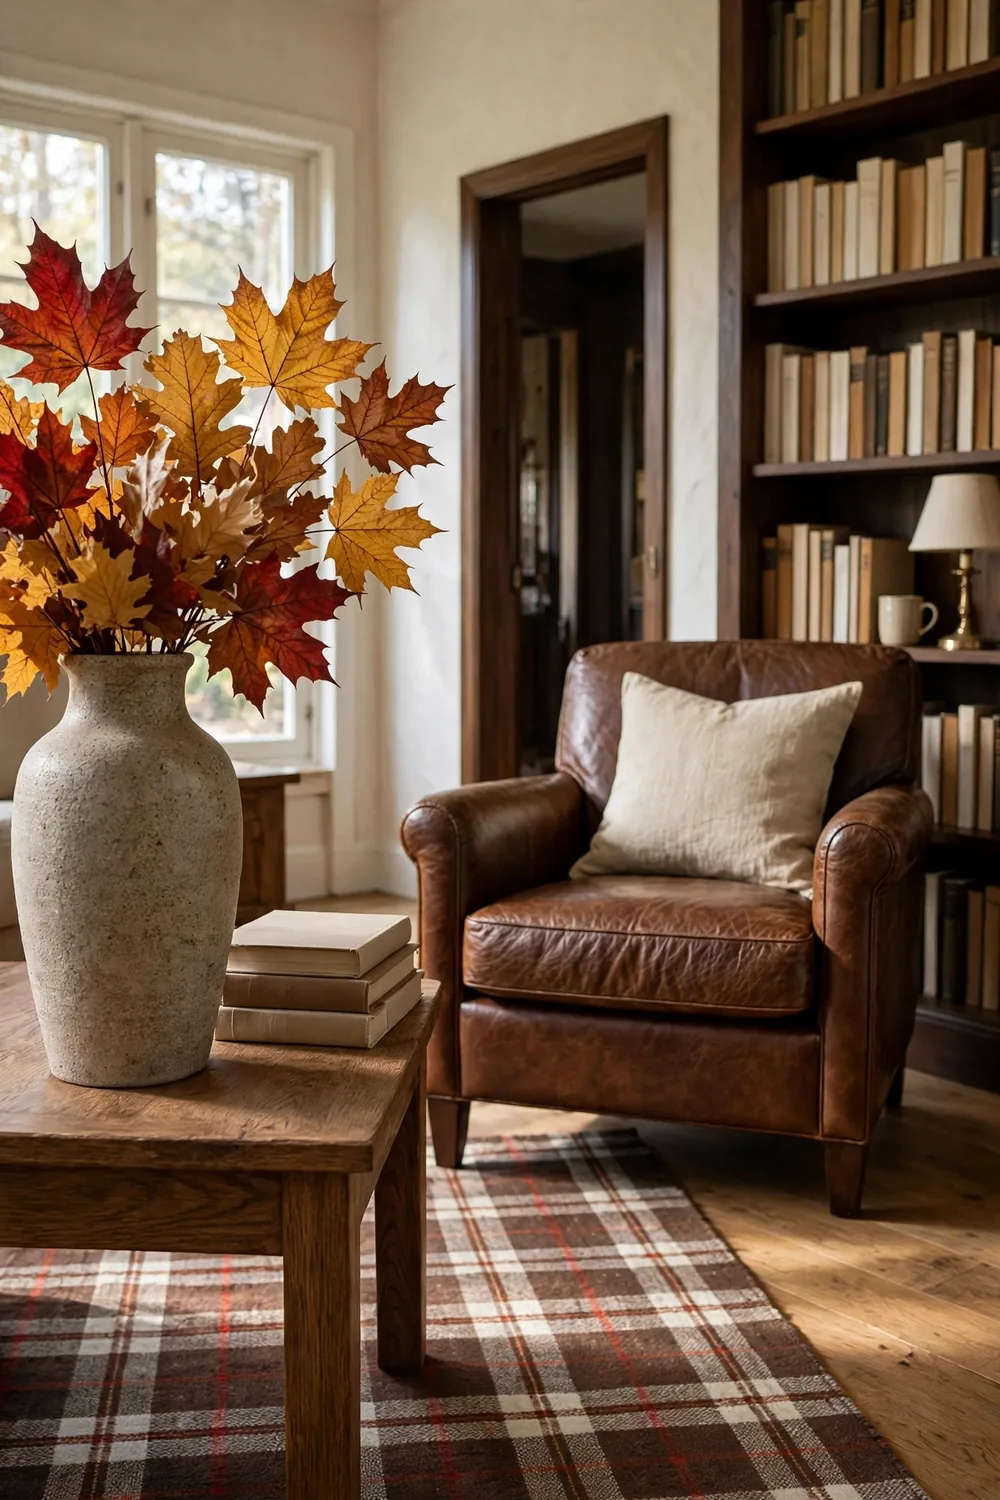
Melt paraffin wax in an old pot over low heat and keep it at a soft simmer. Dip each bright leaf fast, let the extra wax drip off, and lay the leaf on wax paper to harden, since two dips give a thicker coat with a soft shine.
Stand the dipped leaves in a tall stoneware vase with a few bare twigs to hold them up. The wax keeps the leaves soft and bright for weeks on end. Set the vase on the front hall table where guests see it first. The whole craft takes under an hour with cleanup.
6. Leaf Rubbings in Wooden Frames
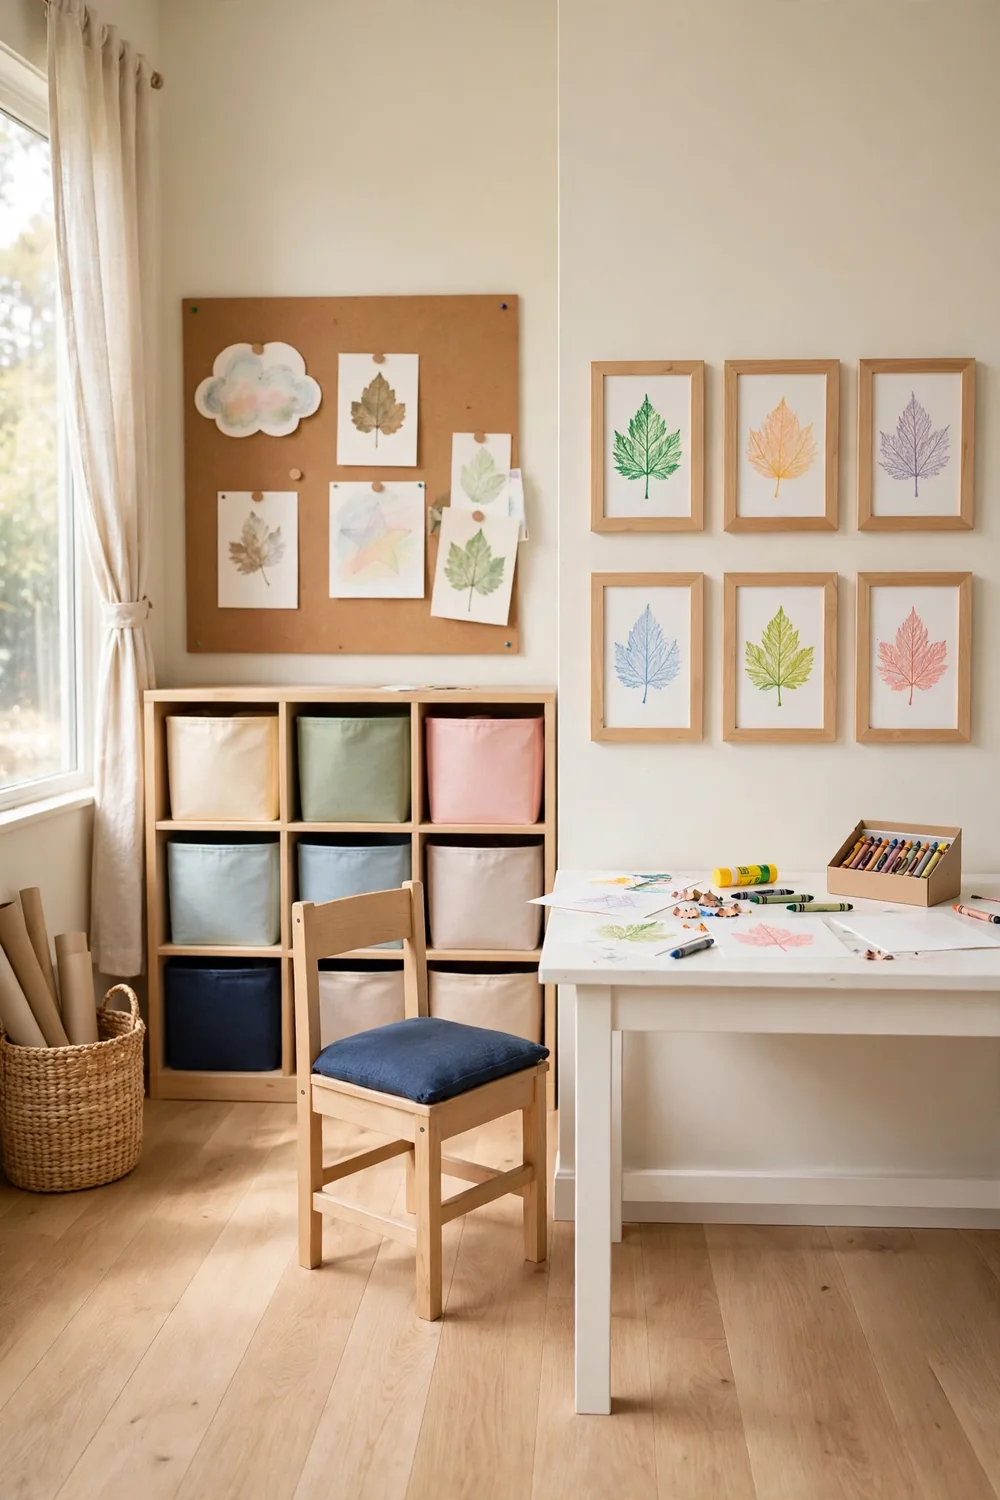
Lay a fresh leaf vein-side up under white paper and rub the side of a crayon over it. The veins show in a fine pattern that wows kids each time. Try green, orange, and brown crayons on one page for a rich look.
Trim the best rubbings to fit small wood frames and hang them in a row in the hall. Write the tree name on the back of each frame before you hang it. A simple walk turns into a fun art lesson with proof on the wall.
7. Burlap Leaf Bunting for the Hallway
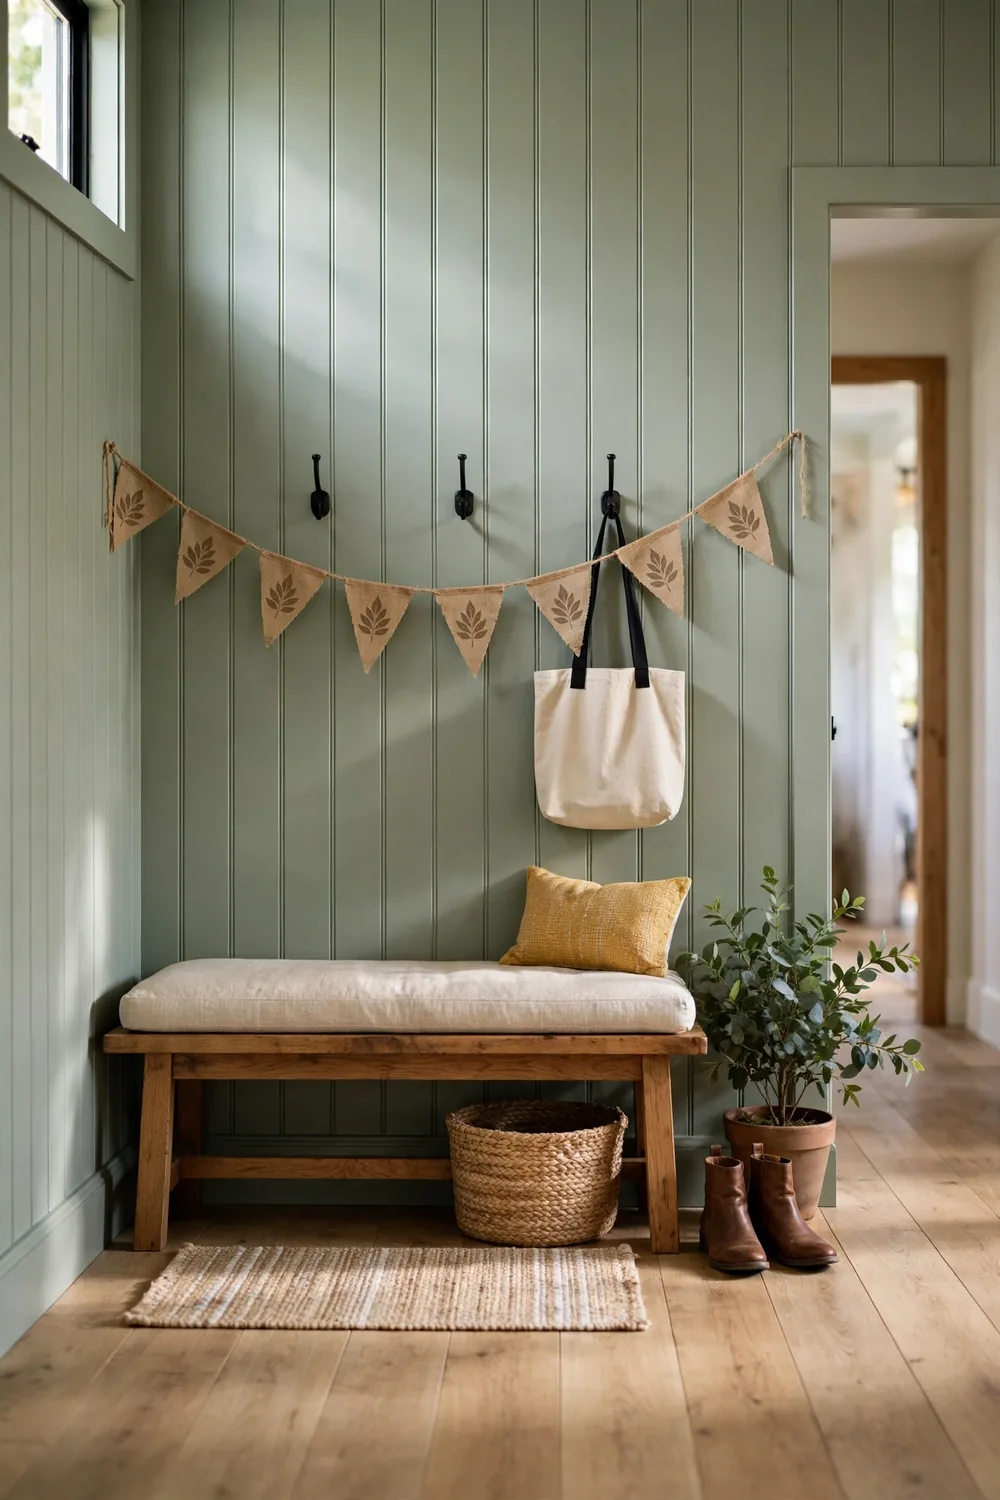
Cut burlap into triangles six inches wide and paint a plain leaf shape on each one. Punch two holes near the top of every triangle and thread them on a long piece of jute. Space the triangles four inches apart for a soft, loose line.
Hang the strand across a hall door or along the stair rail for quick fall color. Burlap frays at the edges, which suits the rough look here. Make a short second strand for the front door hook so the entry and hall feel tied as one.
8. Gilded Leaf Place Cards for Dinner
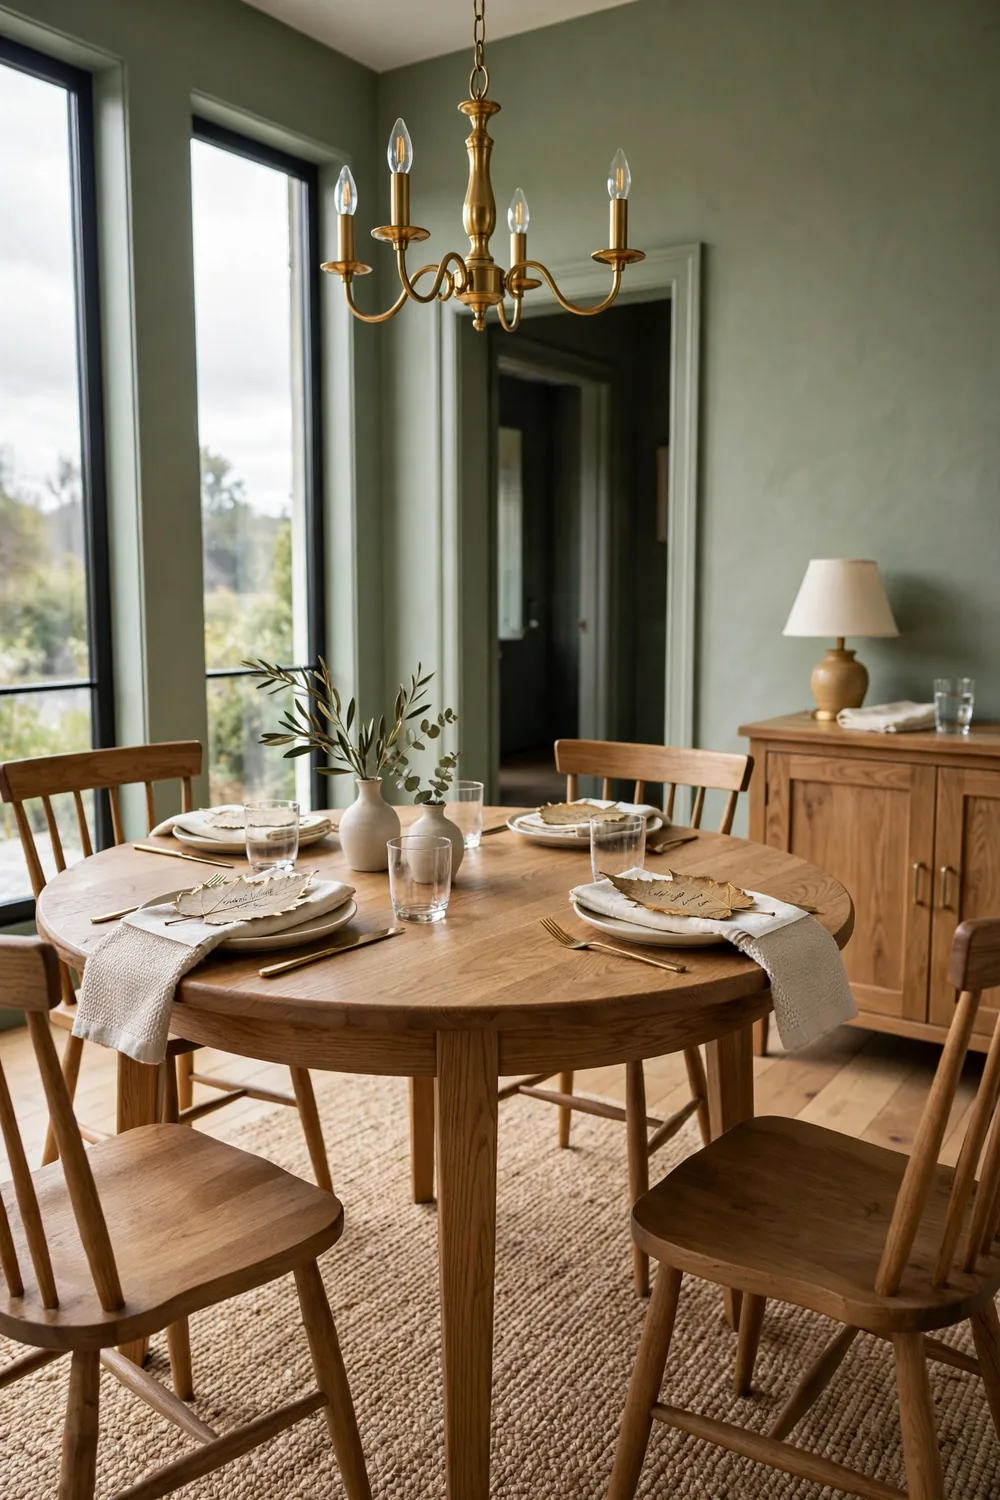
Press small flat leaves and brush the edges with a thin line of gold craft paint. Write each guest name across the middle with a fine marker once the paint dries. The gold edge turns a plain leaf into a keepsake worth saving.
Set one leaf on each folded napkin at the table before guests arrive. The cards cost nothing and take minutes, yet guests talk about them through dessert. For a kids table, let the children paint their own leaves and write their own names, since it works as the night craft too.
9. Pressed Leaf Candle Wraps
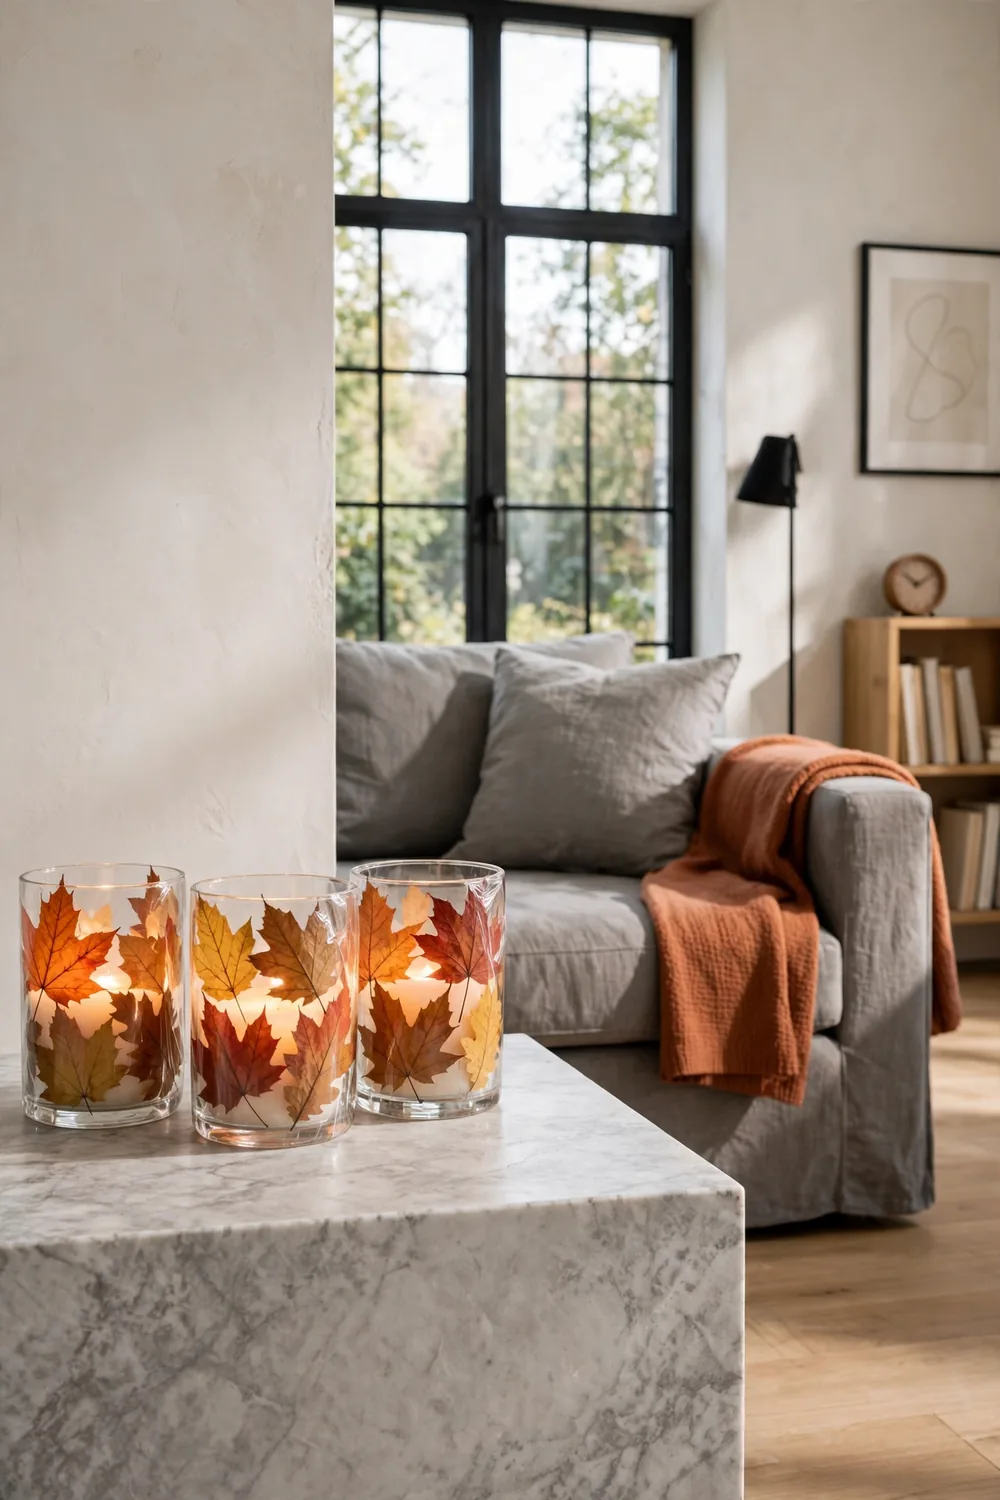
Cut clear contact paper to fit around a glass holder with an inch of overlap. Press bright leaves onto the sticky side, with space between so light shines through. Wrap the strip around the glass and smooth out air bubbles.
Candlelight glows through the thin leaves and casts soft autumn shapes on the wall. Use flameless candles when small kids sit near the table. Make tall wraps for the mantel and short ones for the table so the look flows through the room, and the whole set costs just a few dollars.
10. Leaf Animal Collages for Kids

Hand each child a pile of pressed leaves in new shapes and a sheet of dark craft paper. An oval leaf makes a fox body, round leaves make owl eyes, and long thin leaves turn into tails. Glue the parts down, then add marker lines for faces and feet.
This craft fits ages three to ten since each animal looks new and none can go wrong. Hang the best collages on the playroom wall for all to see. Keep spare leaves in a shoebox so the craft box stays ready for the next rainy day.
11. Stenciled Leaf Throw Pillows
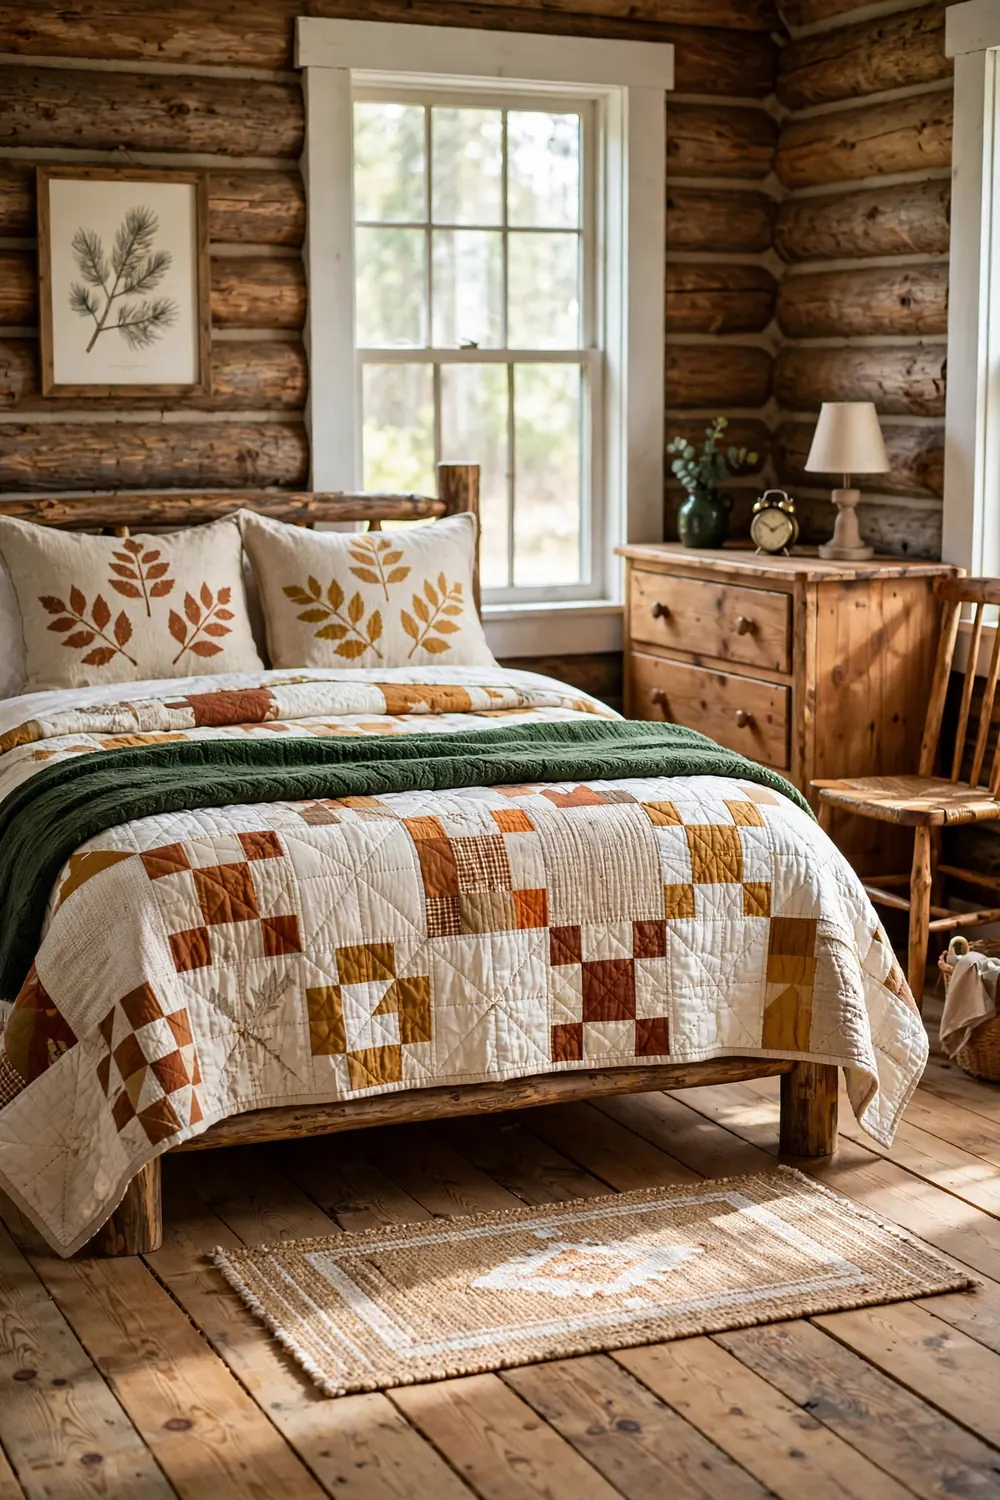
Cut a plain leaf shape from a sheet of stiff plastic and tape it firm to a plain pillow cover. Dab fabric paint through the cutout with a sponge, lifting straight up for crisp edges. One big leaf in the middle looks bold, while a small group in the corner looks soft.
Slide the cover on a pillow and let it dry all night before use. Rust and mustard leaves suit a cream couch, while deep green fits a gray one. Wash the covers inside out on gentle so they hold their color, since two pillows can change a whole couch.
12. Grapevine Leaf Wreath for the Door
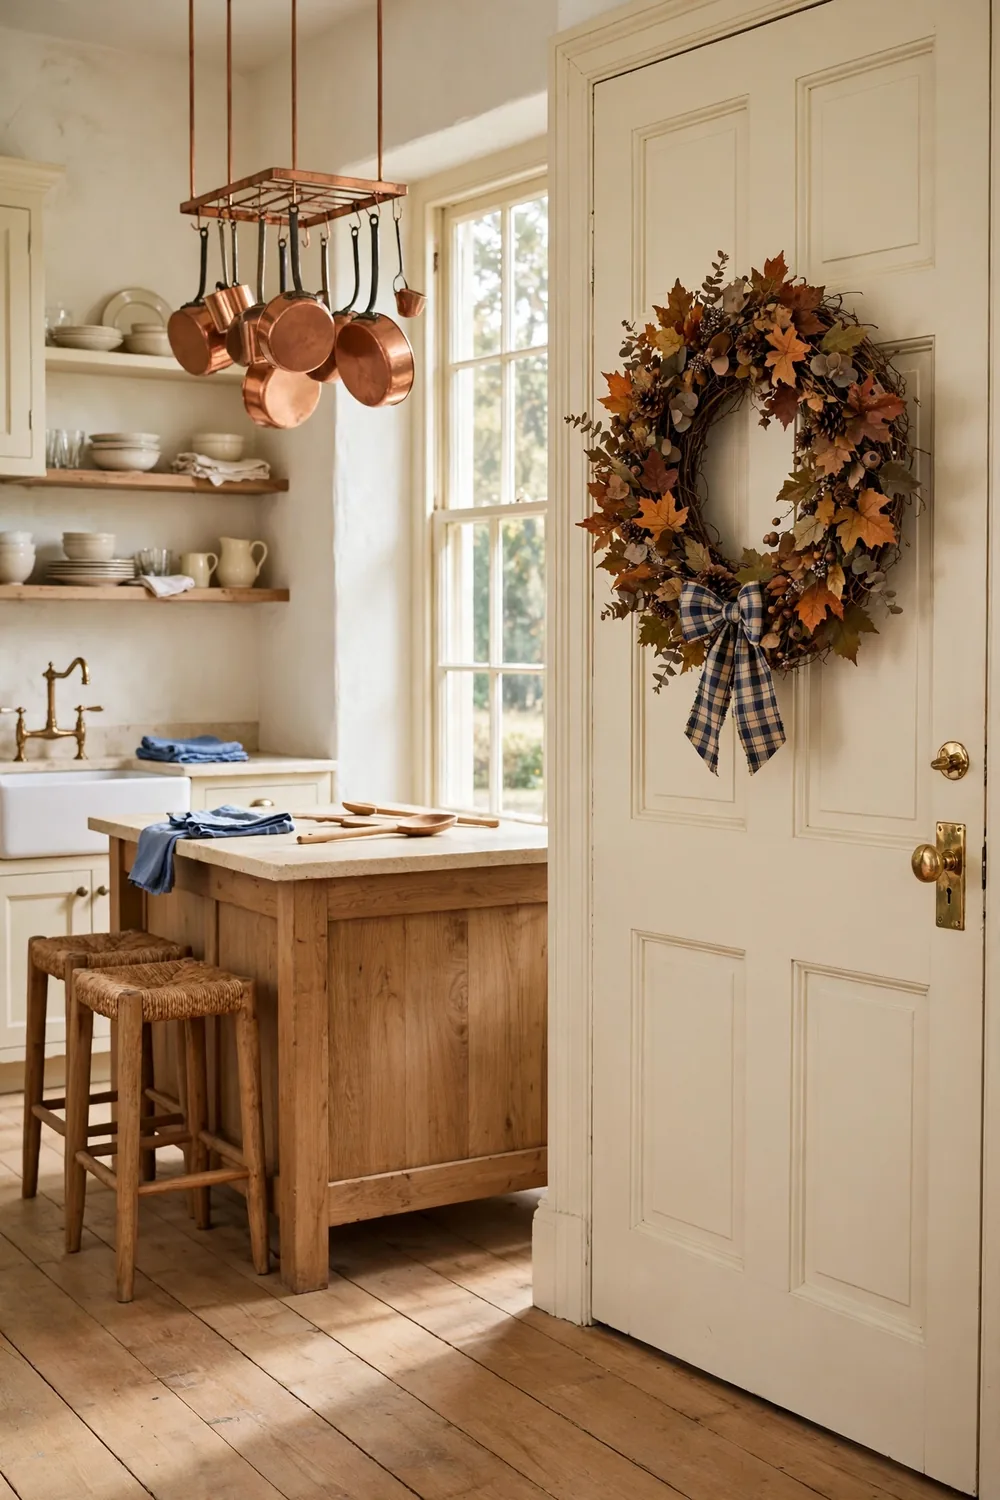
Soak a grapevine wreath in water for ten minutes so it bends with ease. Tuck bunches of fresh fall leaves into the vines, working round till no gaps show. Hot-glue a few pinecones and a short plaid bow at the base for a set look.
Hang the wreath on the front door with an over-the-top hanger. Mist the leaves with water each few days to keep them fresh for two weeks. When the leaves fade, pull them out and tuck in green sprigs to carry the wreath through winter.
13. Leaf-Stamped Wrapping Paper
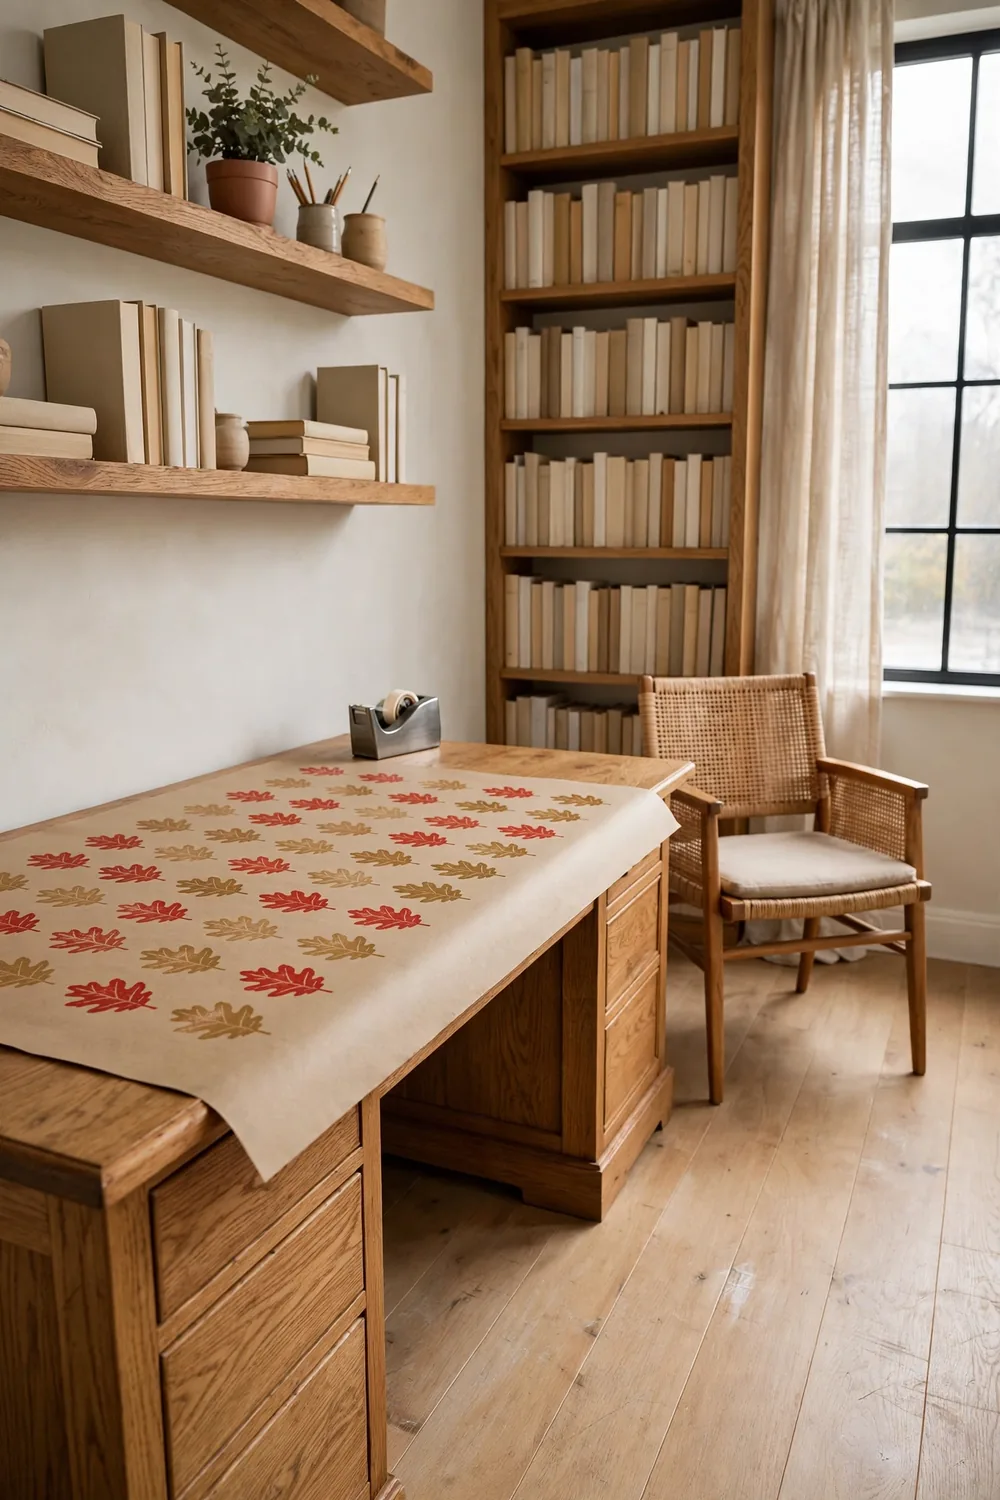
Roll brown kraft paper out on the kitchen table and tape the corners down. Brush craft paint on a strong oak leaf and press it on the paper in a loose grid, using red and gold paint for the brightest prints. Add fresh paint each two or three stamps so the prints stay even.
Kids love stamping the paper, and it wraps fall gifts and hostess presents so well. Roll the dry sheets round an empty tube to stop creases. One short stamping session makes enough paper for the whole season.
14. Pressed Leaf Mirror Frame
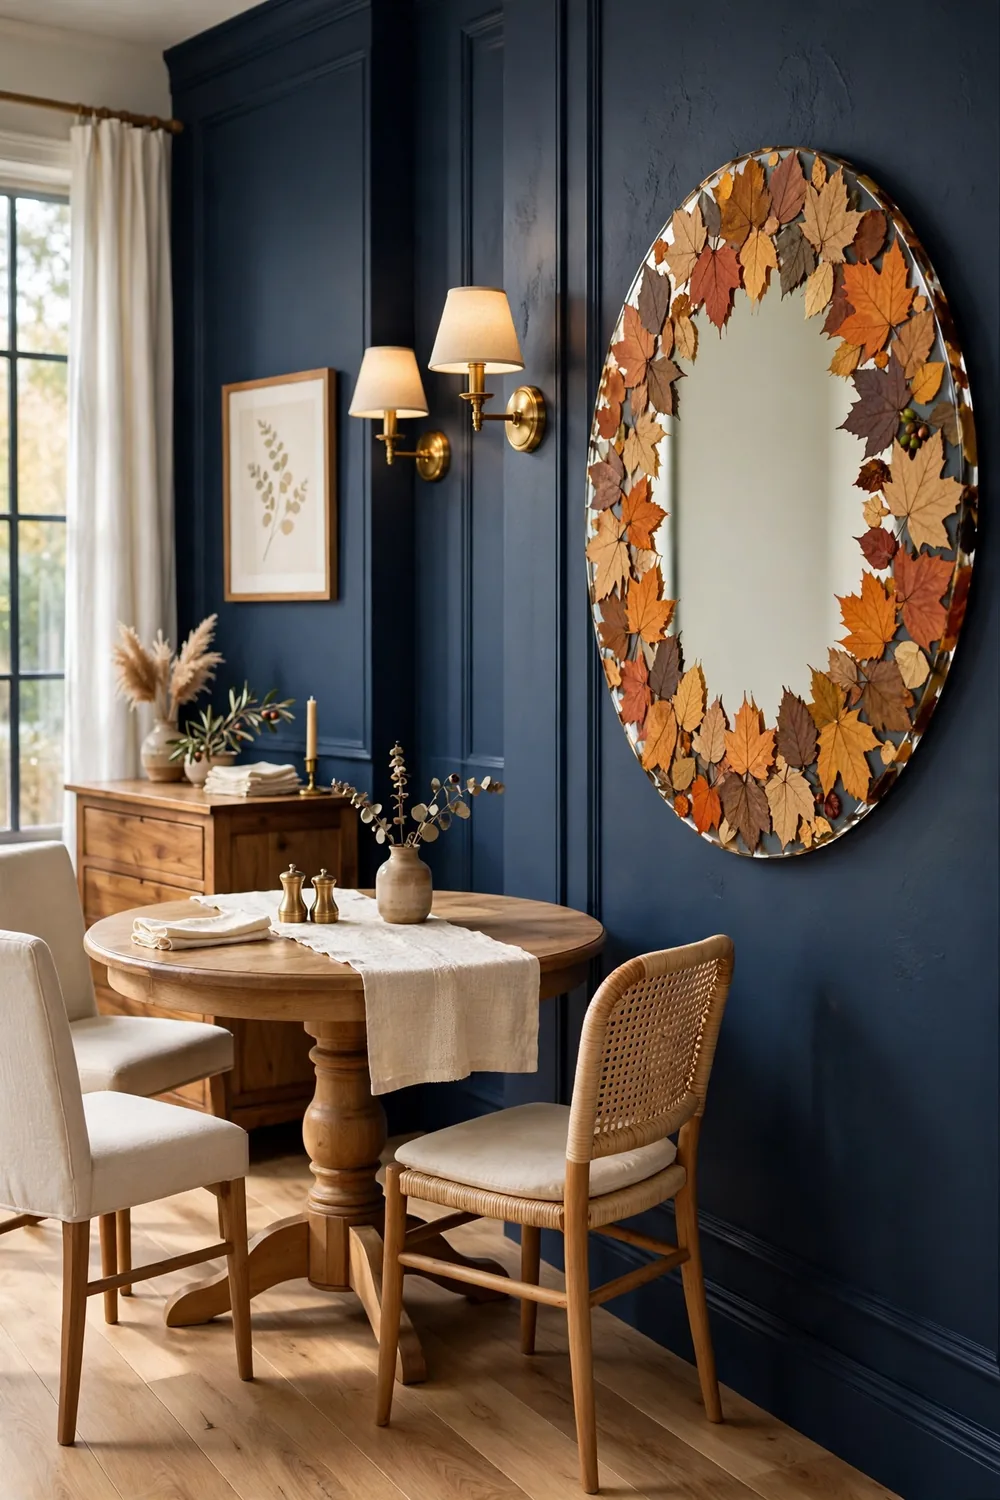
Press a dozen bright leaves flat for two days under a stack of books. Lay them round a plain round mirror frame on the table till you love the layout. Glue each leaf down with craft glue, lapping the edges a bit, then brush clear sealer over the whole frame.
Hang the mirror where it catches daylight, since the leaves glow like stained glass in sun. This suits a hall or front room that needs a warm accent. Adults can run the glue gun while kids set the leaves, so it makes a good team craft.
15. Autumn Leaf Crowns for Playtime
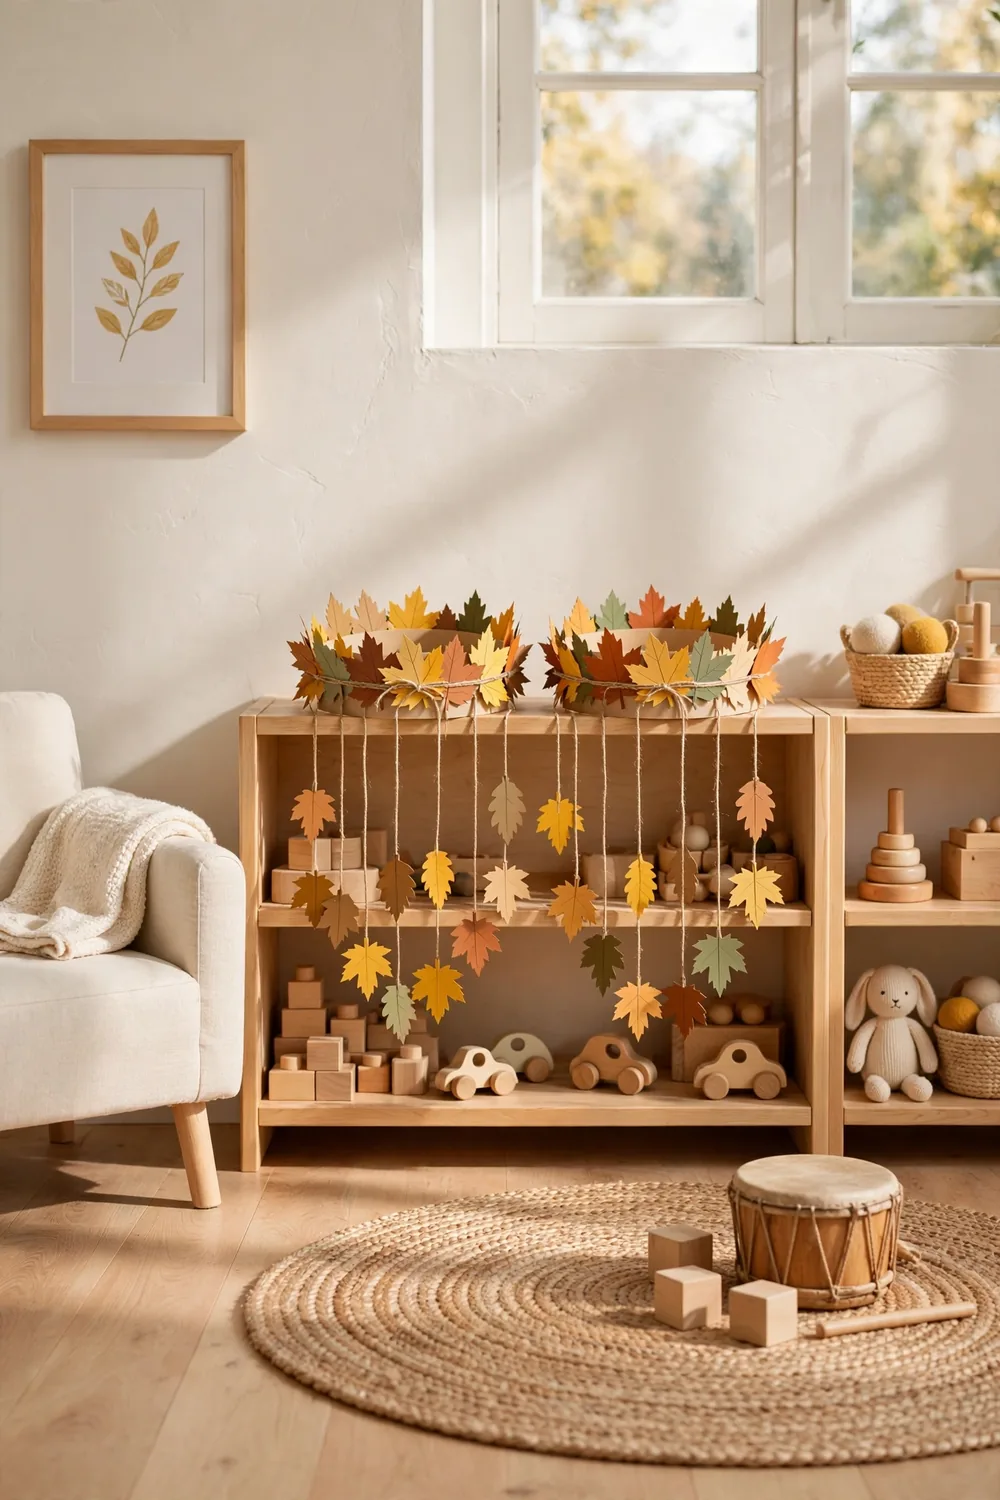
Cut cardstock to fit round a child head and staple it into a ring. Punch holes along the top edge and thread short string through each one. Tie a bright leaf to each string so leaves dangle all round the crown.
Kids wear these crowns for leaf hunts, fall birthdays, and backyard play. Let each child pick their own leaves so no two crowns look the same. Add a second cardstock layer if the crown must last more than one wild afternoon, then store them flat in a box between wears.
16. Oak Leaf Table Runner
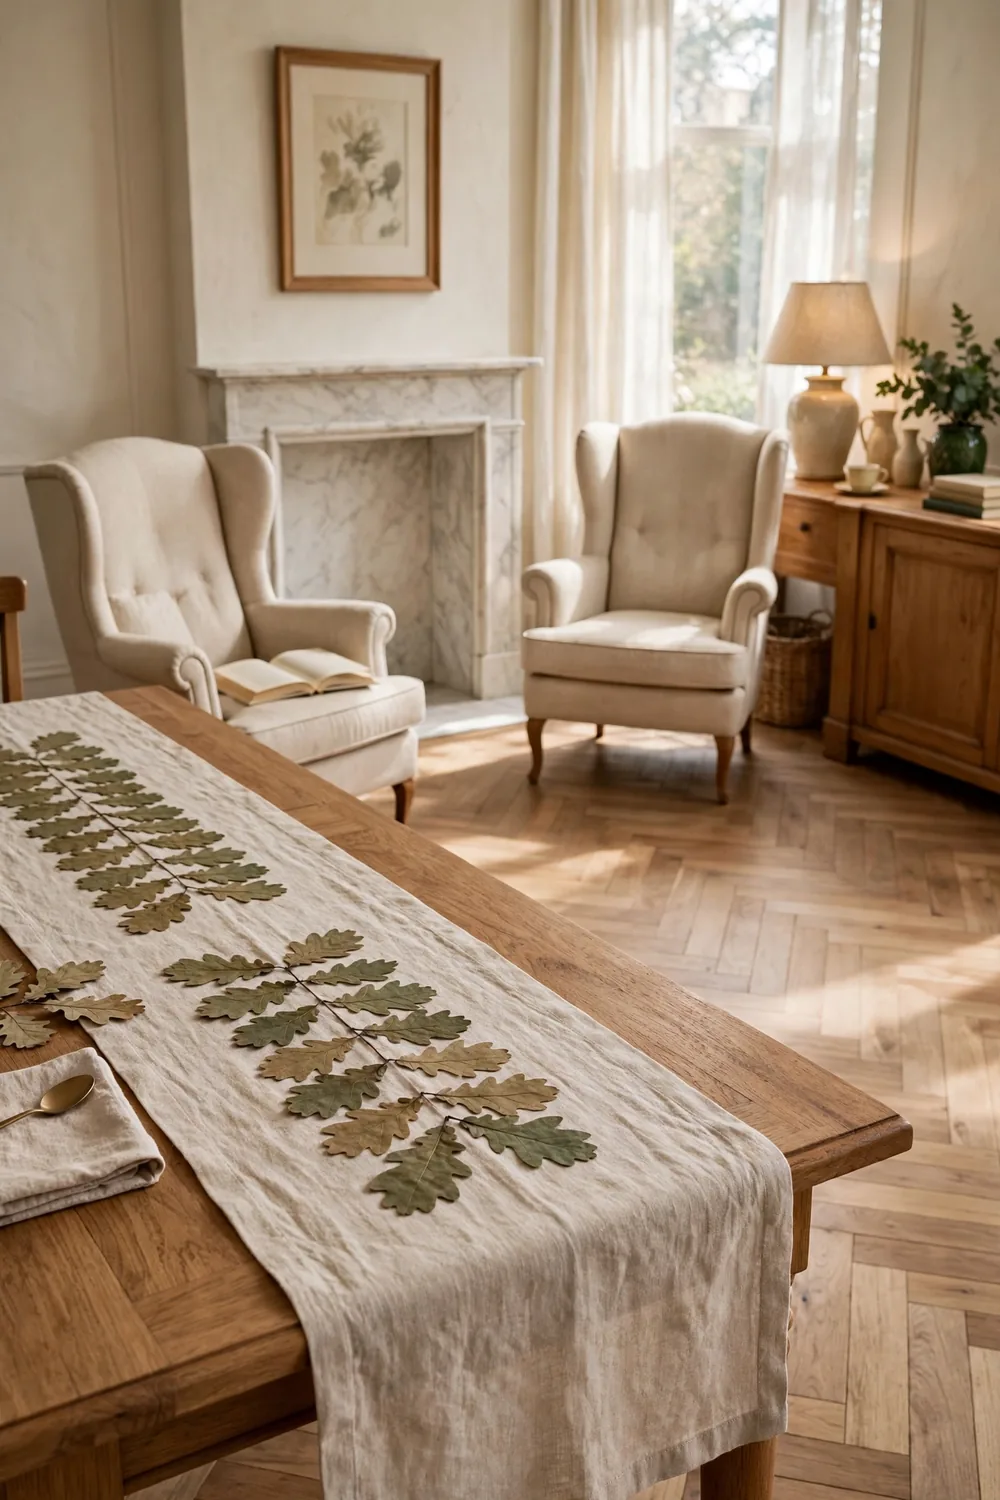
Lay natural linen down the middle of the table as the base. Glue pressed oak leaves in two lapping rows down the center, working from each end to the middle. Brush fabric-safe clear glue over the leaves so they stay put.
The runner brings fall texture yet leaves room for talk across the table. Layer it over a plain cloth for dinner parties, or use it alone on wood for daily meals. Shake it soft outside after use and roll it in tissue for storage.
17. Framed Grid of Pressed Leaves
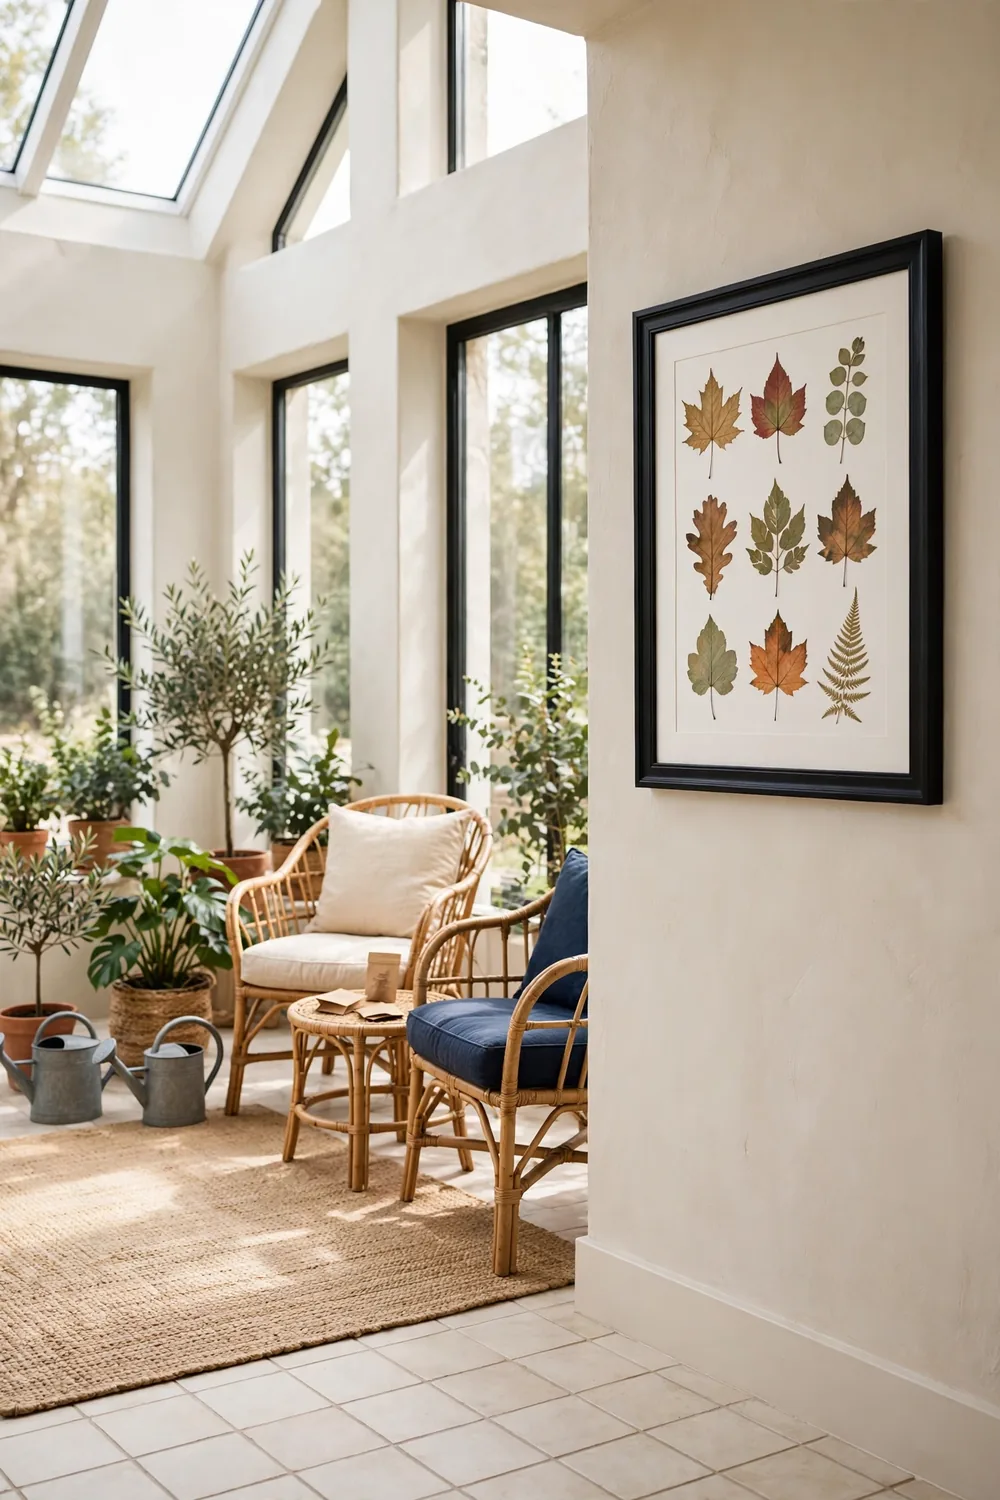
Press nine leaves of new shapes and colors till fully flat and dry. Set them in a three-by-three grid on white board, with even space round each leaf. Mount the board in a plain black frame with glass to guard the leaves.
The grid looks like a page from a plant book and suits both modern and country rooms. Hang it in a reading nook where the fine detail gets seen. Slip a small hand-written tag under each leaf with its tree name for a set, kept look.
18. Leaf Confetti Poppers for Parties
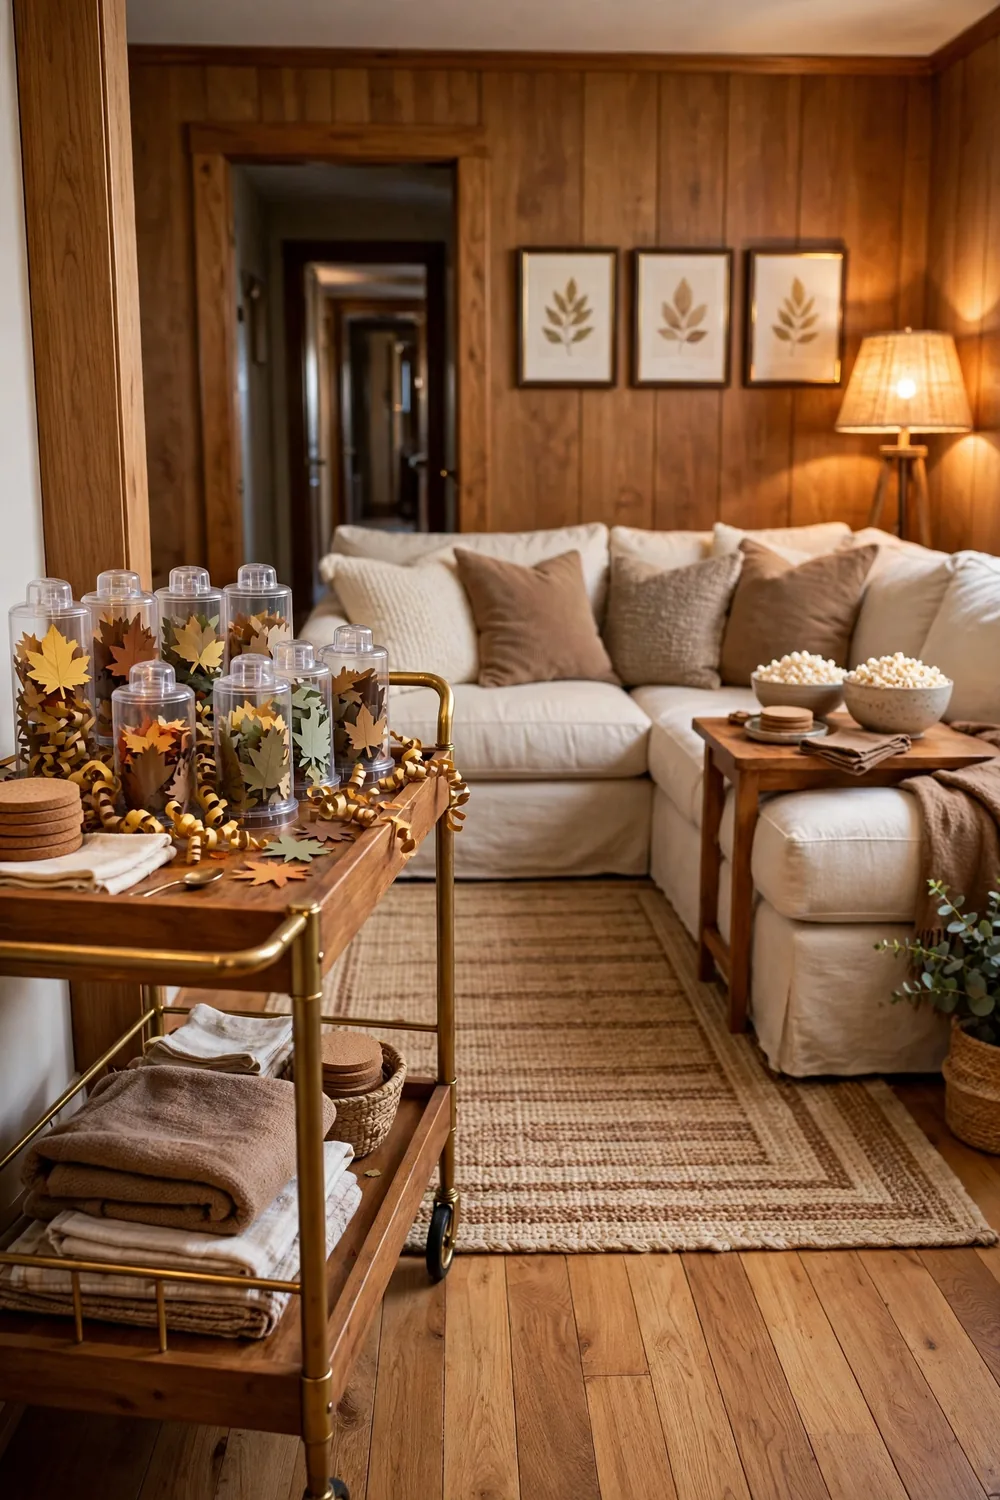
Punch leaf shapes from bright cardstock with a small leaf punch till you have a full pile. Fill clear push-up poppers with the leaf bits and a few curled ribbons, then cap each popper so nothing spills in the gift bag.
Hand them out at fall birthdays or set one at each kids table seat for Thanksgiving. The leaf shapes float down slow, which feels more fun than plain squares. Choose plain paper kinds for yard parties so the lawn stays clean after. Keep a small bowl of spare confetti near the party table for refills.
19. Shadow Box of Found Autumn Leaves

Take a deep picture frame and remove the glass. Set the best leaves from a family walk inside, layering a few at slants for depth. Tuck a small pinecone at the base, then close the back of the frame.
Hang the box in the front hall as a keepsake of one favorite autumn day. Write the date on the back so the memory stays with the art. Make one box each fall and line them on the stairs to watch the set grow year by year.
Frequently Asked Questions
What is the best way to press leaves for crafts?
Lay fresh leaves between sheets of newsprint, then stack heavy books on top for two or three days. Thick or damp leaves need a full week and a fresh sheet halfway through. Pressed leaves lie flat and hold color far longer than air-dried ones.
How do you keep fall leaf crafts from fading?
Keep done pieces out of full sun, which bleaches color fast. Brush clear matte sealer over painted or glued leaves to lock in the hue. Wax-dipped leaves hold their bright look the longest, most often for weeks at a time.
Are fall leaf crafts safe for toddlers?
Pick big leaves with no sharp stems, and give toddlers washable glue sticks for sticking. Keep small acorns and pinecones away from kids under three, since they can choke. An adult should do all the cutting and heating while toddlers glue and place leaves.
What kind of paint works on real leaves?
Acrylic craft paint grips dry leaves best and keeps its color once dry. Fabric paint suits leaf prints on tote bags and pillow covers. For stamps, paint the back of the leaf, since the raised veins hold more paint and print a clear mark.
A Few Last Thoughts
With nineteen ideas on the list, start with the two or three that fit the leaves in your own yard. Most take under an hour and cost next to nothing, so they suit a free afternoon. Let the kids claim the messy crafts while you keep the pretty ones for the mantel.
When one turns out well, save this post to your fall board so the idea waits for you next year.