How to Build Garage Shelves
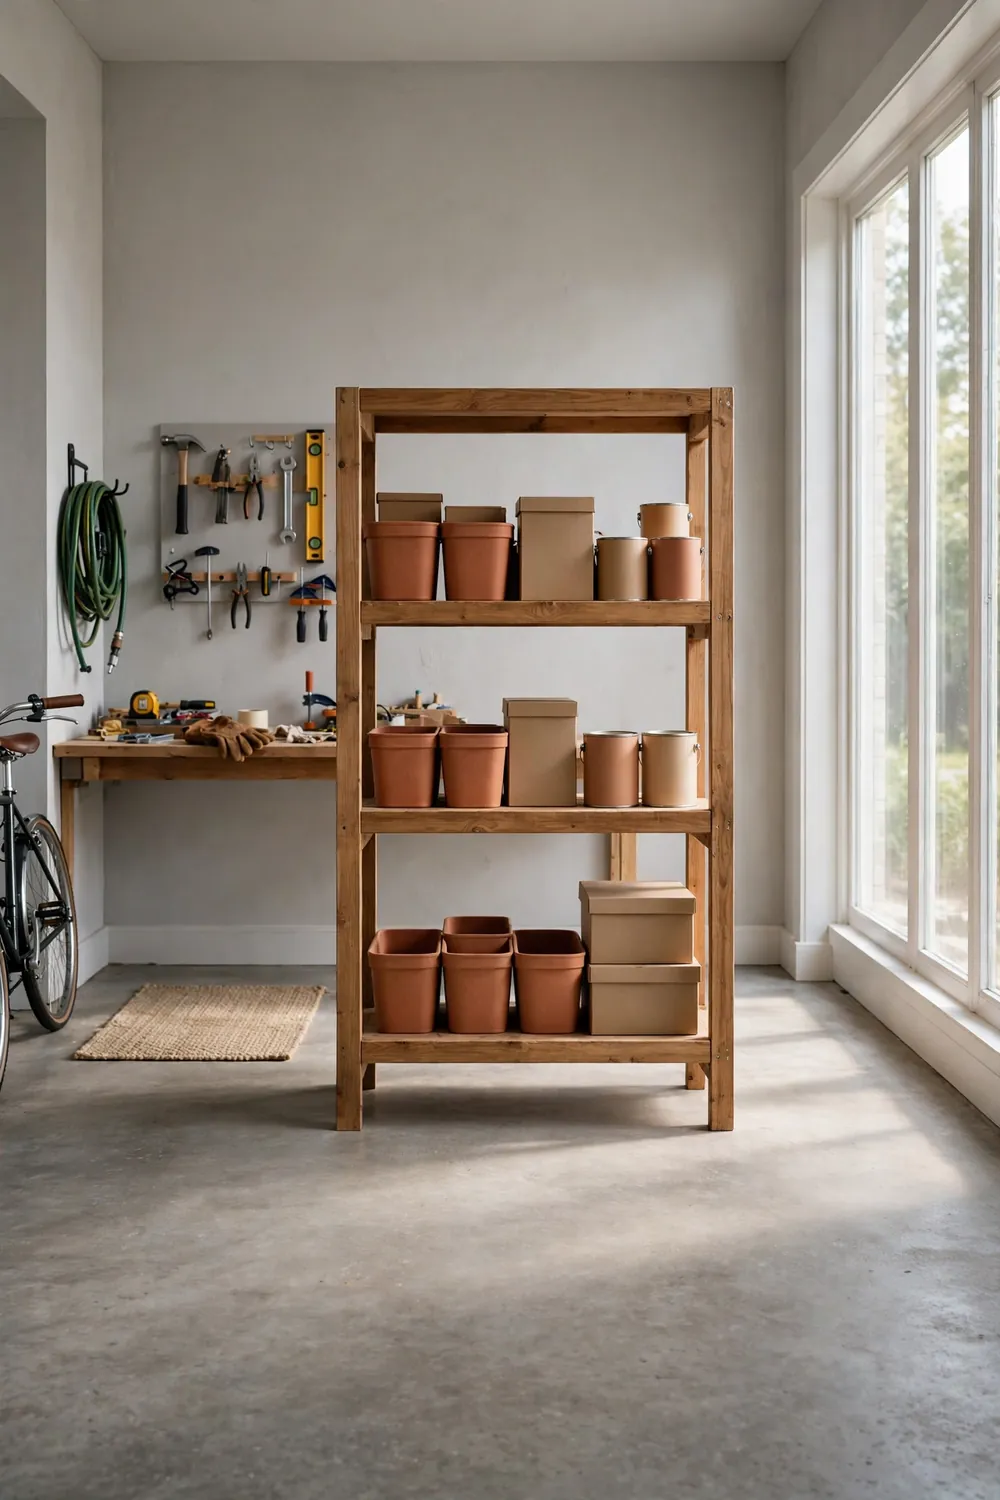
A wall of sturdy shelves can turn a cluttered garage into a space where everything has a home. These simple 2×4 shelves hold bins, paint cans, and tools without sagging or wobbling. You can build the whole unit in one afternoon with basic tools and one trip to the lumber aisle.
These diy garage shelves use framing lumber and a single sheet of plywood, so the cost stays low and the cuts stay simple. Every joint is just screws and wood glue, which means you do not need fancy joinery skills. By the end, you will have a freestanding unit that is 4 feet wide, 2 feet deep, and 6 feet tall. It is ready to hold real weight.
People build storage shelves this way because it works. The project goes together fast and costs less than most racks. Grab your tape measure and get started.
Time: 150 minutes | Difficulty: Easy
What You’ll Need
Everything on this list is easy to find at a home improvement store.
- Seven 8-foot 2×4 boards
- One 4-by-8-foot sheet of 3/4-inch plywood
- One 1-pound box of 2.5-inch wood screws
- One 8-ounce bottle of wood glue
- Three sheets of 120-grit sandpaper
- Two metal L-brackets with 2.5-inch lag screws
- One tape measure
- One pencil
- One circular saw
- One power drill with a driver bit
- One 2-foot level
- Two sawhorses
- One pair of safety glasses
- One pair of work gloves
Step 1: Cut the lumber to size

Start by cutting every board on the cut list so the rest of the build moves fast. From the 2x4s, cut four legs at 72 inches, six long rails at 41 inches, and six side rails at 17 inches. Cut the plywood sheet into three shelves, each 48 by 24 inches.
Set two sawhorses on a flat spot in the garage and clamp each board before you cut. Wear safety glasses and keep both hands clear of the blade path. Mark each piece with a pencil as you go, since a 41-inch rail and a 17-inch rail look alike in a pile. Stack the cut pieces in groups so you can grab what you need for each step.
Step 2: Build the three shelf frames
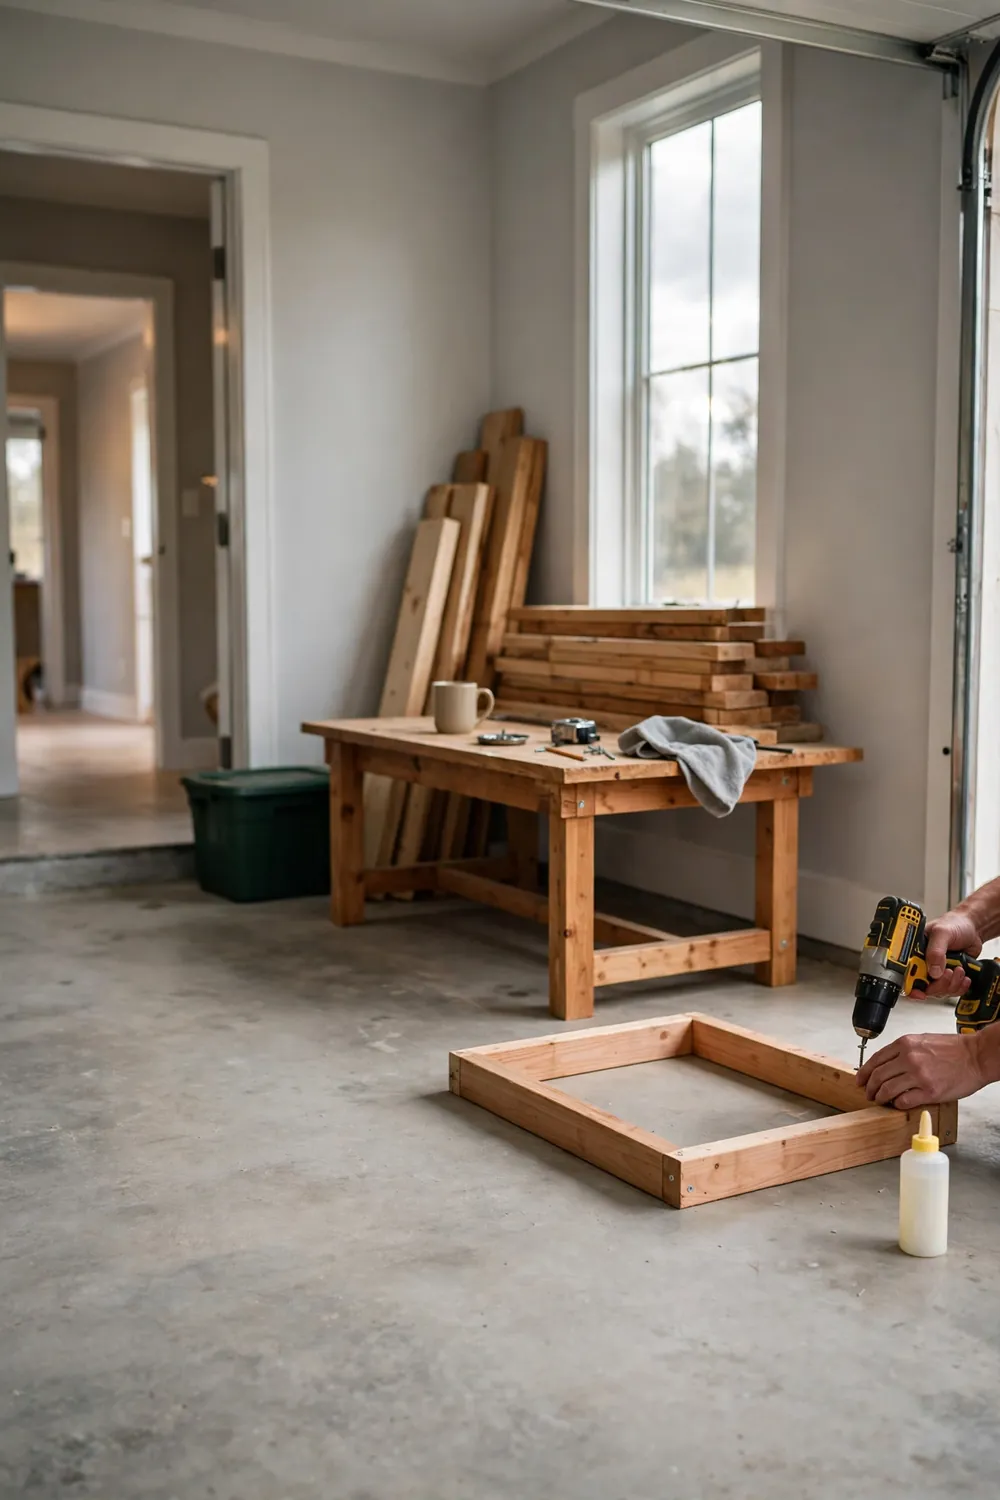
Each shelf frame is a simple rectangle made from two 41-inch rails and two 17-inch side rails. Lay the pieces on the garage floor in a rectangle, with the side rails tucked between the ends of the long rails. Spread a thin line of wood glue on each joint, then drive two 2.5-inch screws through the long rail into the end of each side rail.
Check that the frame is square by measuring corner to corner. Both diagonal measurements should match. If they do not, push the frame gently until they do. Repeat the whole process two more times so you have three matching frames. Let the glue set for 20 minutes before you move them.
Step 3: Attach the frames to the legs
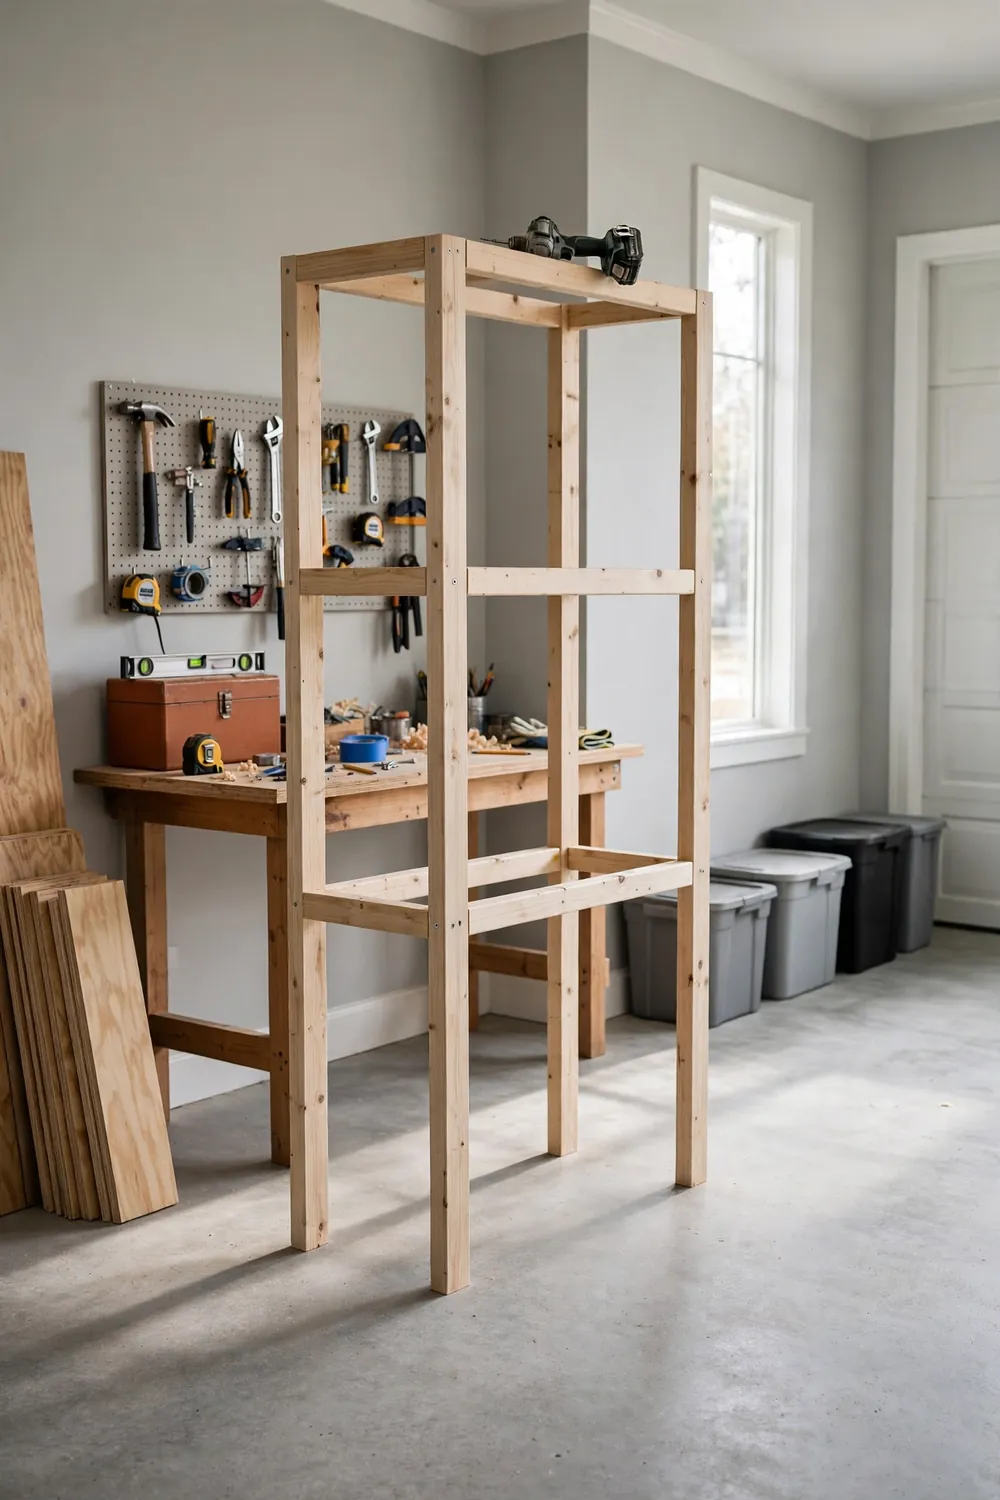
Stand the four 72-inch legs upright on the garage floor, spaced so each frame will fit between them. Hold the first frame in place with its top at 12 inches from the floor. Drive two 2.5-inch screws through each leg into the end of each rail.
Set the second frame with its top at 40 inches and the third with its top at 68 inches. Check each one with the level as you go. A frame that tilts now means a shelf that slides later. Work slowly and have someone hold the far side if the unit starts to wobble. Once all three frames are screwed in, the whole thing should stand firm on its own.
Step 4: Set the plywood shelves in place
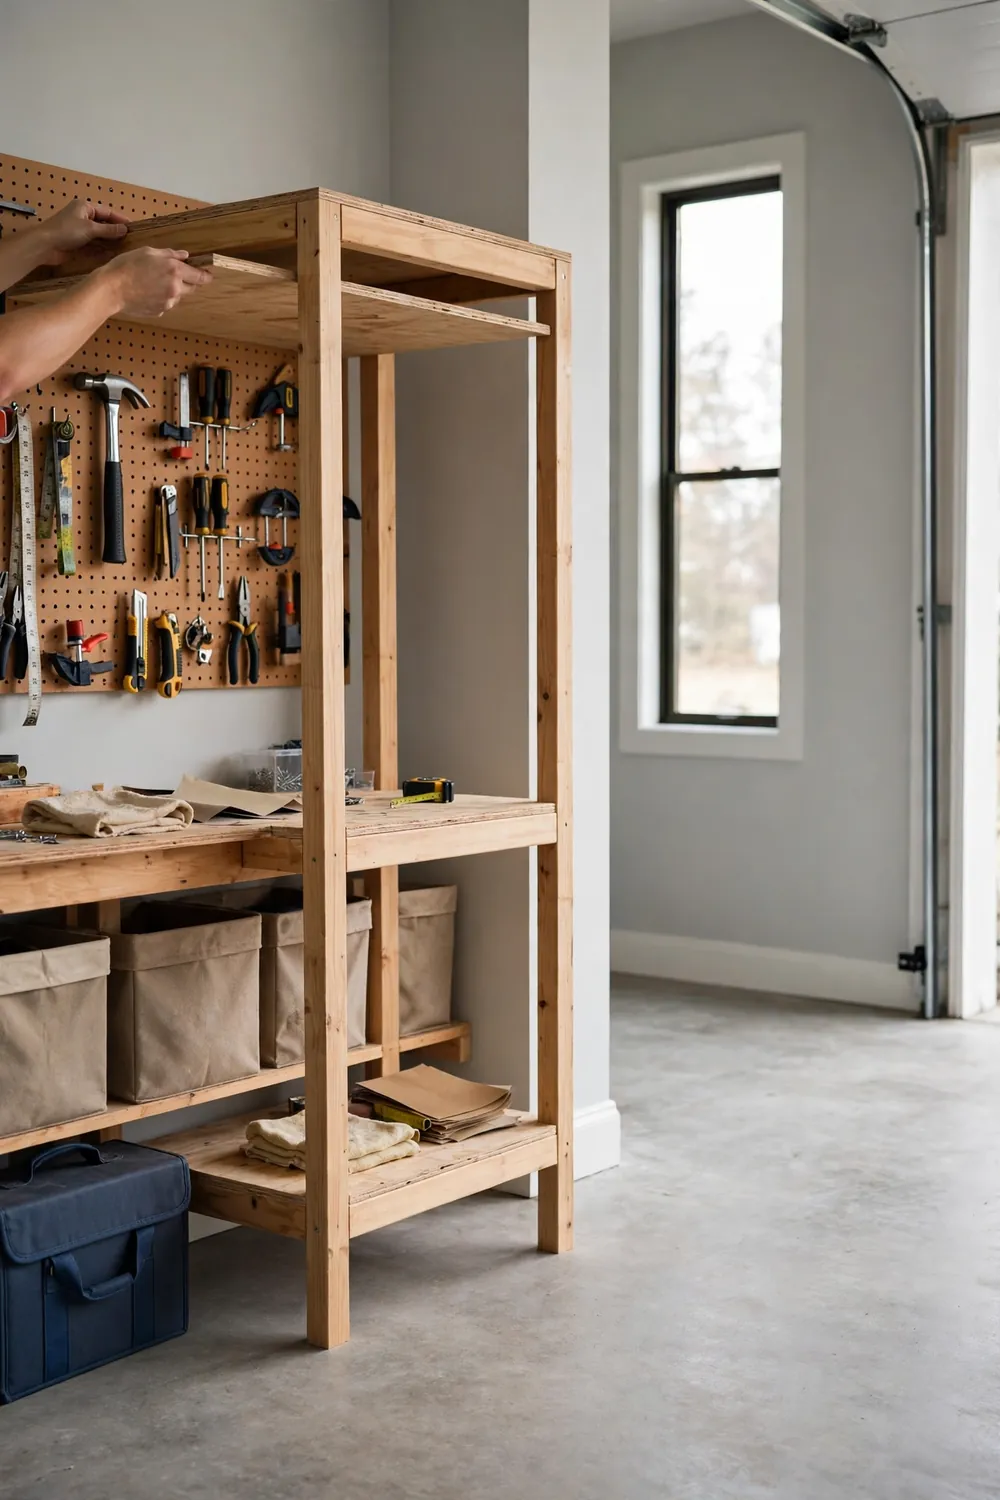
Sand the cut edges of each plywood shelf with 120-grit sandpaper so no splinters catch your hands. Drop a shelf onto each frame. Each one is 48 by 24 inches, which matches the outside of its frame exactly, so it should sit flat with no overhang.
Drive four 2.5-inch screws down through the plywood into the rails below, one near each corner. These screws keep the shelves from shifting when you slide bins across them. Run your hand along the front edge of every shelf. If you feel a rough spot, give it another quick pass with the sandpaper.
Step 5: Anchor it to the wall and load it up
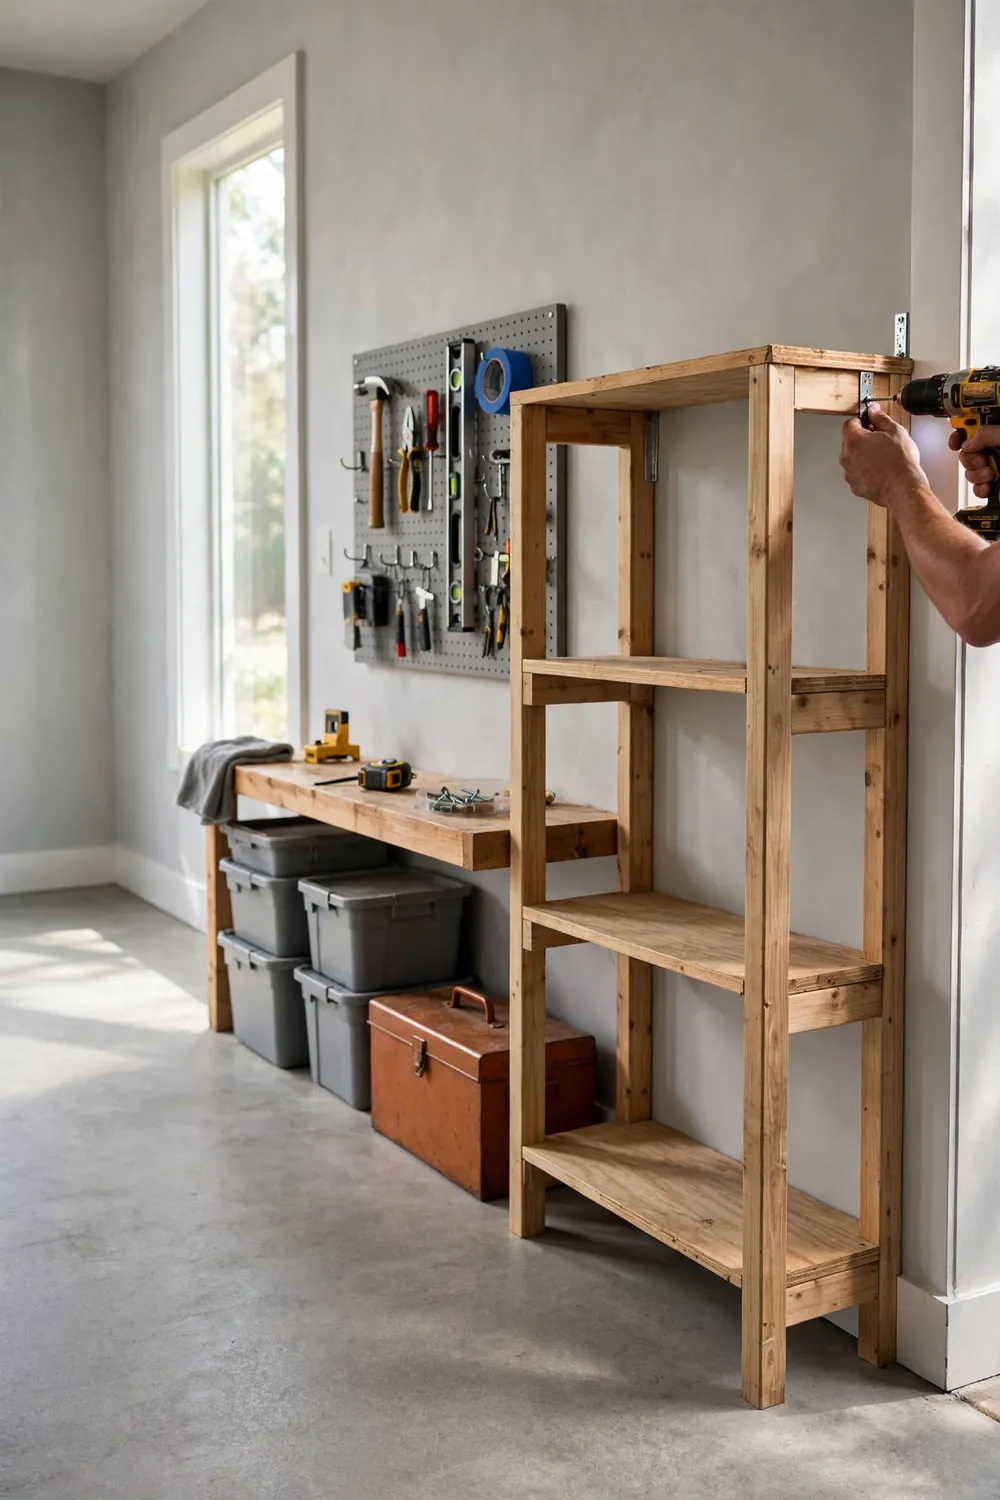
Slide the finished unit against the garage wall where you want it to live. This step matters most for safety. Find the wall studs with a stud finder, since studs are usually 16 inches apart behind the drywall. Screw one L-bracket into a stud and into the top rail on each side of the unit, using the 2.5-inch lag screws.
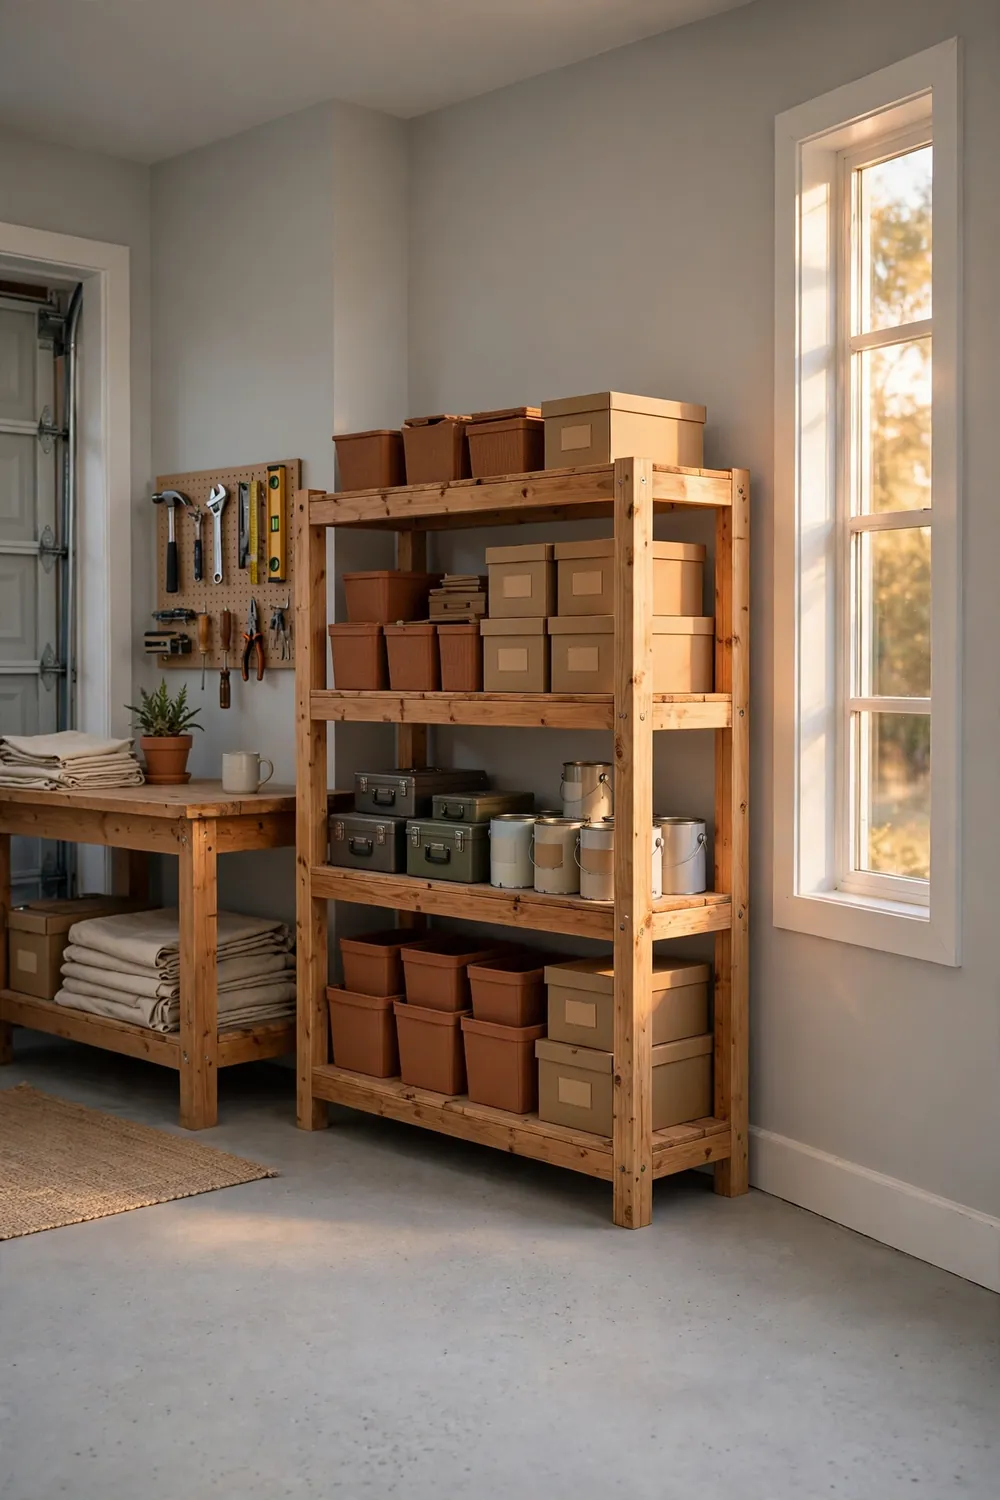
Never skip the anchoring, because a tall shelf can tip forward when a child climbs it or when heavy bins slide. Now load it from the bottom up, with the heaviest bins on the lowest shelf. Step back and enjoy a garage where everything finally has a place.
Frequently Asked Questions
How much weight can these DIY garage shelves hold?
Each shelf holds about 50 to 100 pounds when the weight is spread evenly across the plywood. The 2×4 frames carry the load, so keep the span at 4 feet or less to prevent sagging. Put the heaviest bins, like paint cans and tool boxes, on the bottom shelf. Lighter items, like holiday decor boxes, do fine up top.
Do you have to attach the shelves to wall studs?
Yes, anchoring is the one step you should never skip. Studs are the solid wood boards behind your drywall, usually spaced 16 inches apart, and a stud finder locates them in seconds. Drive each L-bracket’s lag screw straight into a stud for the strongest hold. If the studs do not line up with your shelf, shift the whole unit a few inches until they do.
What size lumber works best for garage shelving?
For a garage shelving DIY build that holds real weight, 2x4s and 3/4-inch plywood are the sweet spot. Thinner 2x3s work for light craft supplies, and half-inch plywood is fine if you only store linens. Keep any shelf span under 4 feet, since longer spans sag over time. When in doubt, go thicker, because stronger shelves last for years.
Can you build this without owning a circular saw?
Yes, and many beginners do. Most home improvement stores cut lumber to your measurements for a small fee per cut, so bring the cut list from Step 1. You will still need a power drill for the screws, since that part cannot be outsourced. Everything else on the materials list is hand-tool friendly.
Enjoy Your Garage Shelves
You now have a shelf unit that can swallow the clutter that used to cover your garage floor. Bins stack neatly, tools stay within reach, and the whole thing cost less than a store-bought rack. If a shelf ever starts to sag years from now, you can slide in an extra rail for support.
Stand back and admire your work while you plan what gets organized next. Pin this build to save it for your next garage organization project weekend.