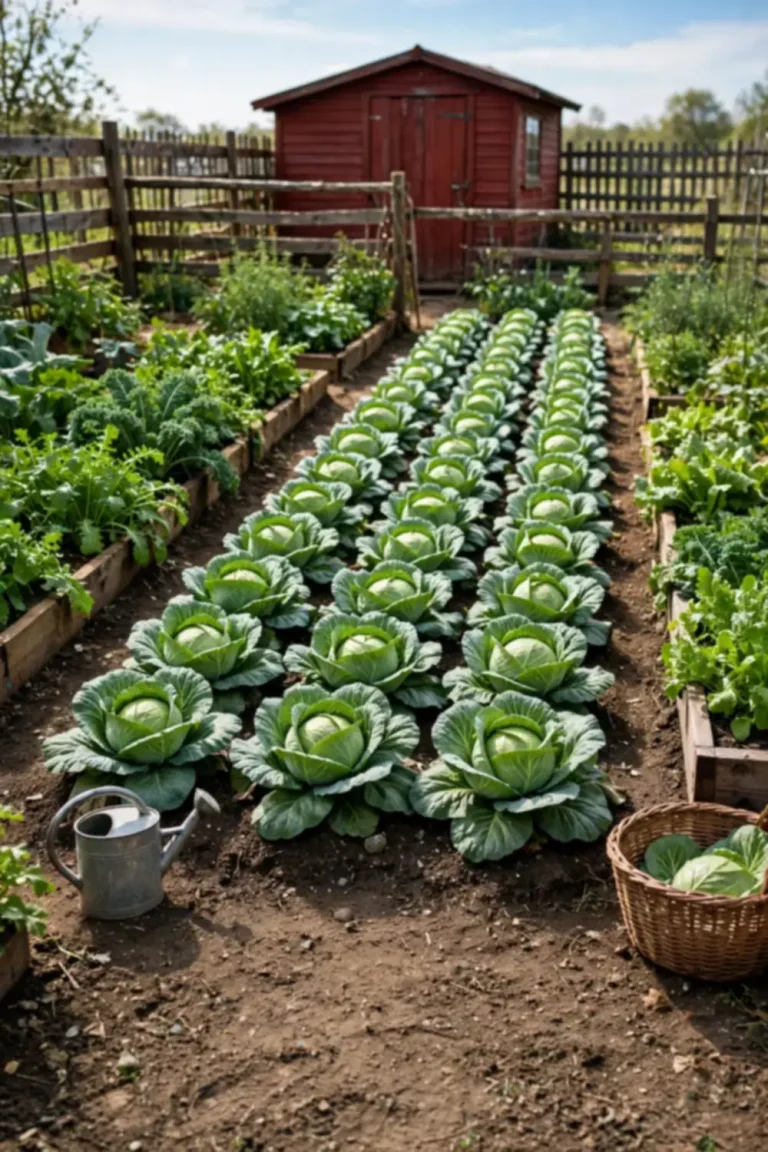

How to Grow Microgreens Indoors
In about ten days, one shallow tray on your counter can hold a thick carpet of green shoots ready to snip over eggs, salads, and sandwiches. That is the promise of learning how to grow microgreens at home: fast results from a very small setup.
You do not need a garden or special skills to begin. A bright windowsill or one small grow light gives your greens all the light they need. Add a couple of trays and a bag of seed-starting mix, and you are ready to sow. Broccoli, radish, sunflower, and pea shoots all grow well indoors in any season. They make a fine project for cold months when the garden rests.
This guide takes you from seed to harvest in seven simple steps. Follow them in order, and you will cut your first tray within two weeks.
1. Pick the Right Seeds
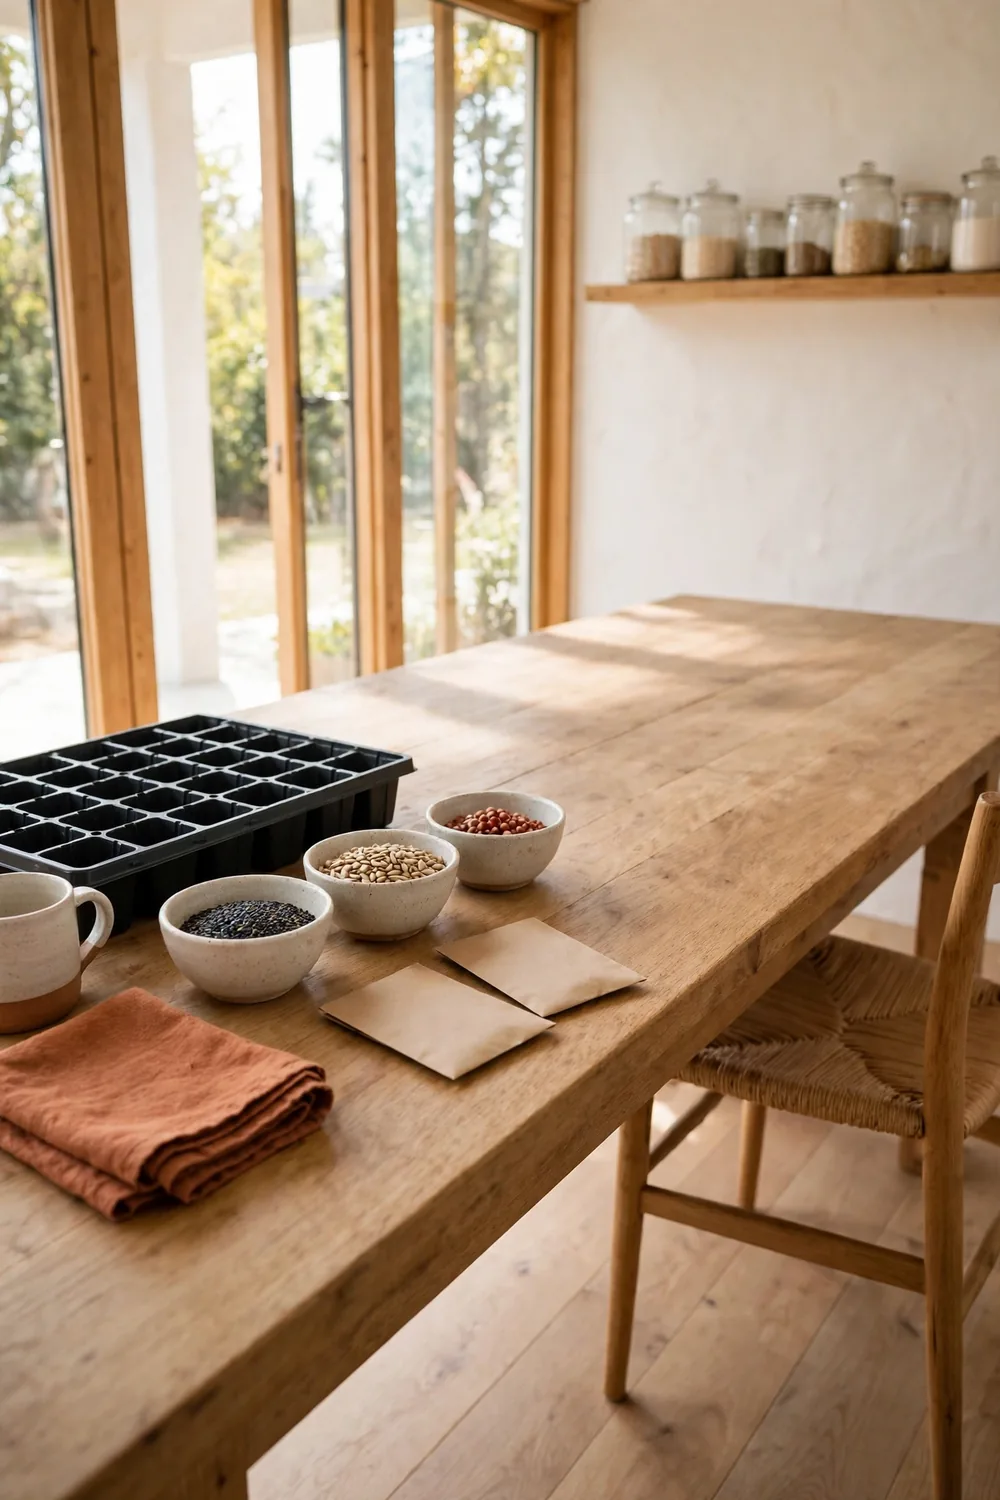
Broccoli, kale, arugula, radish, mustard, sunflower, and pea shoots suit beginners well because they sprout fast, grow evenly, and taste good young. Buy seeds marked for microgreens or sprouting, since those lots are cleaned for food use and sprout well. One 10 by 20 inch tray needs about 1 to 2 ounces of seed, so a small bag goes a long way.
Skip seeds from the nightshade family, such as tomato, pepper, potato, and eggplant. Their young leaves can taste bitter and upset your stomach when eaten raw. The same care applies to morning glory and other flower seeds, which may be treated with chemicals.
When in doubt, look for a packet that names the kind as a microgreen. Start with two or three kinds, such as radish and sunflower. Add more once you see how each one grows.
2. Choose Trays and Growing Medium
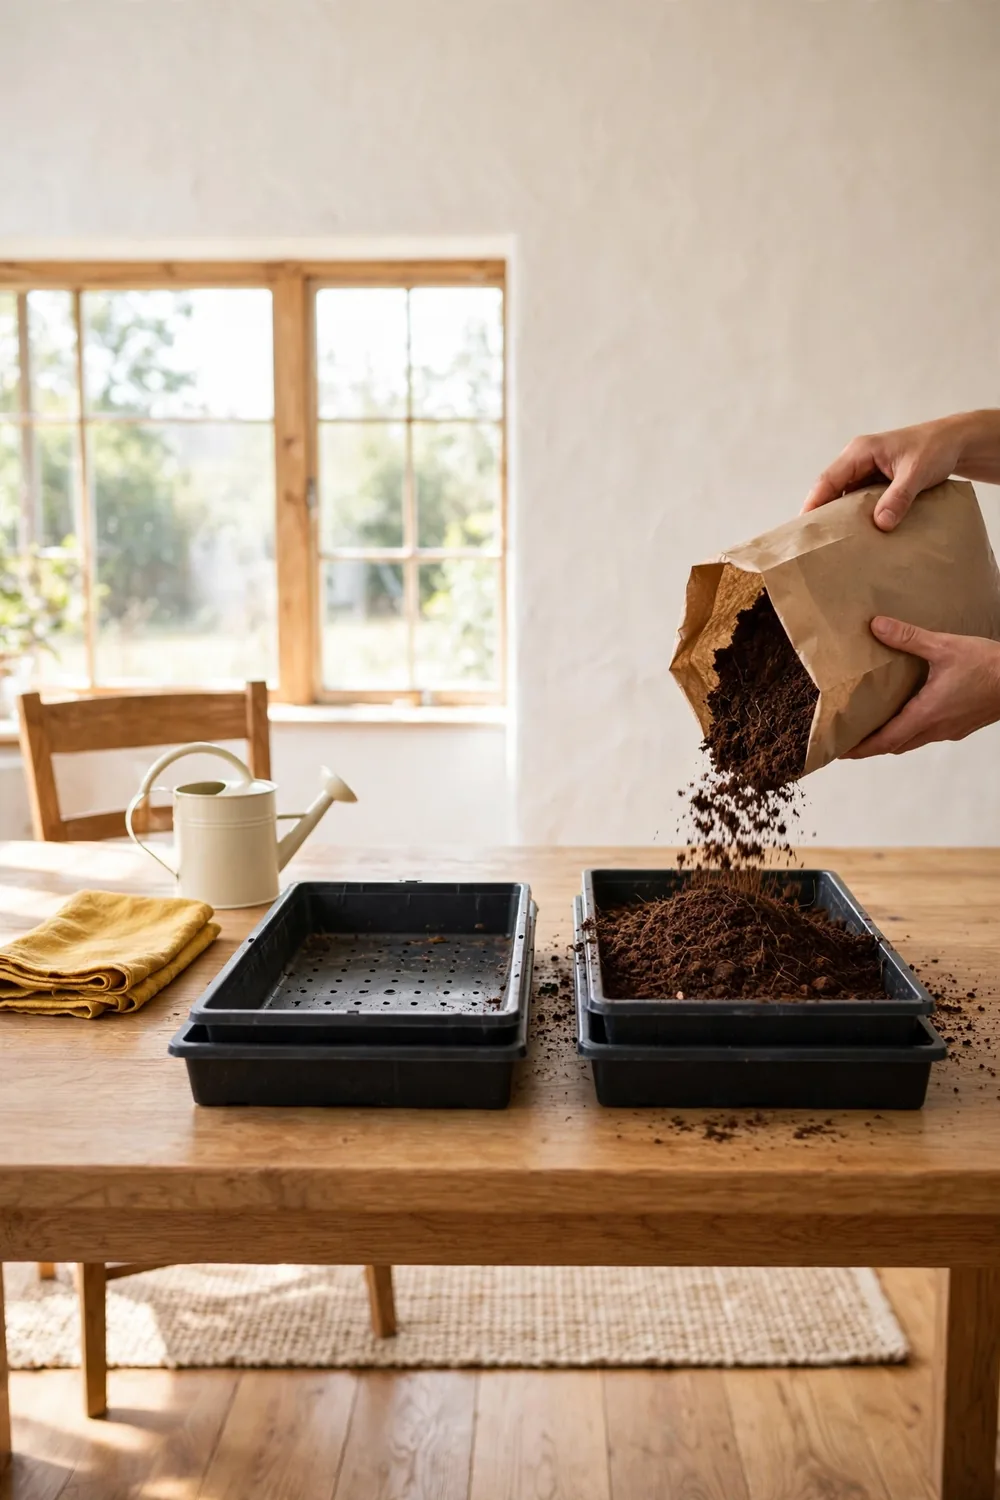
A standard 10 by 20 inch tray fits well on a counter and holds enough greens for a week of salads. Use two trays for each planting: one with drainage holes to hold the soil, and one solid tray below to catch water. Shallow trays work best, since microgreen roots stay near the surface.
Fill the tray with 1 to 1.5 inches of coco coir or seed-starting mix. Press it level and water until it feels like a wrung-out sponge. Skip garden soil, which can bring bugs and weed seeds into your kitchen. Coco coir bricks are clean, cheap, and simple to store.
Between plantings, wash each tray with hot, soapy water and let it dry fully. Clean trays stop mold before it starts, and they take only a few minutes to scrub.
3. Sow Seeds and Start the Blackout

Spread the seeds in an even layer over the damp surface, then press them down gently so each seed touches the mix. A thick, even cover gives you a full carpet, but the seeds should not pile up on each other. Mist the top lightly with a spray bottle to settle them in place.
Now comes the blackout period. Cover the tray with an upside-down empty tray or a dark dome for 3 to 5 days. This dark spell acts like buried soil and pushes the stems to grow tall and strong. Set a small weight, like a book, on the cover to keep it snug.
Lift the cover once a day to check on their progress. Fresh air around the tray keeps mold away during this damp stage. Do not seal the cover tight.
4. Water From Below
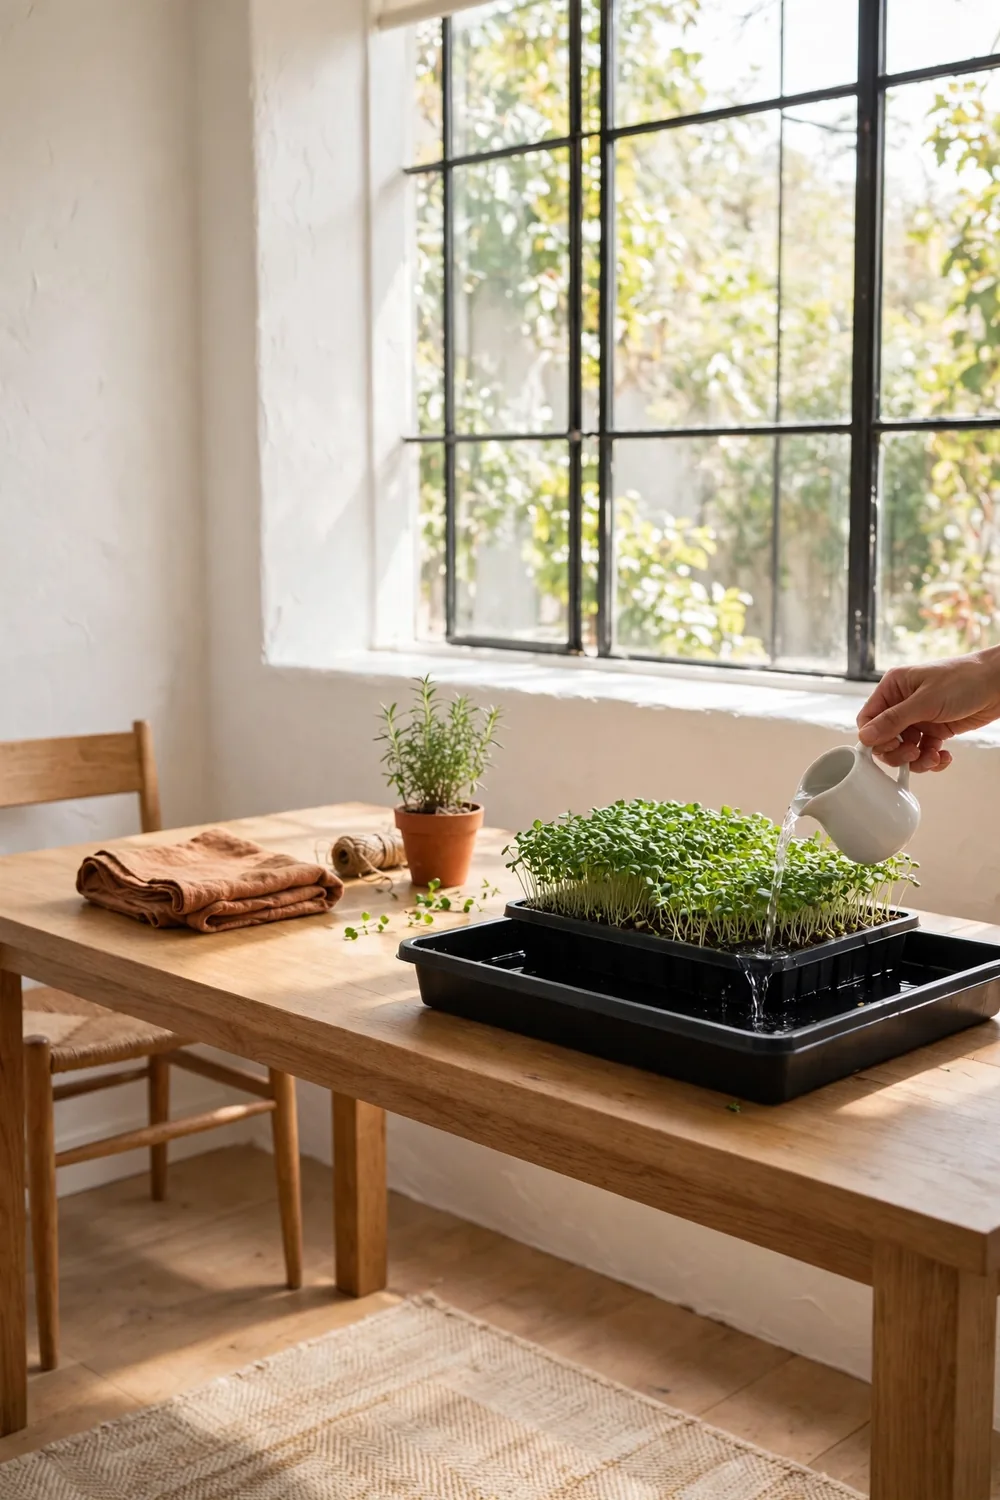
Bottom watering keeps the leaves dry and stops mold before it starts. Pour about half an inch of water into the solid bottom tray and let the soil drink it up for 10 to 15 minutes. Then pour off whatever is left, because roots sitting in standing water will rot.
Water once a day, or whenever the top of the mix feels dry to the touch. Young plants drink more as they grow, so check twice a day once the canopy fills in. A tray that feels light when you lift it is asking for water.
Do not mist from above once the leaves are up. Wet leaves in a still room invite fuzzy white mold very fast. Bottom watering avoids that problem.
5. Give Them Light

After the blackout ends, the greens need light to turn from pale yellow to rich green. A south-facing window with 6 or more hours of direct sun suits most kinds. If your windows are dim, hang a simple LED shop light 4 to 6 inches above the tray and run it 12 to 16 hours a day.
Turn the tray a quarter turn each day. Then every side gets light and the stems stay straight. Pale, stretched stems mean the light is too weak or too far away. Move the light closer or add a few more hours, and the next tray will grow sturdier.
Keep the room between 65 and 75 degrees for steady growth. Cold slows the plants down. Heat near a vent can dry the small trays out in one afternoon.
6. Harvest at the Right Moment
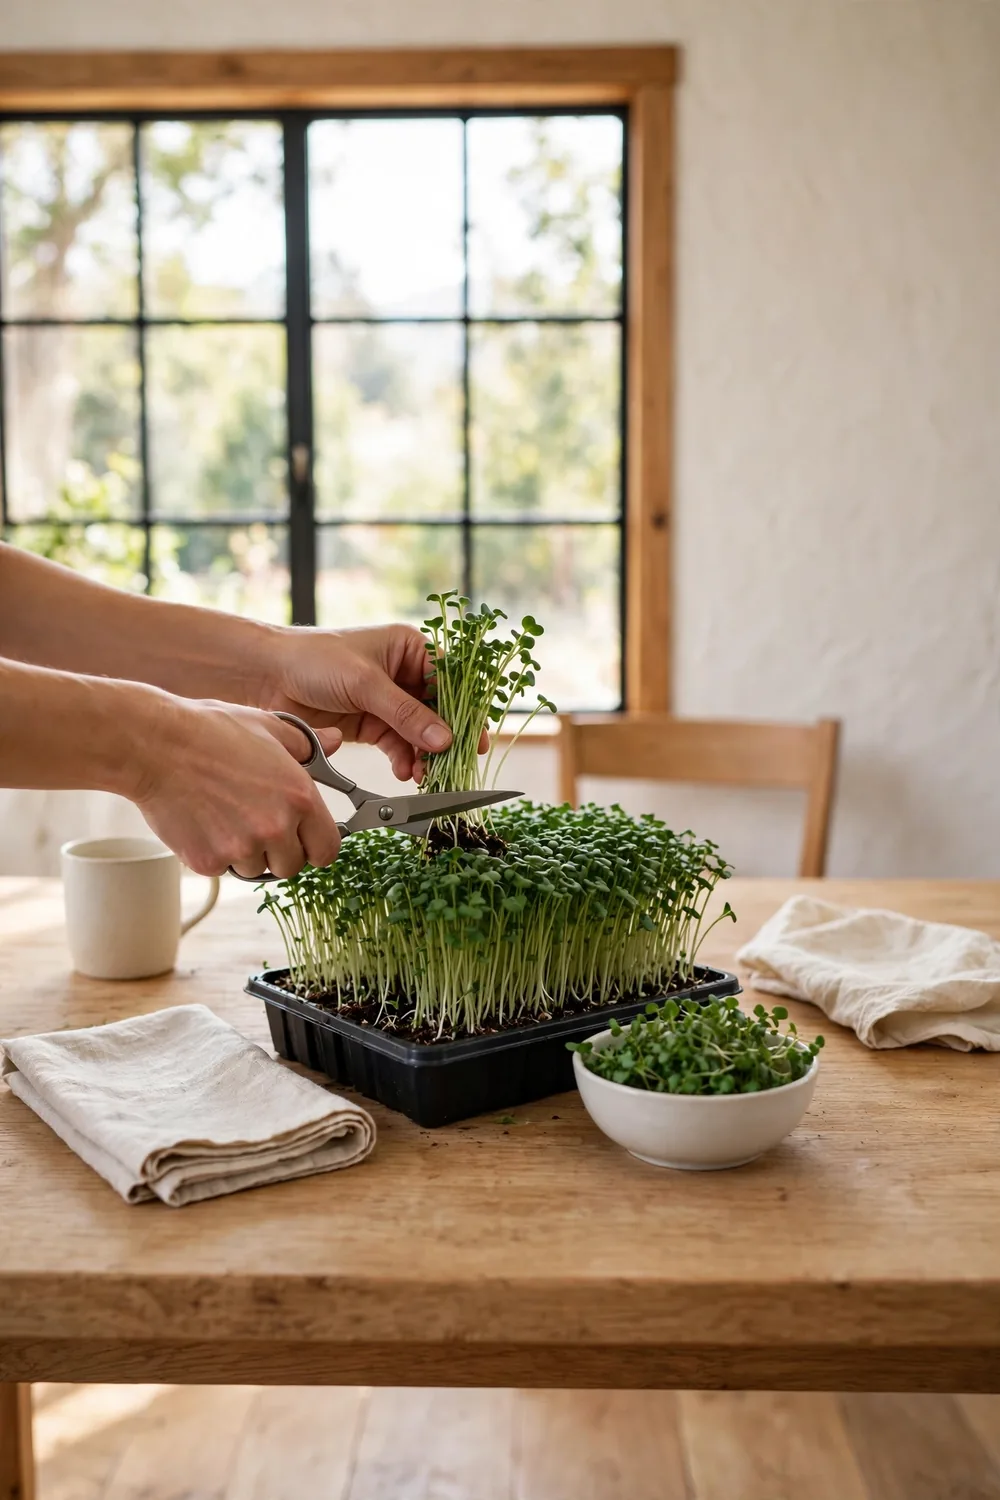
Most microgreens are ready 7 to 14 days after sowing, when the first true leaves open and the stems stand 2 to 4 inches tall. Morning is the best time to cut, because the leaves are crisp and cool then. Rinse a pair of clean scissors and snip the stems just above the soil line, holding small bunches as you go.
Taste a few shoots before you cut the whole tray. Radish and mustard turn hot with age, while sunflower stays sweet a little longer. Cut only what you need for the day. The rest stays fresh in the tray.
Wash the harvest gently in cold water and pat it dry. Most kinds do not grow back after cutting. Compost the used roots and start a fresh tray.
7. Keep It Clean and Safe
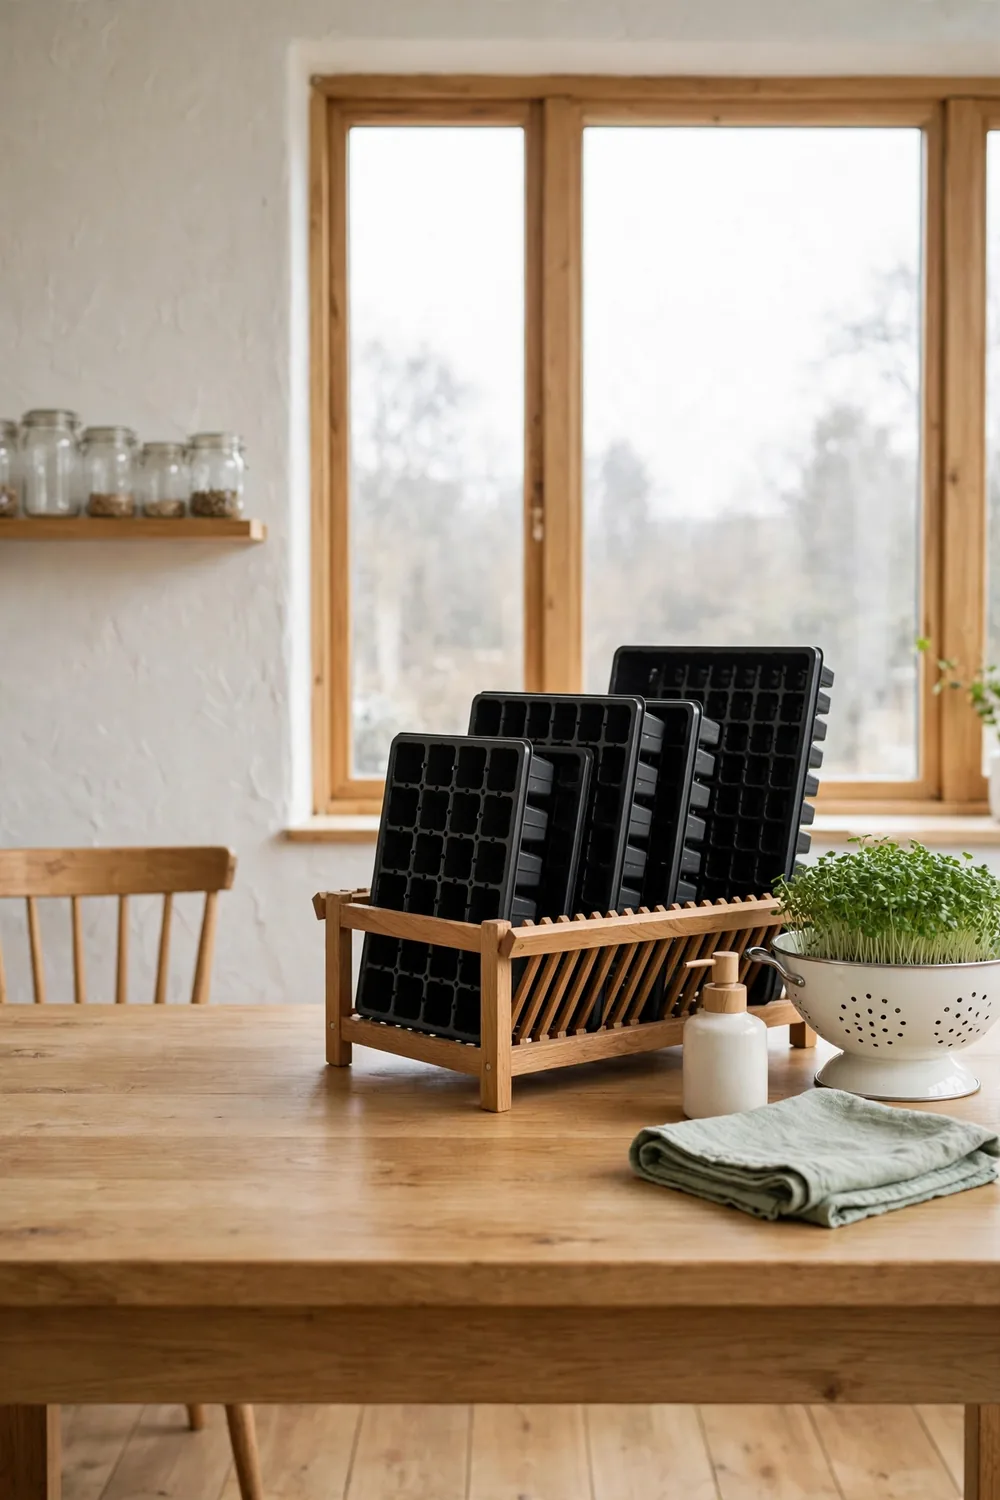
Because microgreens are eaten raw, a little food safety goes a long way. Rinse your seeds in a fine strainer before sowing to wash off dust and field dirt. Use fresh growing mix for every tray, and do not reuse old mix. Wash all trays and covers with hot, soapy water between plantings.
Keep the leaves dry and give the trays some breathing room. Toss any tray that turns slimy or smells sour, since a moldy batch is not worth saving. Store the harvest in a dry container lined with a paper towel in the fridge. Eat it within 4 to 5 days.
These clean habits take only minutes and protect every batch. Your next tray will come up green and healthy when the setup stays clean.
Frequently Asked Questions
Do microgreens need fertilizer to grow well?
Most microgreens grow fine with no added feed, because the seed holds enough stored food to carry the plant to harvest size. Added fertilizer can make tender stems weak and invite mold in the damp tray. Sunflower and pea shoots kept for a second cut are the one case where a very weak seaweed feed can help.
Why do microgreens smell sour or look slimy?
A sour smell or slimy stems often mean too much water and too little air flow around the tray. Let the trays drain fully after bottom watering, and leave a small gap if you stack trays during the blackout. If a whole tray turns mushy, throw it out and scrub everything with hot soapy water before you start over.
What is the best temperature for indoor microgreens?
Most kinds grow best between 65 and 75 degrees, which matches a comfortable home. Heat mats are not needed and can push the damp trays toward mold. Growth slows in a cold room, so keep trays away from drafty windows on winter nights.
Can you grow microgreens from regular garden seed packets?
Yes, as long as the kind is safe to eat young and the seed is untreated. Look for packets marked untreated or organic, and skip seed coated with fungicide, which is common on some garden seeds. Seed sold just for microgreens is the safest pick because it is cleaned and tested to sprout well.
How to Grow Microgreens You’ll Love
Once your first tray is cut, the second one feels easy. You already know the seeds, the watering rhythm, and the right moment to cut. Keep one or two trays in rotation and fresh greens are never more than a few days away.
Fresh food can come from a bright corner and a little care. No big garden is needed. Save this look for your mood board.