How to Decorate a Christmas Tree Like a Pro in 7 Steps
Somewhere between the tangled lights and the mismatched ornaments, decorating the tree can start to feel like a seasonal chore. The trees that stop you mid-scroll are not fancier or more costly. They simply follow a clear order that anyone can copy at home. If you have ever wondered how to decorate a Christmas tree the way pros do, here is the secret. It is all sequence: a few plain steps done in the right order.
This guide walks you through each step, from fluffing the branches to styling the base. You will learn how many lights and ornaments a tree needs, where each layer goes, and the small tweaks that make a tree look full. Follow the steps in order and the tree will come together fast.
Step 1: Set Up the Tree and Fluff Every Branch
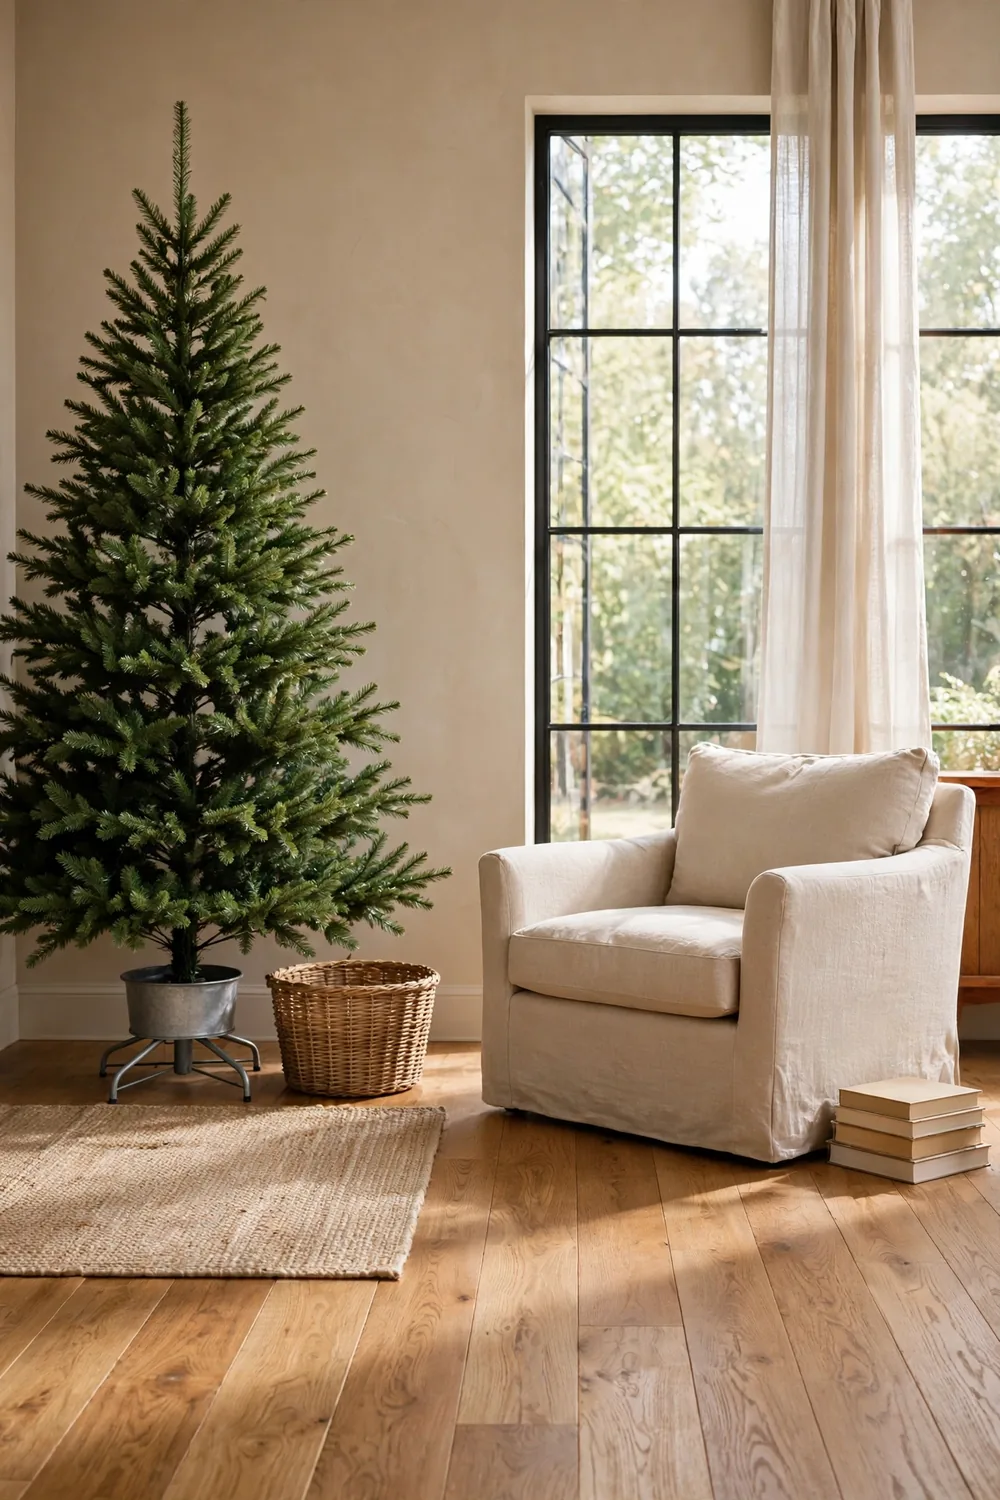
Start by snapping the tree sections together and setting the tree in its stand. Place it on a flat spot a few inches from the wall, so the back branches can open fully. Do not plug anything in yet, since shape comes first. Work from the bottom up, one tier at a time. Pull each branch outward and fan its small tips in all directions. Bend some tips upward and fan others outward for a natural look.
This is the step most people rush, and it shows in the end. A well-fluffed tree looks twice as full with the same branches. For a seven-foot tree, give this job a solid forty-five minutes. Step back every few tiers to look for flat spots. Turn the tree a little and fill thin areas by bending nearby branches toward them. A full, even shape now means every later layer will sit right, in the same spirit as Christmas tree lights calculator, which makes it a natural fit with Christmas tree lights calculator.
Step 2: String the Lights From the Inside Out

Plan on about one hundred mini lights per foot of tree height. A seven-foot tree needs roughly seven hundred lights, which is about seven strands. Always test each strand before it goes on the tree. A dead strand found now saves a full rehang later. Start at the top and weave each strand in and out of the branches. Push some lights deep near the trunk and let others rest on the outer tips.
This inside-out method gives the tree a warm, deep glow. Light shines from the trunk outward, with no dark wedges between the branches. Keep the strands spaced evenly as you wind steadily down the tree. Step back often to catch dim patches. Plug each strand into the next as you go, so only one cord runs to the outlet. When the tree glows evenly from trunk to tip, the lights are done.
Step 3: Add Garland or Ribbon in Soft Swags
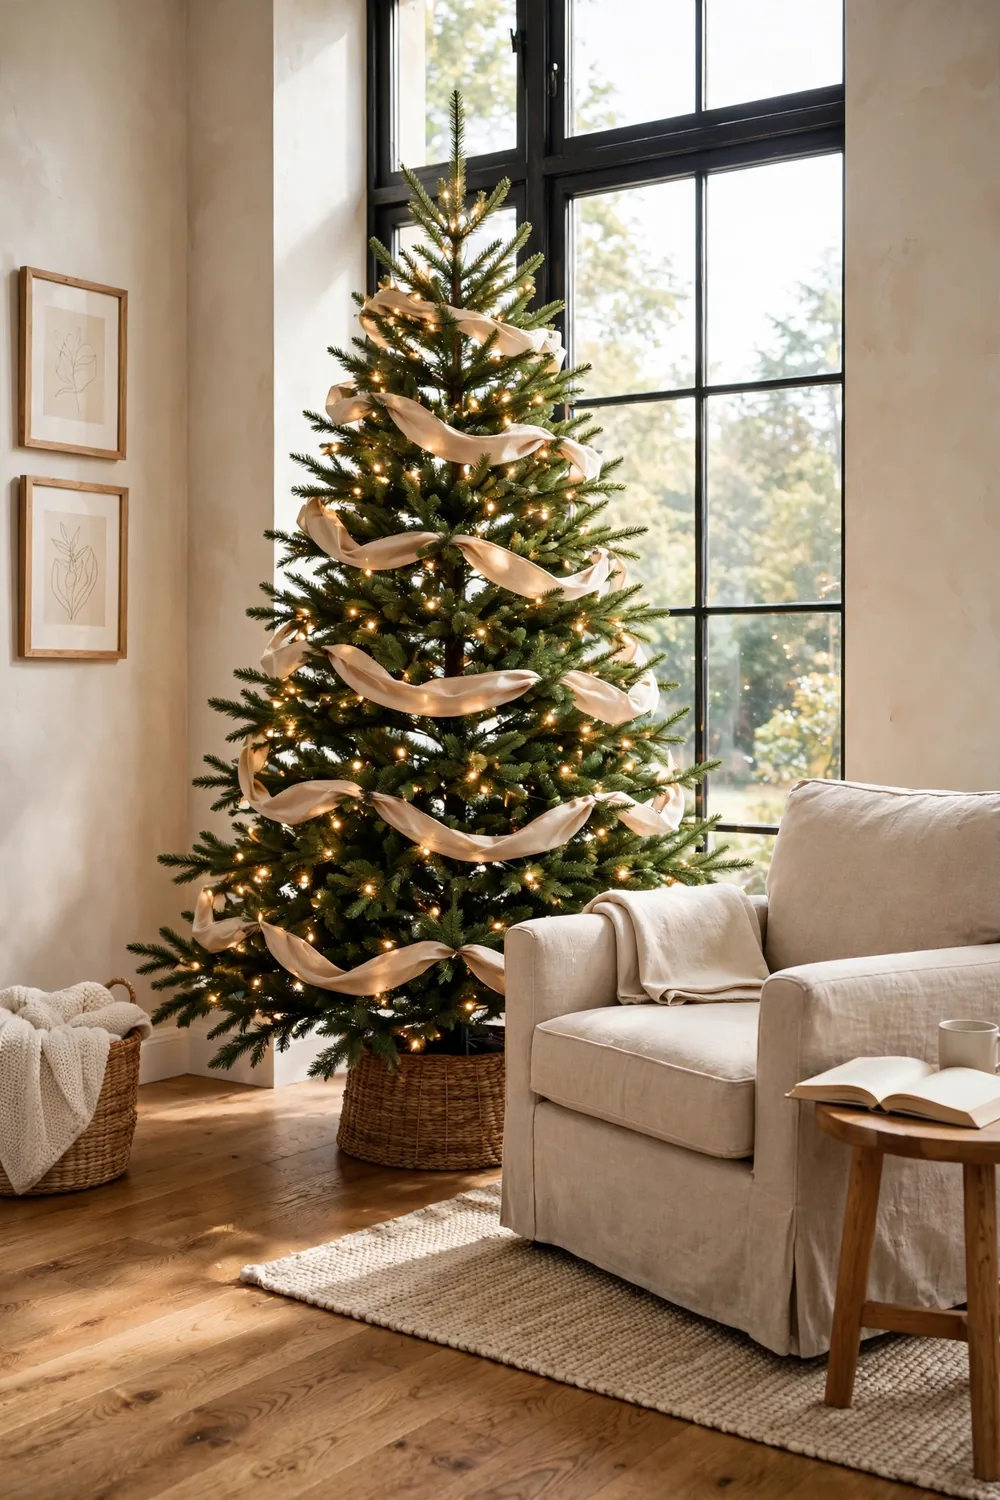
Pick one type of garland or wide ribbon and use it for the whole tree. For a seven-foot tree, about seventy-five feet of ribbon makes full swags with some left for the top. Cut the ribbon into three-foot lengths. Short pieces are much easier to shape and arrange than one long spiral. Tuck one end into the branches about a foot below the top. Let it drape down and out in a soft curve, then tuck the other end in about two feet lower.
Work around and down the tree, keeping each swag close to the same size. Step back often and check the flow. The swags should ring the tree like soft waves, even on all sides. Fluff the ribbon edges at the end so they catch the light beautifully.
Step 4: Hang the Largest Ornaments First
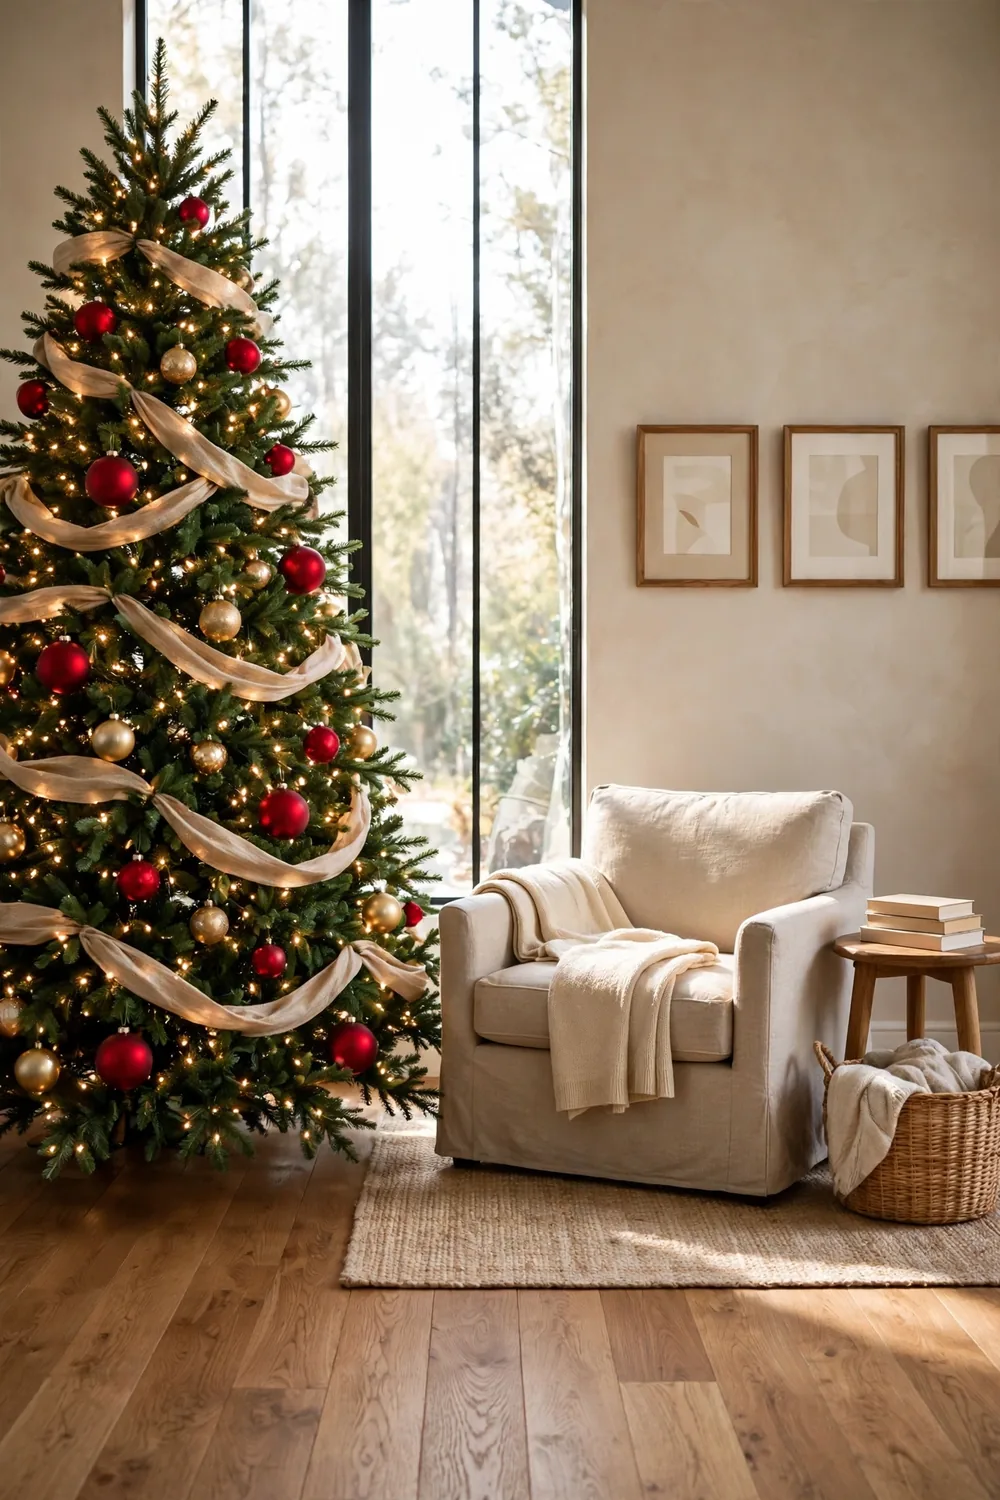
Sort the ornaments by size before you hang a single one. The biggest baubles go on first and sit deepest in the tree. They fill gaps between branches and give the tree its full look. Most large baubles run three to five inches across. Space them about a foot apart and push each one a few inches inside the outer branch tips. Hang them all the way around the tree. For more ideas, check out these make a nosew christmas tree skirt.
Deep-set ornaments stay put on the strong inner branches. They also build the lush, full appearance of a professionally styled tree. Turn the tree a quarter turn every few ornaments to keep the spacing even. For a seven-foot tree, plan on about seventy ornaments in all. Hang the largest fifteen to twenty in this step. Once these anchors are in place, the smaller sizes will be easy to place. For more ideas, check out these fluff an artificial christmas tree so.
Step 5: Fill In With Medium and Small Ornaments
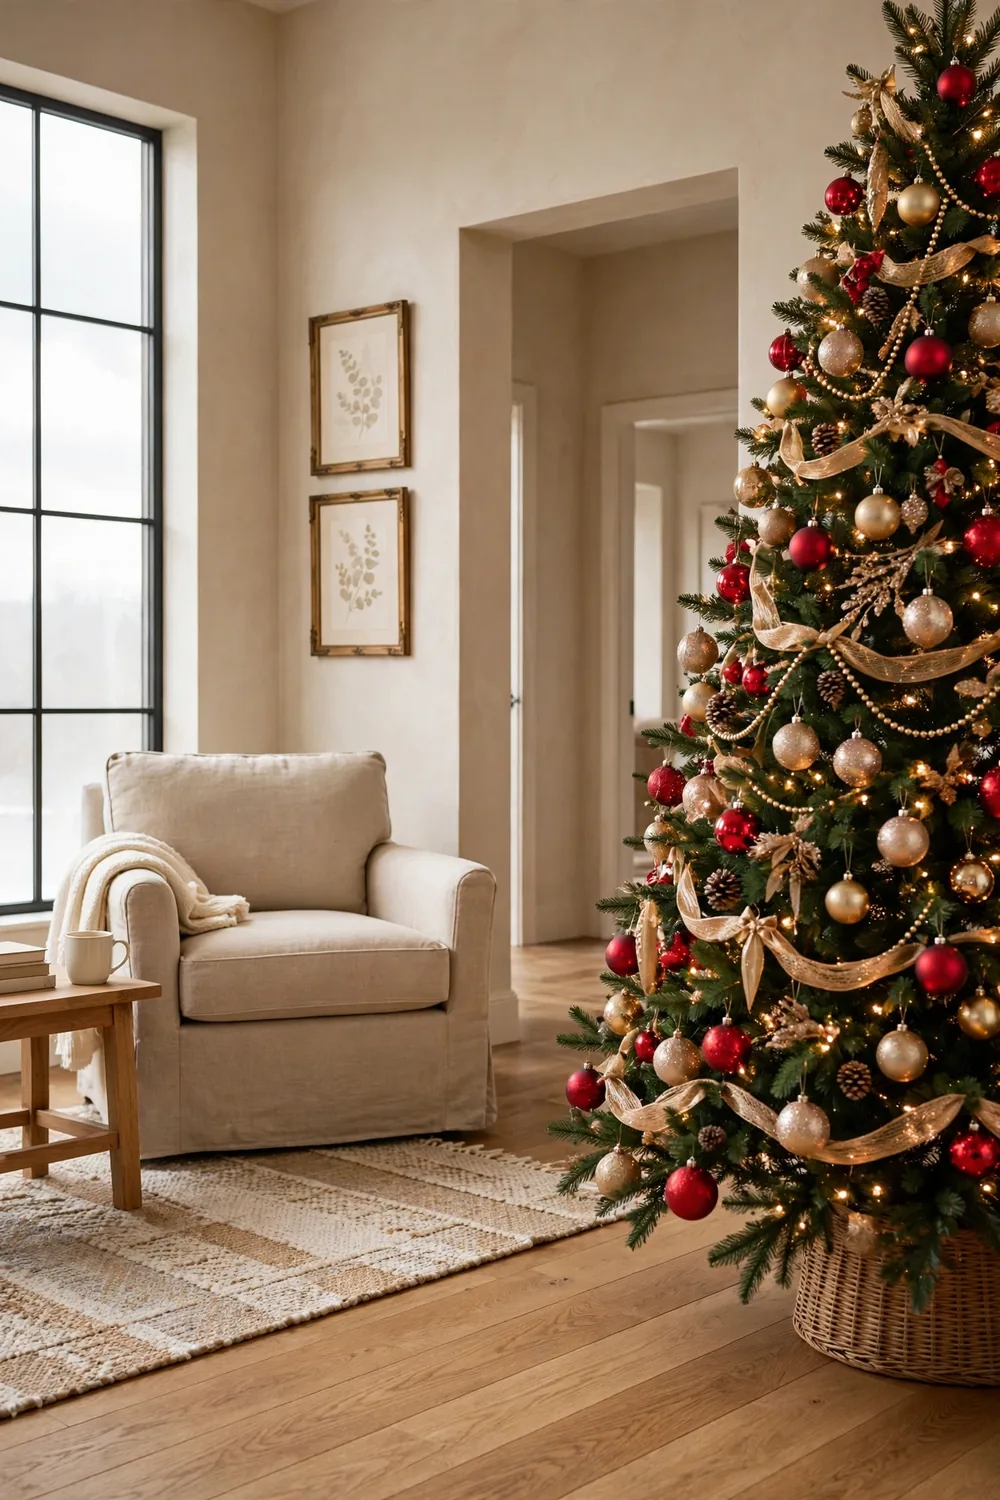
With the large ornaments in place, add medium ornaments toward the middle of each branch. Set the smallest ones near the outer tips, where they catch the most light. Mix the finishes as you go so shiny and matte pieces spread evenly across the branches. Save the most loved or handmade ornaments for eye level, where guests will spot and enjoy them.
Keep stepping back to check the balance from across the room. Color and size should drift evenly from top to bottom. Look for bare wedges or crowded corners, and fix each one now. Tuck small picks or pinecones deep into any gaps that remain between branches. When the tree looks done from every side, the ornament layer is finished.
Step 6: Crown the Tree With a Topper and Picks

Put the topper on before the last styling pass. That way its base hides among the top branches. A star or a big wired bow suits a classic tree. Match it to the tree’s colors and keep it in scale, about one-tenth of the tree’s height. Press it firmly onto the top branch. Fluff the nearby tips up around its base so no bare stem shows.
Next, add three to five decorative picks to the crown. Frosted branches or berry sprays both work well. Angle them upward from the top third of the tree. These tall accents draw the eye upward and give the crown the same fullness as the lower branches. Stand back and check the shape. The top should taper gently, with the topper straight and centered.
Step 7: Skirt the Base and Style the Surroundings

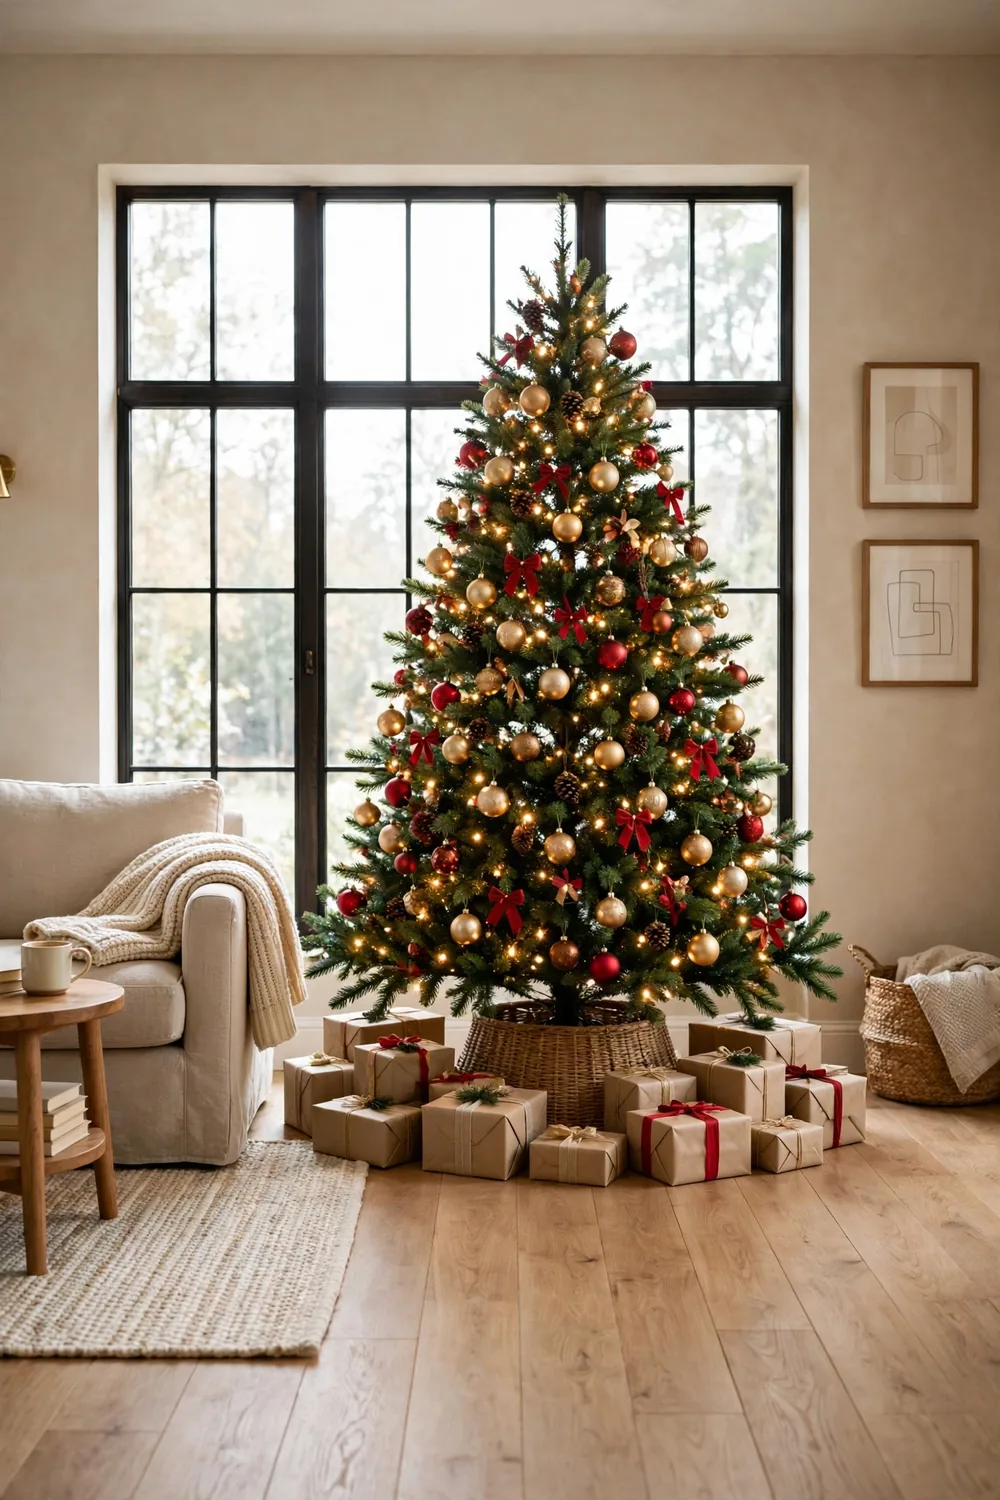
Hide the stand with a tree skirt or a collar that suits the room. Make sure it lies flat and covers the stand all the way. Set wrapped gifts or pretty boxes around the base. Mix up the sizes and turn the nicest wrapping to face out. Then dress the space around the tree. Drape a soft throw over the nearest chair and set one or two lanterns on the mantel nearby.
Let the tree’s glow do most of the work now. Run the single power cord along the wall to the outlet, so no cords cross the floor. Plug the lights in and dim the room lamps. Look at the tree from the doorway, the way guests will first see it. Make small tweaks if you spot any, then enjoy the tree all season.
Frequently Asked Questions
How long does it take to decorate a Christmas tree?
Plan on two to three hours for a seven-foot tree. Fluffing takes the biggest chunk, about forty-five minutes. Steady, unhurried work keeps every layer even. Rushing the first steps costs time later, since gaps must be fixed after the ornaments go up.
How many ornaments do you need for a 7-foot tree?
About seventy ornaments will fill a seven-foot tree nicely. Use fifteen to twenty large, about thirty medium, and small fillers for the rest. Full trees may need a few less, while slim trees need fewer large ones. When in doubt, buy one spare box of medium ornaments.
Should the lights go on before the ornaments?
Yes. Lights go on right after fluffing, before garland and ornaments. Ornaments hung on dark branches leave shadowy gaps that are hard to fix. If one strand dies mid-season, swap just that strand by tracing its path through the branches.
What is the best order to decorate a Christmas tree?
Fluff, lights, garland or ribbon, large ornaments, small ornaments, topper, then the skirt and base. Each layer nests into the one before it, so nothing moves twice. This order suits every decorating style, from red and gold to plain white.
Your Christmas Tree Like a, Refreshed
A tree built in this order looks full and cared for from every side. The approach works for bold red and gold, and it suits a quiet white tree too. The method never changes: shape first, then light, then layer.
Once the skirt is down and the gifts are set out, step back and take it in.