How to Grow Cabbage at Home from Seed to Harvest
Few garden wins beat carrying a heavy, crisp cabbage head in from the backyard. Cabbage is easier to grow than you might expect. If you have ever wondered how to grow cabbage in a small space, start here. The seven sections below walk you through the whole season from seed to harvest. Cabbage loves cool weather, so it often thrives where heat-loving plants struggle.
Each section covers one stage, from starting seeds indoors to cutting firm heads at harvest. Timing is simple: count back from your first fall frost or forward from your last spring frost. You only need basic tools and a sunny corner of the yard. Fresh cabbage is just a few months away.
Choose the Right Variety
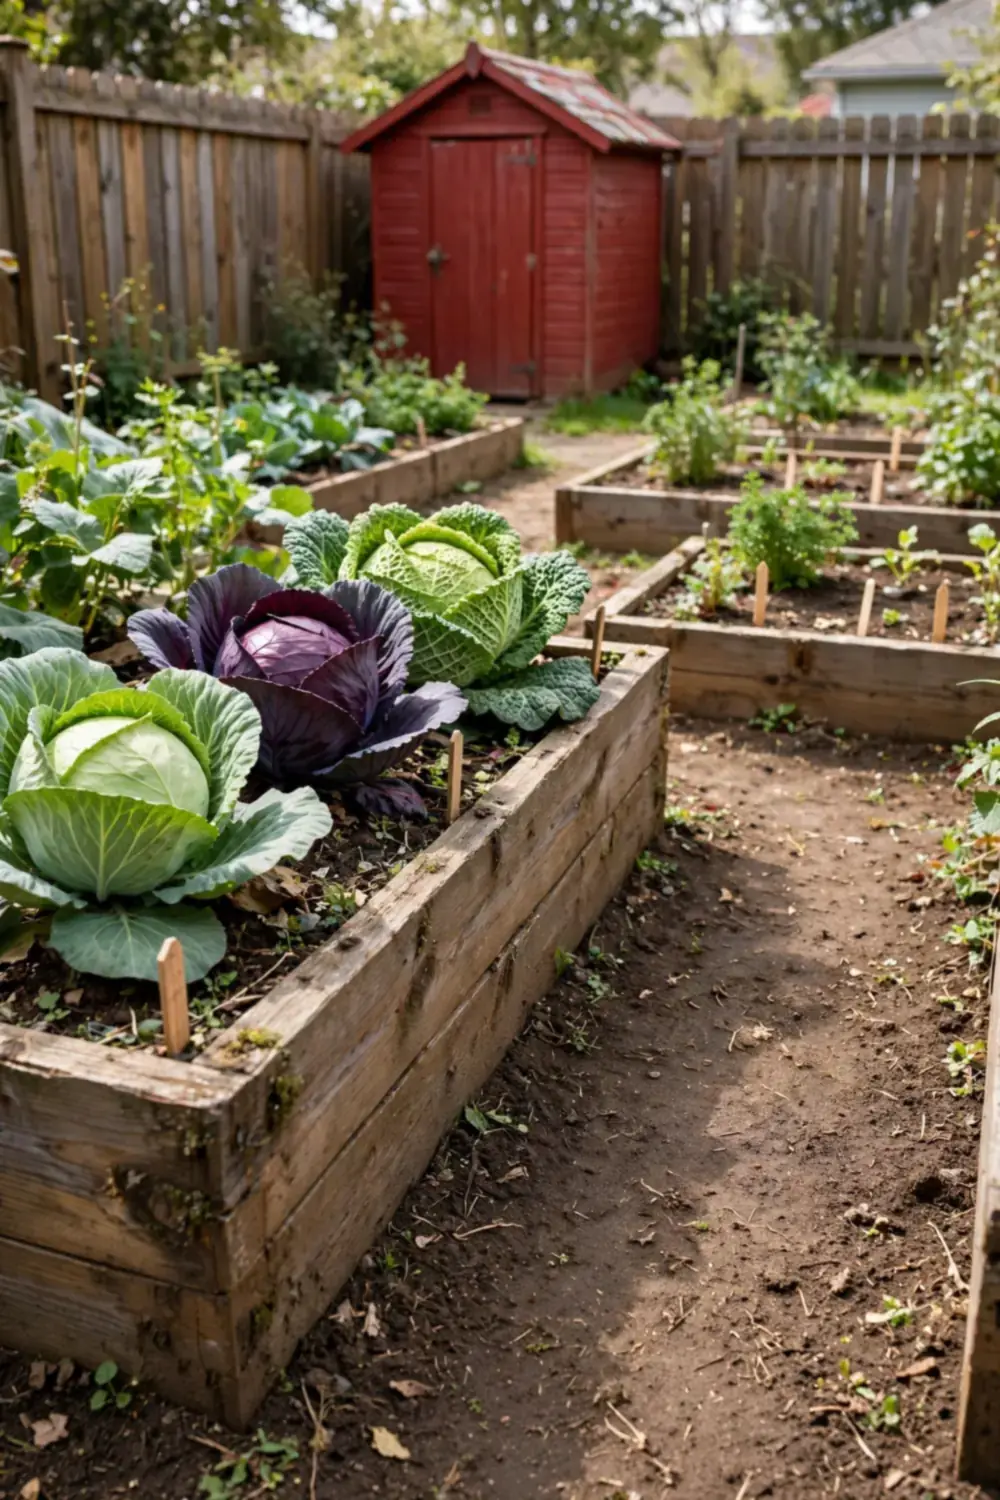
Green, red, and savoy cabbages grow the same basic way, but the right type makes your season much easier. Early types like Early Jersey Wakefield are ready in about 60 days, so they suit short springs. Late types such as Late Flat Dutch need 90 days or more and store well through winter.
Check the days to harvest on the seed packet. Count back from your first fall frost or forward from your last spring frost. That simple math shows which types will finish in time. Compact types form small heads in tight spaces, and one plant even thrives in a five-gallon pot. Pick types that resist disease when you can. They stand up to common problems like black rot. Local garden centers stock types proven in the area. Ask which ones sell best each spring, much like these how to grow microgreens indoors.
Start Seeds Indoors
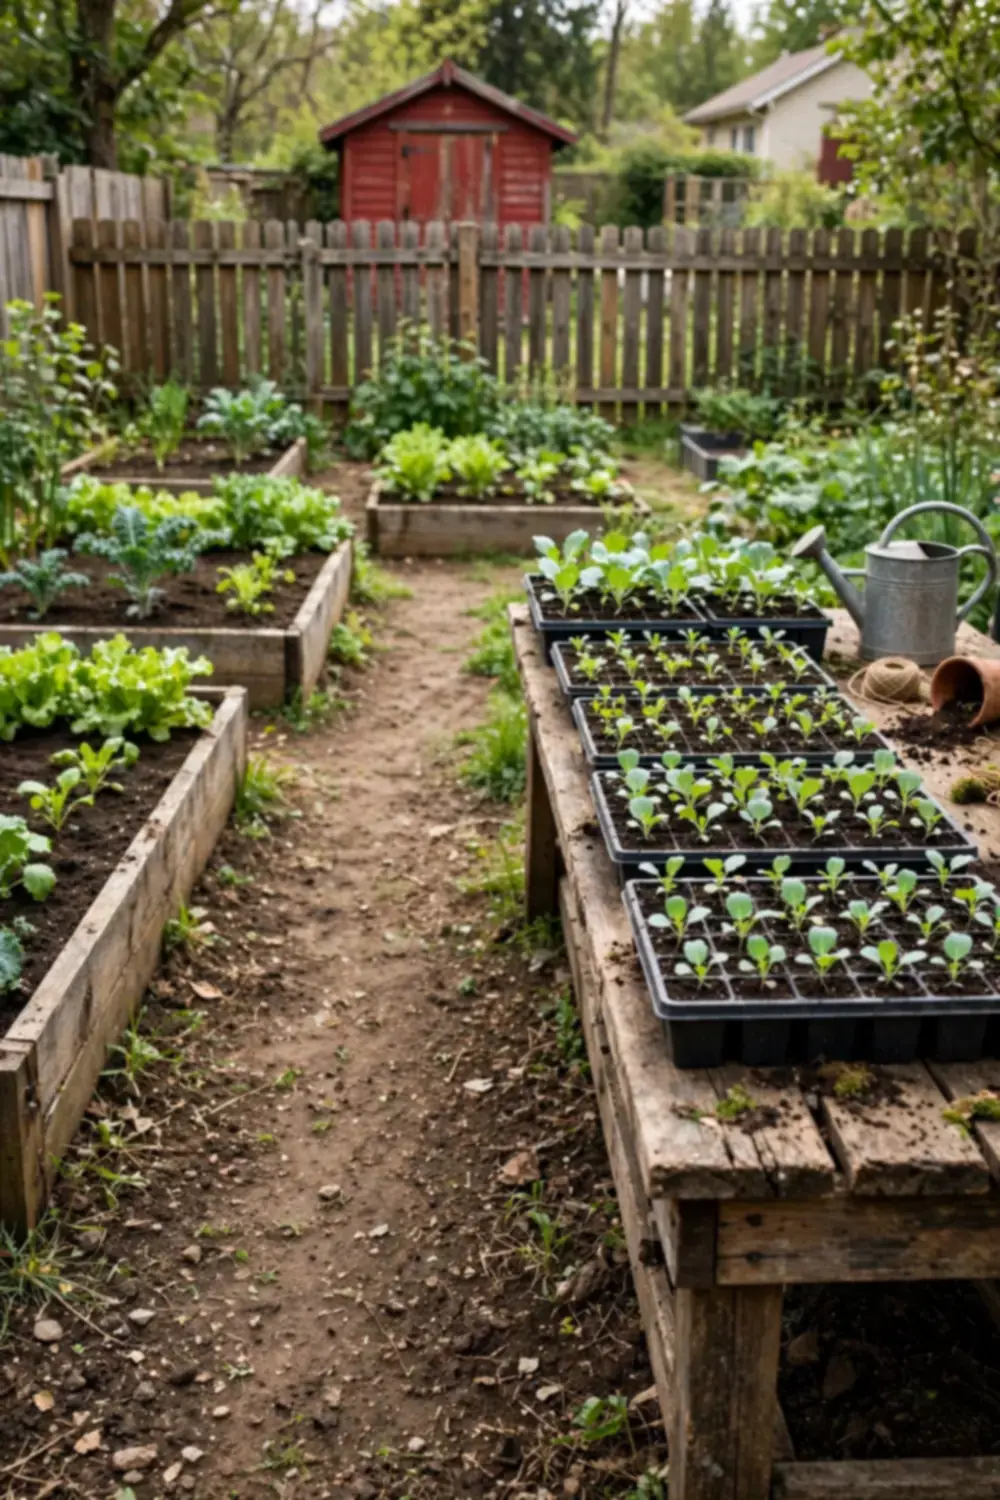
Indoor sowing gives you a six to eight week head start. It is the surest way to raise strong plants. Sow the seeds a quarter inch deep in trays of moist seed-starting mix. Keep the trays near 70 degrees, and most seeds will sprout within five to ten days.
Move the trays to your brightest window or under a simple grow light once green shoots appear. Cool room air around 60 to 65 degrees keeps the stems short and sturdy. Thin each cell to the single strongest seedling after the first true leaves unfold. About a week before moving day, start to harden the plants off. Set the trays outside for a few hours at first, then add more time each day. That slow start in sun and wind helps them adjust with no shock.
Prepare the Garden Soil
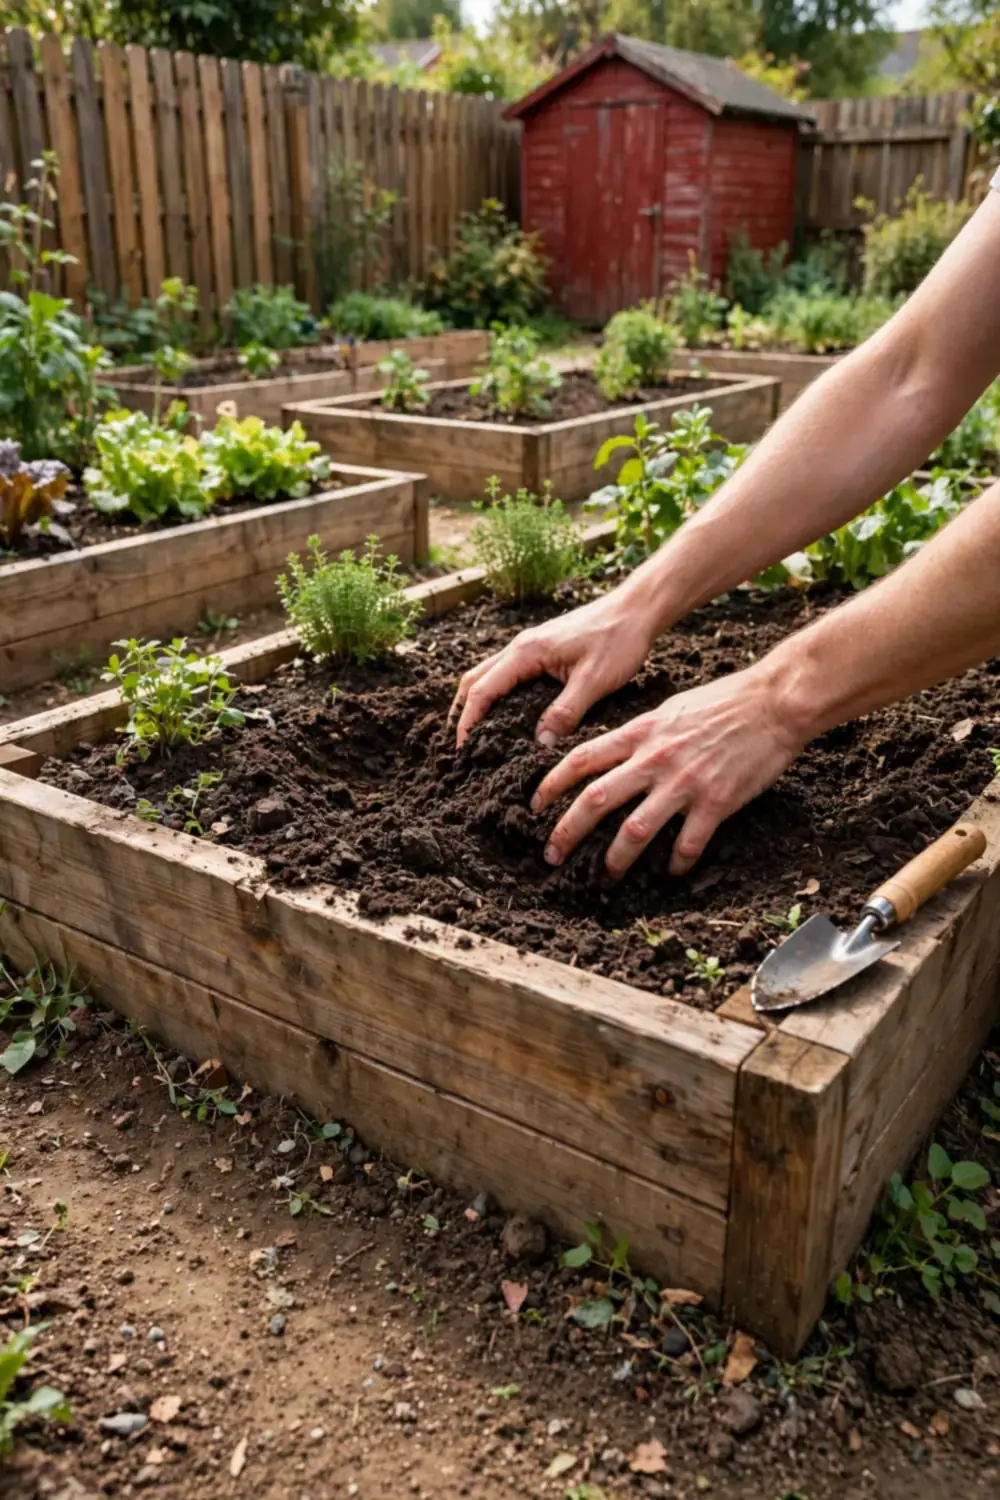
Cabbage is a hungry plant, so rich soil is the secret to every crisp head. Choose a spot that gets at least six hours of direct sun each day. Dig compost or aged manure into the top six inches, because cabbage needs lots of nitrogen all season.
Aim for a soil pH between 6.0 and 6.8, which a cheap test kit from the garden center can check. Add garden lime if your soil tests too acidic, as the package directs. Loosen the bed deeply, since tight soil slows the roots and leads to small heads. Keep cabbage out of any bed that held cabbage, broccoli, or kale last year. Those crops share the same soil diseases. A fresh bed in full sun gives young transplants a clean start.
Transplant the Seedlings

Move the seedlings outside once they show four to six true leaves and nights stay above 40 degrees. Water the trays well first, so the moist root balls slide out without breaking. Dig each hole a little deeper than the root ball. Settle the seedling in up to its first leaves.
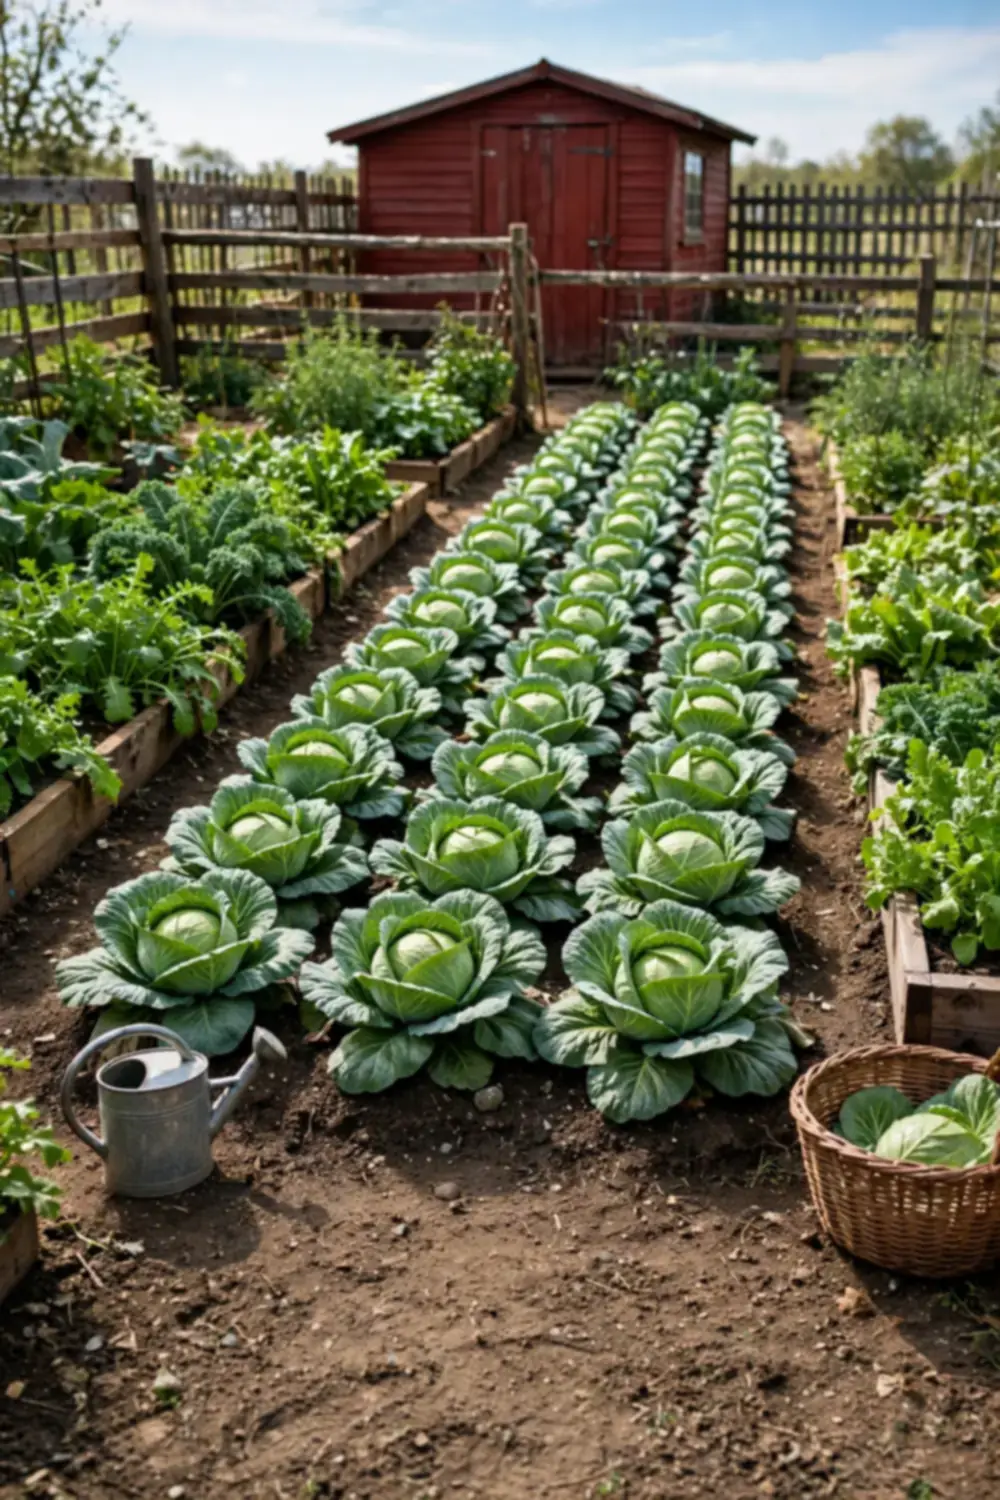
Space the plants 12 to 18 inches apart in rows 2 feet apart, leaving each head room to swell. Press the soil gently around each stem to close air pockets, then soak the whole bed. Spread three inches of straw mulch over the bed to hold moisture and block weeds. Where cutworms are a problem, press a cardboard collar an inch into the soil around each stem. Most seedlings perk up within a day or two and start growing fast.
Water and Feed Through Summer
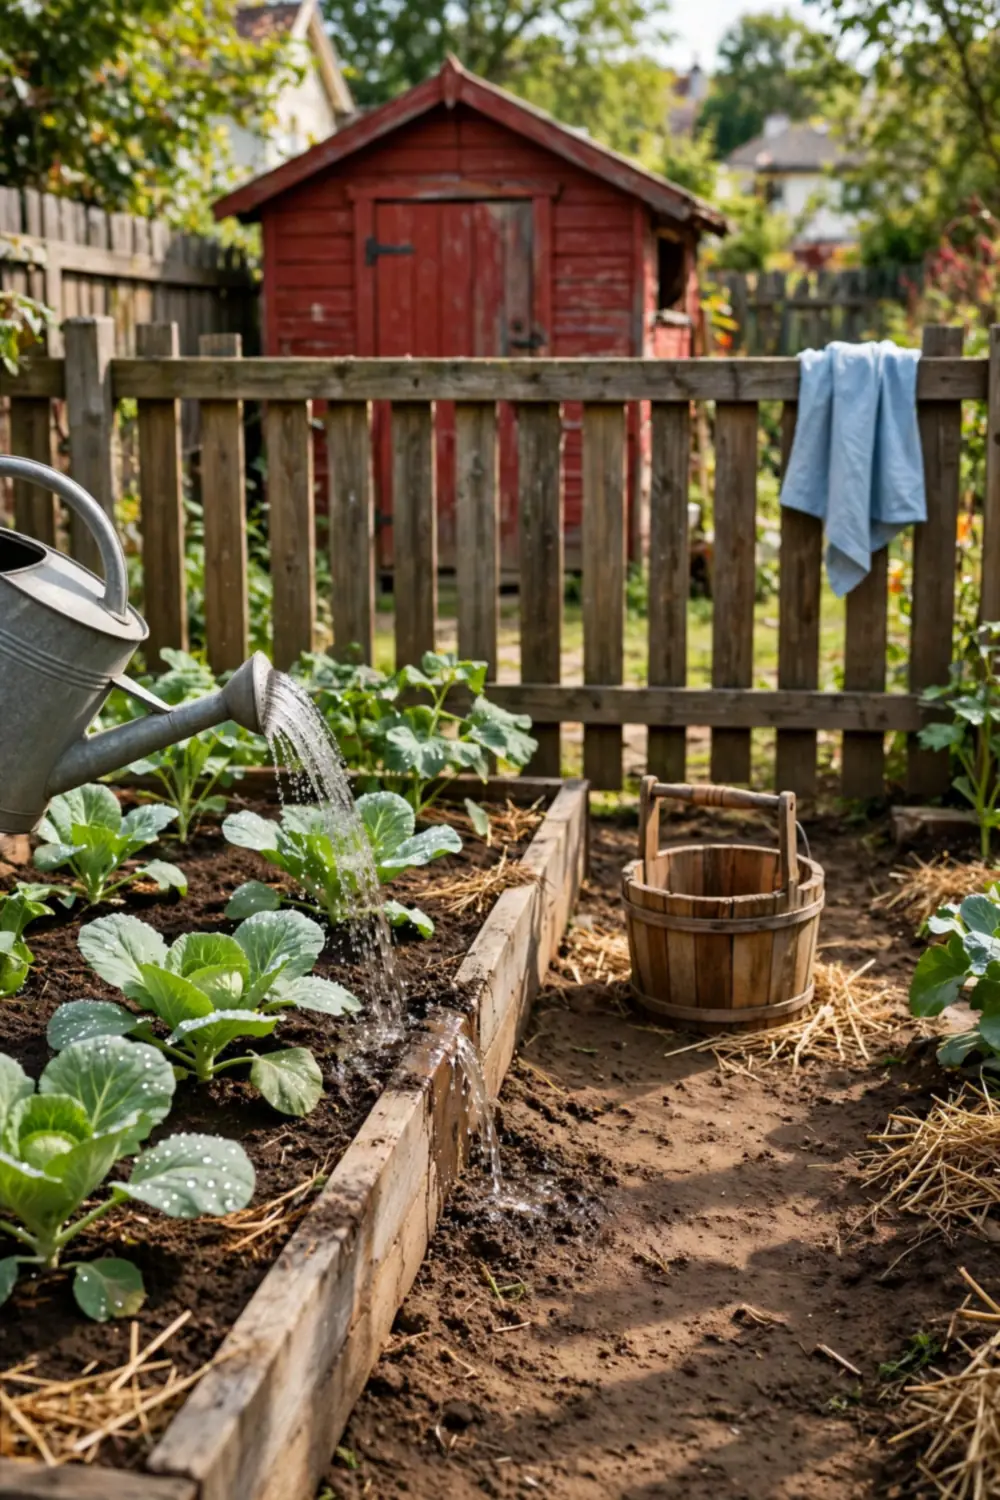
Cabbage needs steady moisture to form dense heads. Aim for one to one and a half inches of water each week. Water at the base of the plants in the morning, which keeps the leaves dry and lowers disease risk. An empty tuna can set near the bed shows just how much rain has fallen. Mulch also keeps the soil from drying out fast.
Feed the plants with plant food high in nitrogen three weeks after planting. Side-dress with compost or liquid fish feed again once the heads start to form. Check the soil with your finger before you water. Water only when the top inch feels dry. Even moisture matters most while the heads fill out, because a dry spell followed by heavy watering can split them.
Keep Pests and Diseases Away
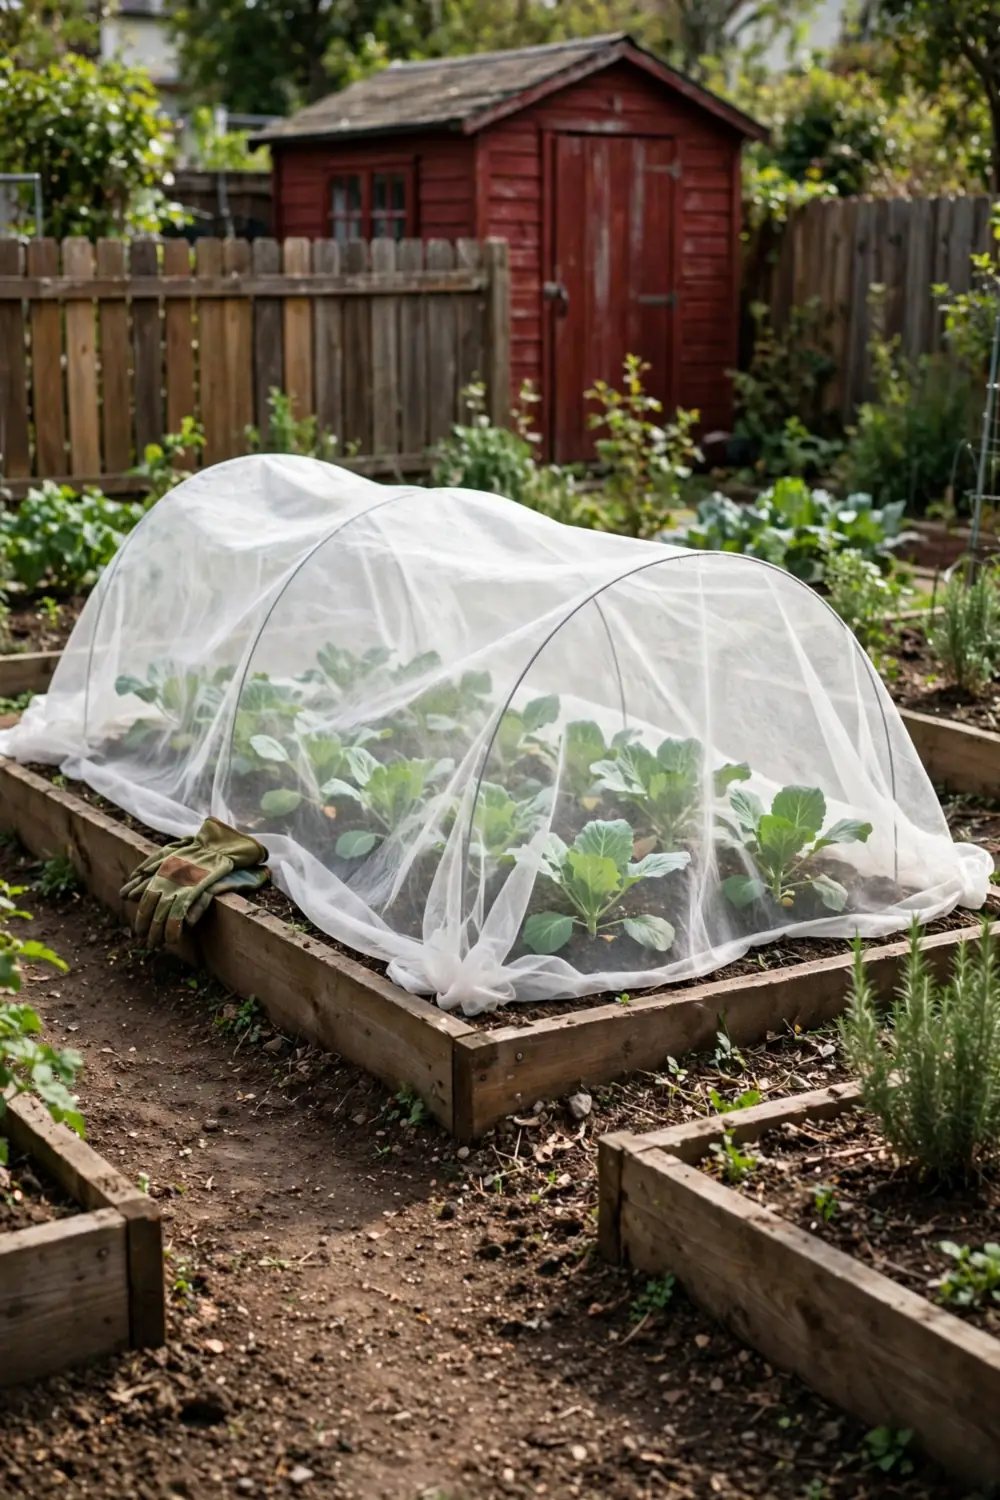
The most common pests are small green cabbage worms, gray-green aphids in clusters, and flea beetles that chew tiny holes in young leaves. Check under the leaves every week, because early catches are easy to handle. Pick off any worms by hand, and blast aphids away with a strong spray of water.
Drape lightweight row fabric over the bed right after planting. The fabric blocks the moths that lay worm eggs, and it still lets rain and sun through. For bigger attacks, spray Bt, which kills the worms yet spares bees and other helpful insects. Pull up any plant that wilts from clubroot. Throw it in the trash, since that disease lingers in soil for years. Clean your tools between beds so problems do not travel.
Harvest and Store the Heads

Heads are ready when they feel firm and solid through the outer leaves. Most types reach that stage 60 to 100 days after planting. Squeeze a head gently, and cut it when the whole head feels dense with no soft spots.
Use a clean, sharp knife to cut the stem just below the head. Leave two or three outer leaves on the head to protect it in storage. Morning harvests stay crisp longest, because the cool heads warm up slowly. A harvested cabbage keeps for a few weeks in the crisper drawer at 32 to 40 degrees. Leave the cut stem and roots in the ground, since many types push out small bonus heads around the stump. Those tender mini heads are perfect for slaw.
Frequently Asked Questions
When is the best time to plant cabbage seeds?
Sow seeds indoors six to eight weeks before your last spring frost. Move the seedlings out two to three weeks before that frost date, once nights stay above 40 degrees. For a fall crop, start seeds in midsummer so the heads ripen in cool autumn air.
Does cabbage grow well in containers?
Yes, one plant fits well in a five-gallon pot with drainage holes. Fill it with rich potting mix and water often, because pots dry out faster than garden beds. Pick a compact type so the head stays the right size for the pot.
Why do cabbage heads split open?
Splitting often follows a dry spell broken by heavy rain or a good soak. Keep the soil moist with one to one and a half inches of water a week all season. If heavy rain is on the way and a head feels nearly firm, twist it a quarter turn to slow its growth.
What stops cabbage worms without chemicals?
Drape lightweight row cover over the bed right after planting so moths cannot lay eggs on the leaves. Check under the cover each week and pick off any worms by hand. A spray of Bt handles larger attacks, and it is safe for bees and other helpful insects.
Your Cabbage at Home from, Made Cozy
From a tiny seed to a heavy head, cabbage rewards steady care more than fancy methods. Rich soil, even water, and a weekly pest check are all it takes to fill the crisper with homegrown heads.
Pin this guide to your garden board so the steps are handy when planting season arrives, and you will be cutting your first crisp heads before you know it.